The "bumblebee" is residing in quicksilvr's garage. Dad purchased the car from my brother (turbodudey) in March of 2010. It will continue to be a project car for Dad and I for years to come.
Currently, the car is getting a few little tweaks before it's back on the road for tuning and then driving FUN. Maybe even a dyno run sometime this fall. It ran great all the way to Carlisle PA for the 2014 meet, and I'm looking forward to finishing some of the loose ends and then really tuning the car well and turning the boost up to see what it can really do. I'd be happy with 350whp, but I think more is possible.
PROGRESS LOG INDEX
Page 1-2: MS assembly, turbo installation on stock engine...promptly pop the stock bottom end
Page 3-5: Engine teardown and rebuild, suspension, wheels, etc
Page 6-7: Tuning, troubleshooting and exhaust install
Page 8: Exhaust continuted, and first DYNO
Page 9-10: Troubleshooting and rebuild to fix noisy piston
Page 11-13: Massive detonation = very melted pistons and another rebuild. Haul the car to Colorado
Page 14: Big injectors and tuning. Car goes back to Missouri. Clutch wears out
Page 15: Big FMIC ordered, and clutch discussion......
Page 16: 20g turbo test fit
Page 17: Clutch replacement, intake manifold modificiation
Page 18: Lots of updates, BACK ON THE ROAD!!, and a trip to Carlisle 2014
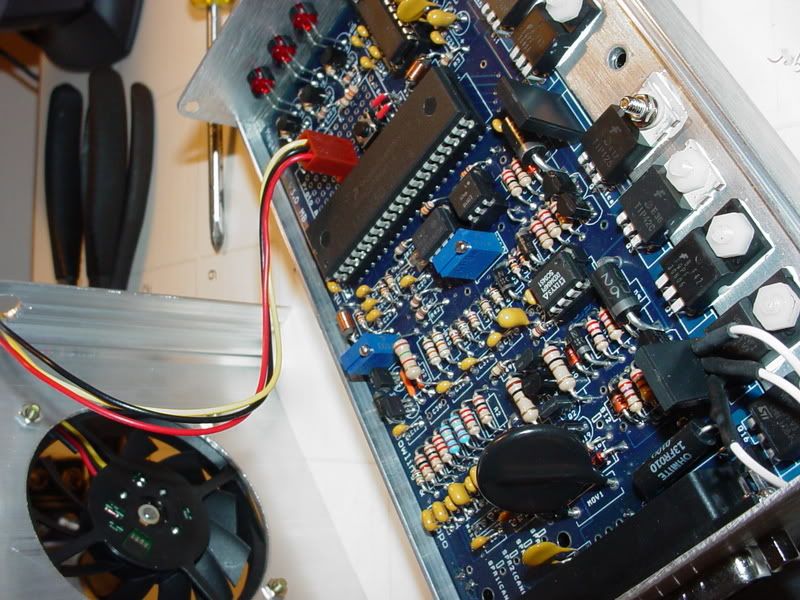
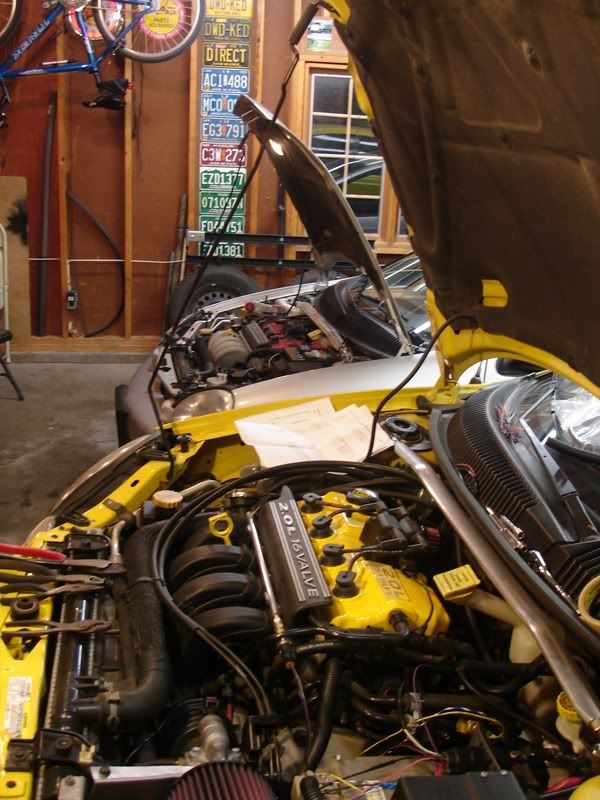
Pictures of the MS install process. New pictures at the bottom, I'll keep updating the thread as we go. Enjoy!
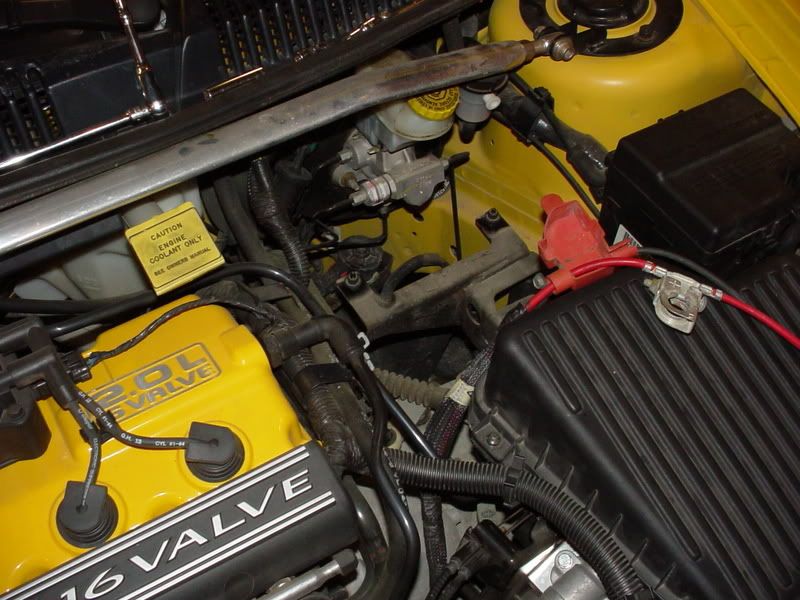
Battery GONE!
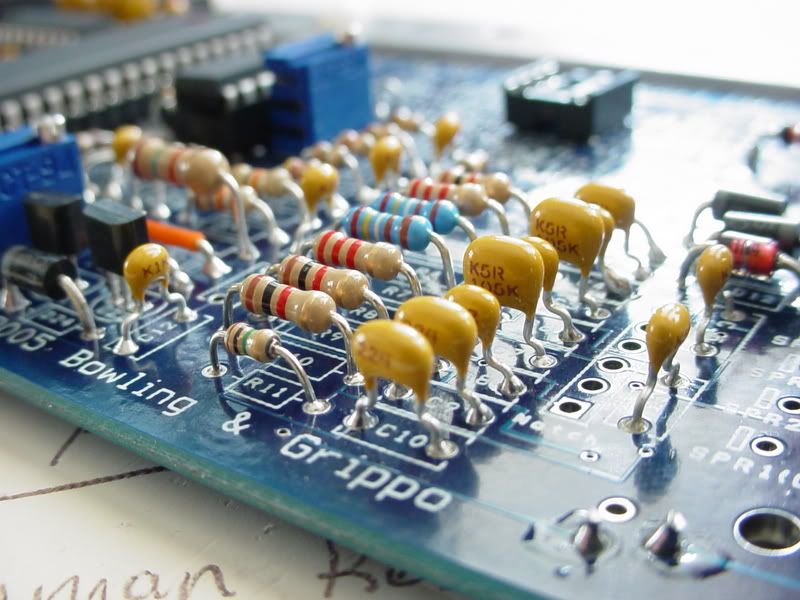
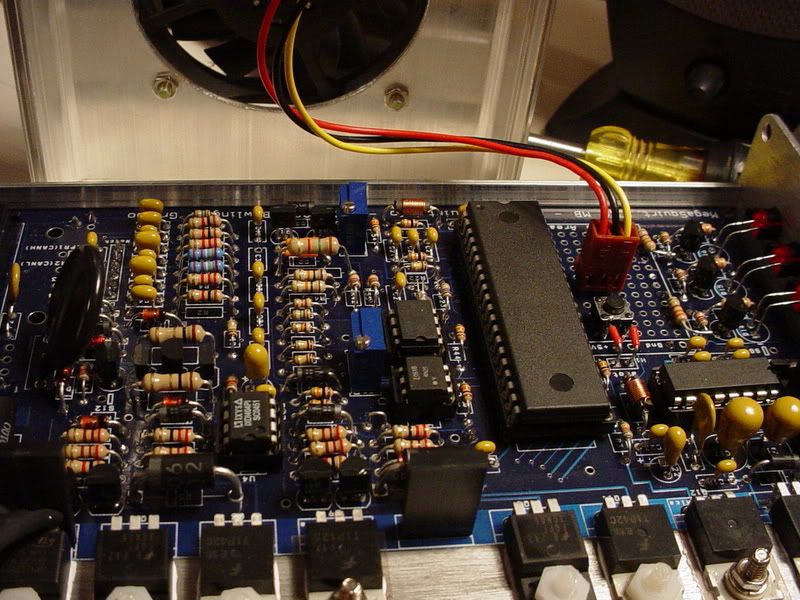
Main board
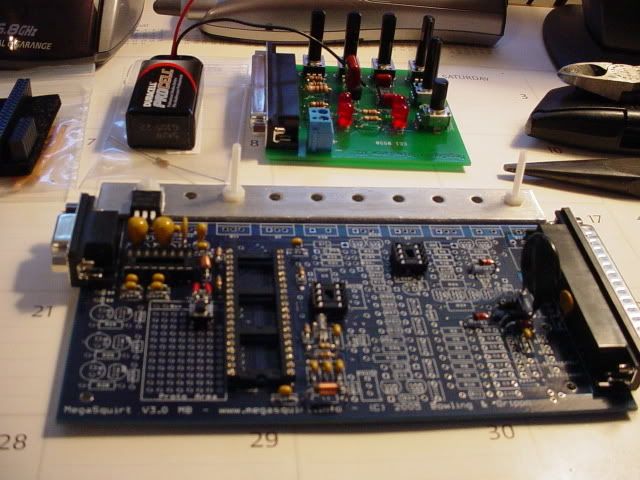
Hooked to the stim..
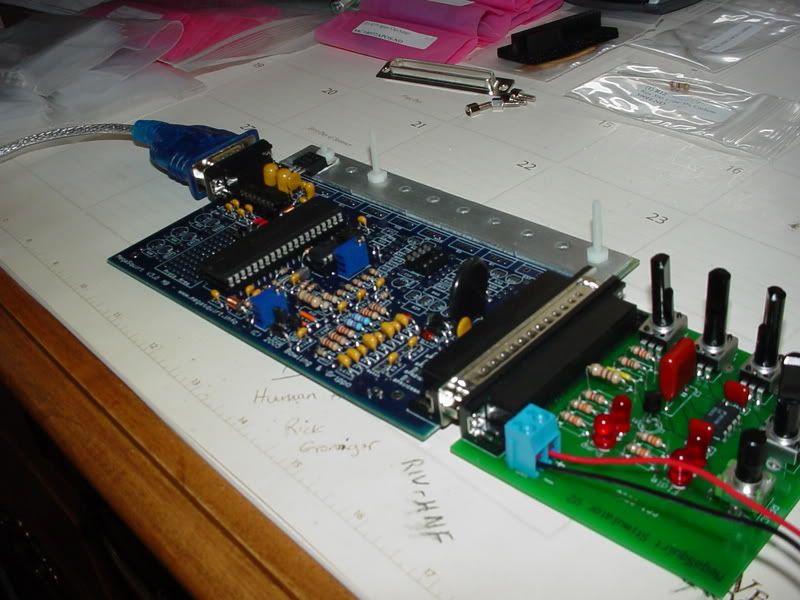
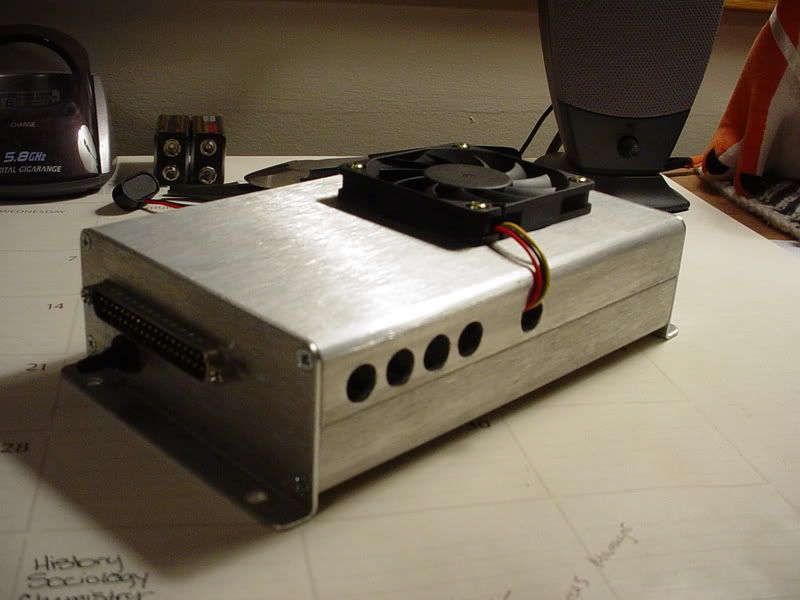
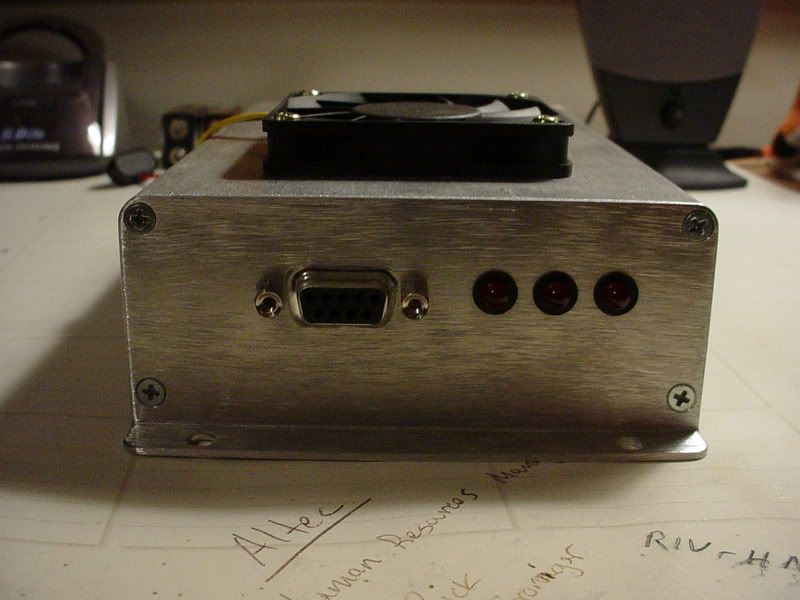
Completed...
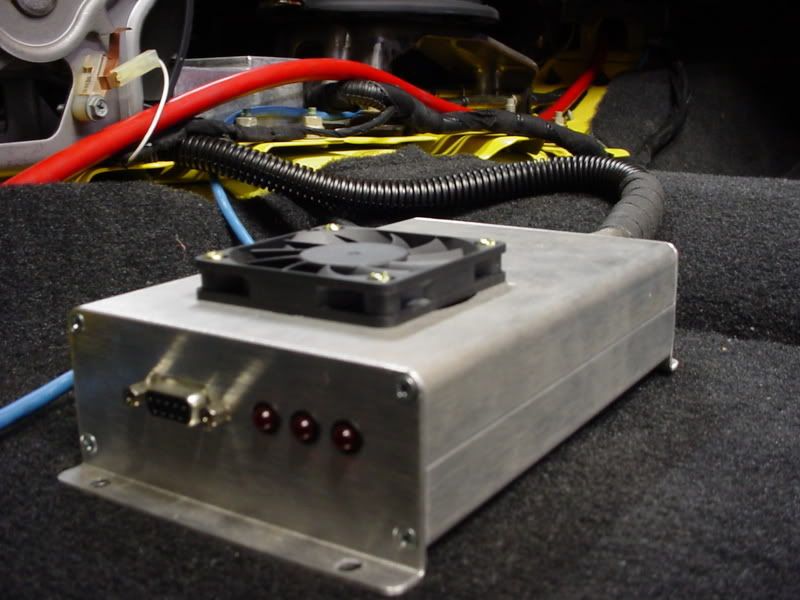
Modded case w/ fan
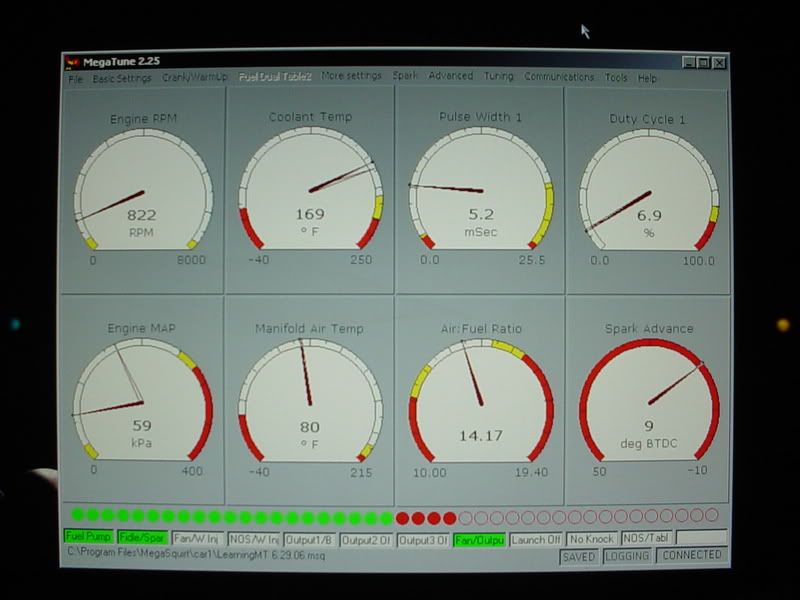
MegaTune
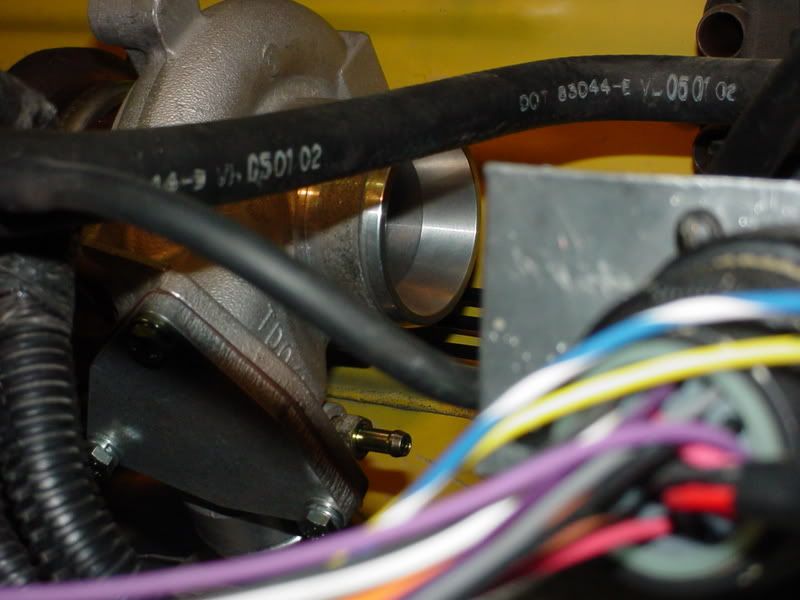
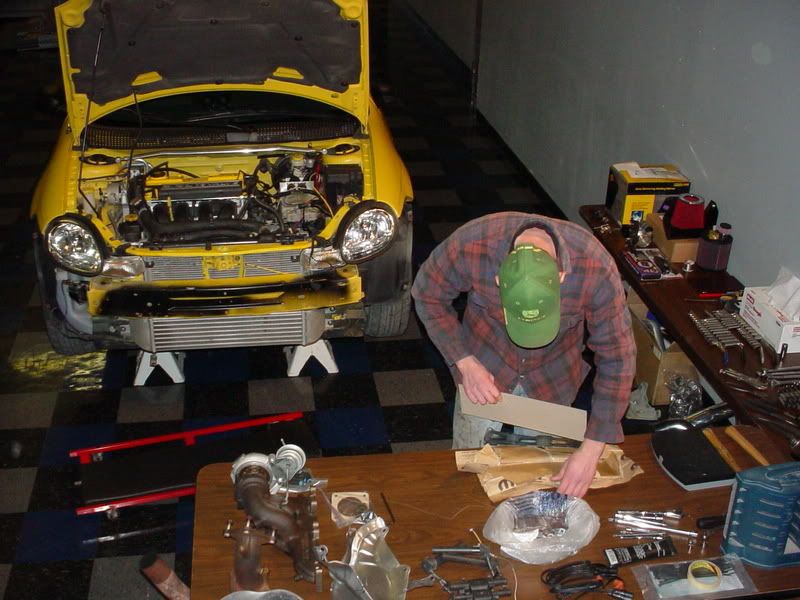
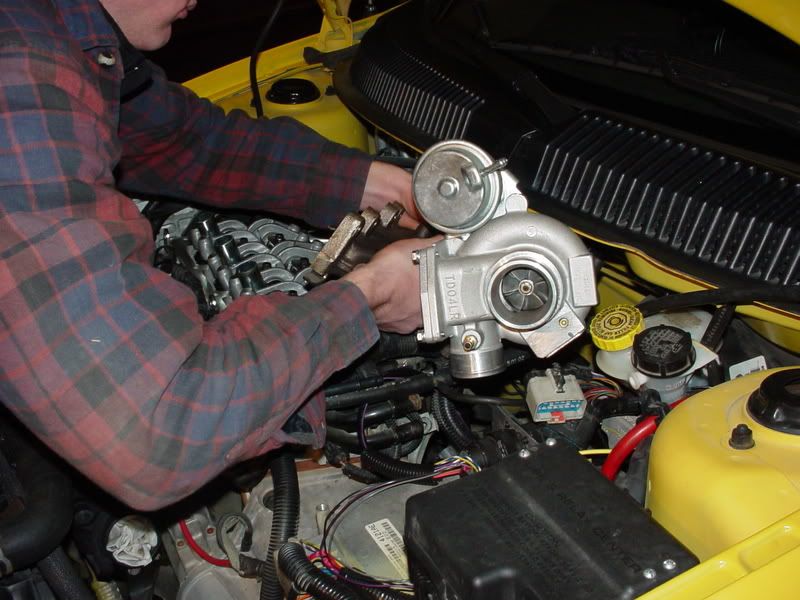
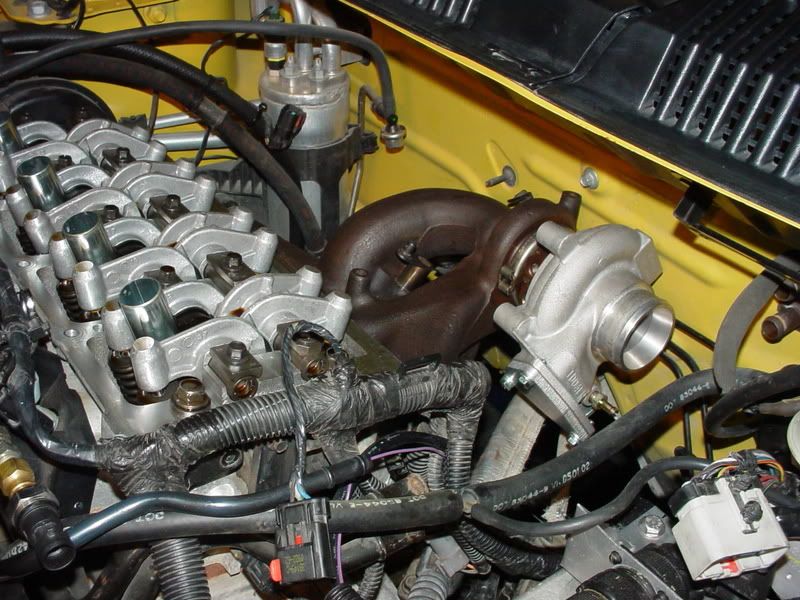
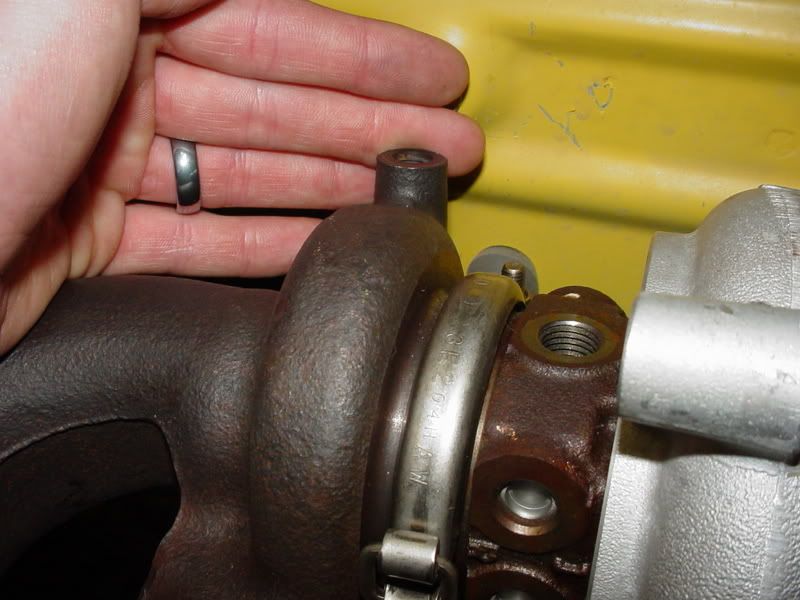
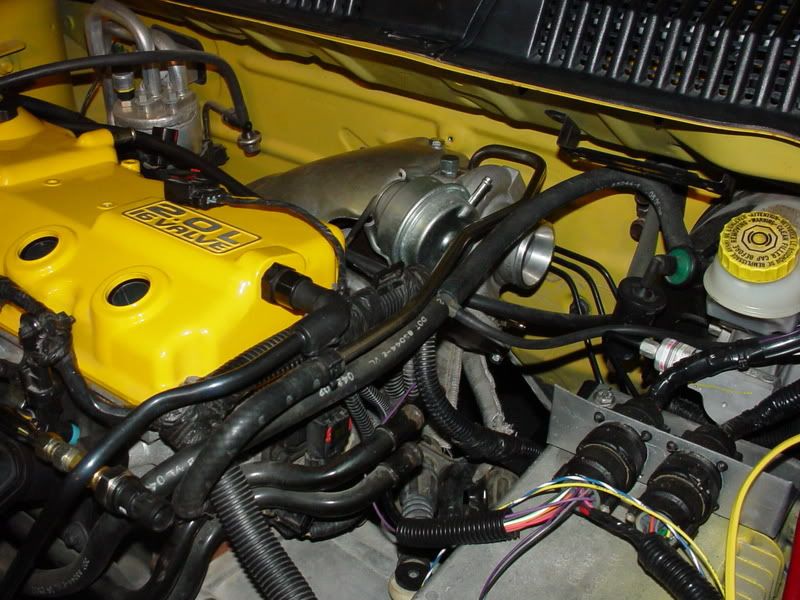
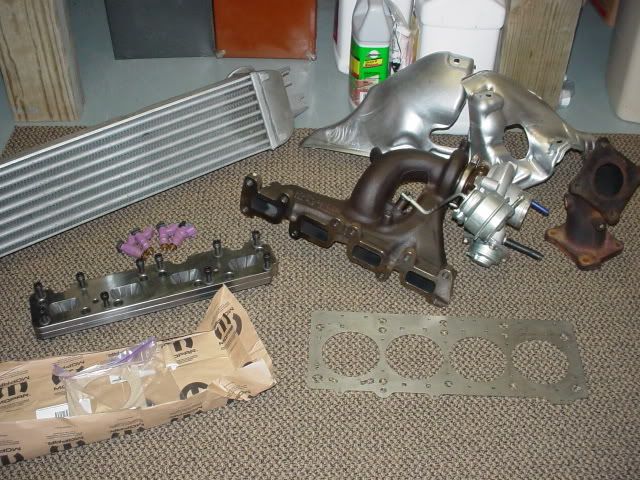
And, all the big hardware. Oil and coolant lines are on their way, and all piping is going to be custom fabbed. NONE of this is installed...right now we're still just N/A.
October 25, 2006
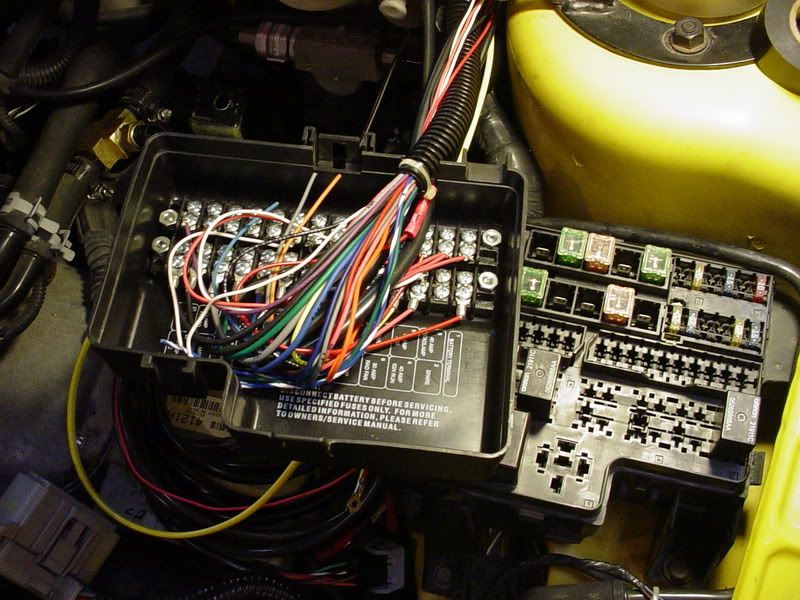
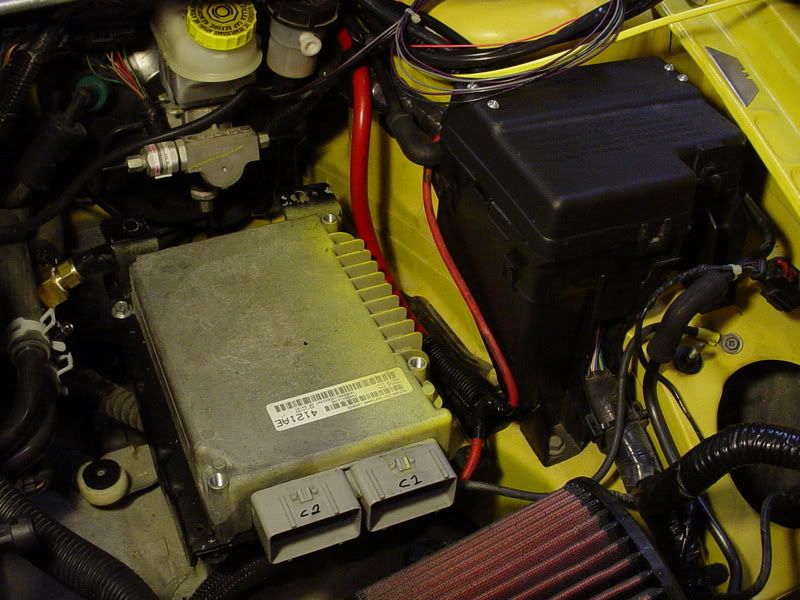
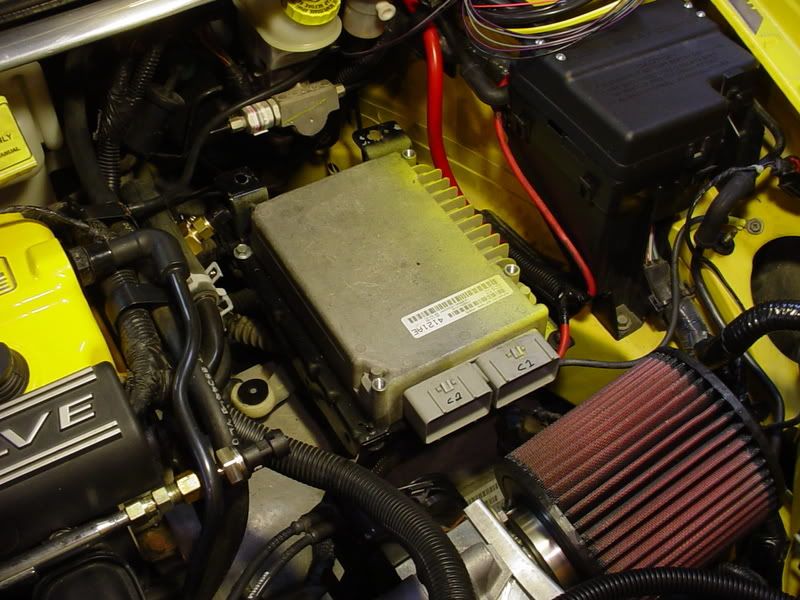
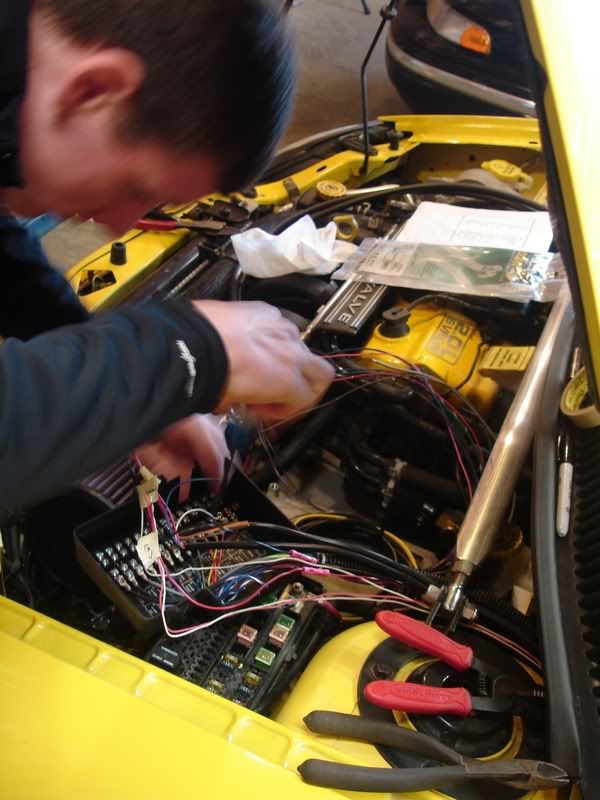
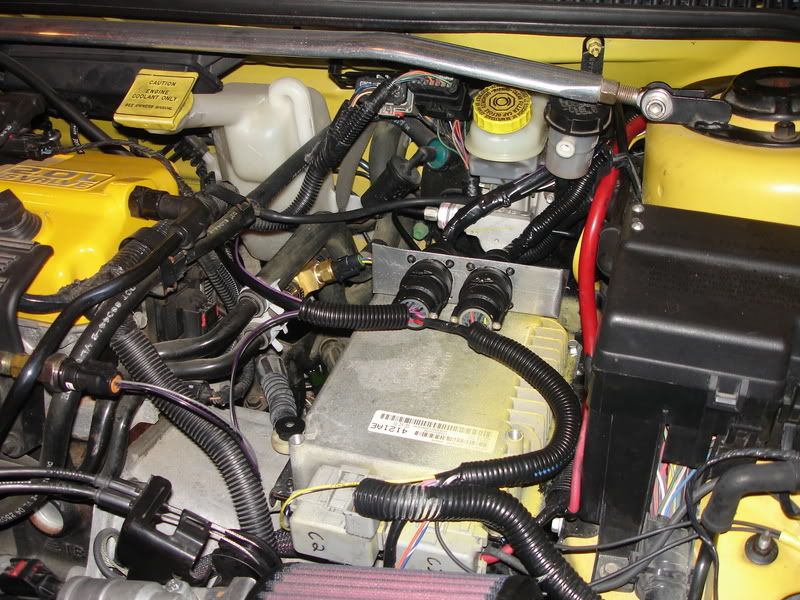
Stock ecu relocation, and a bunch of wiring
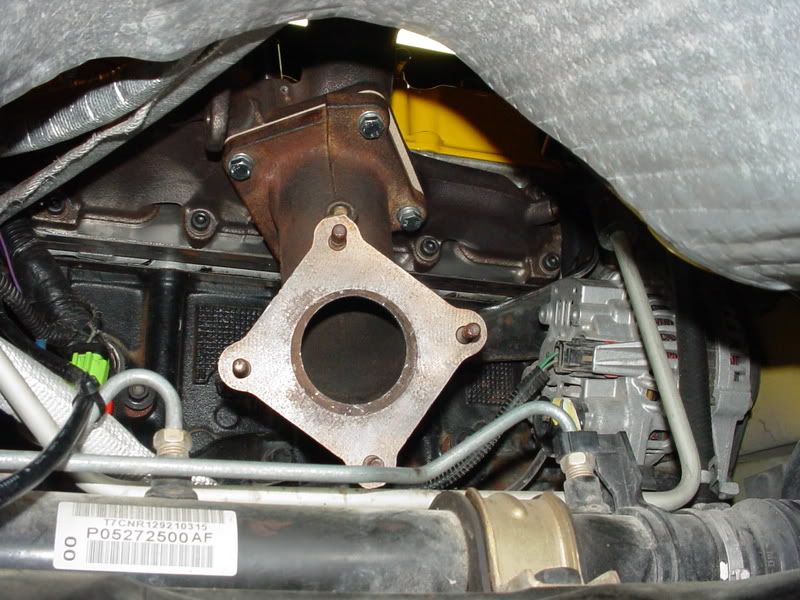
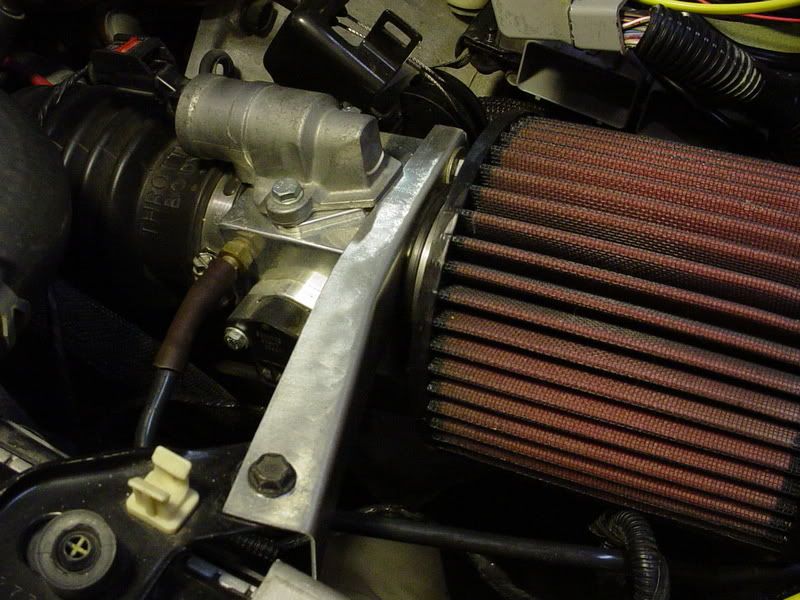
Temporary bracket to hold TB while the car is still N/A.
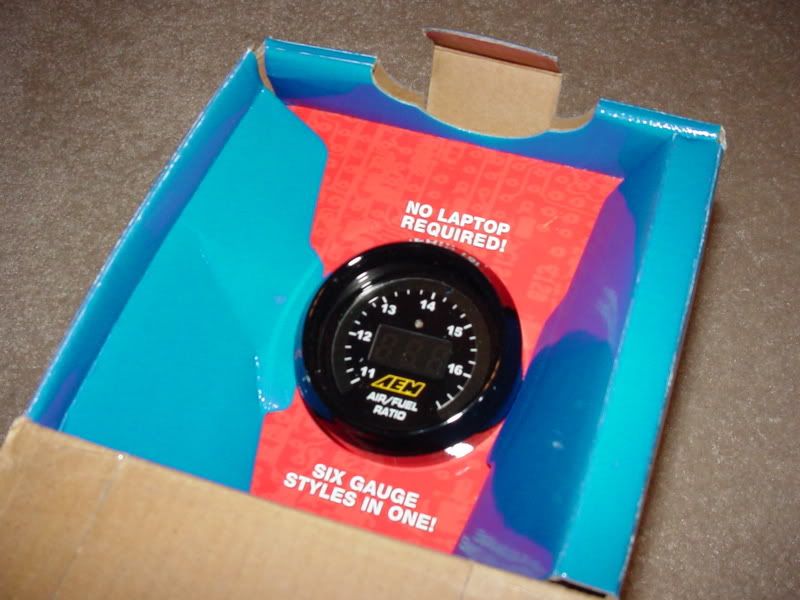
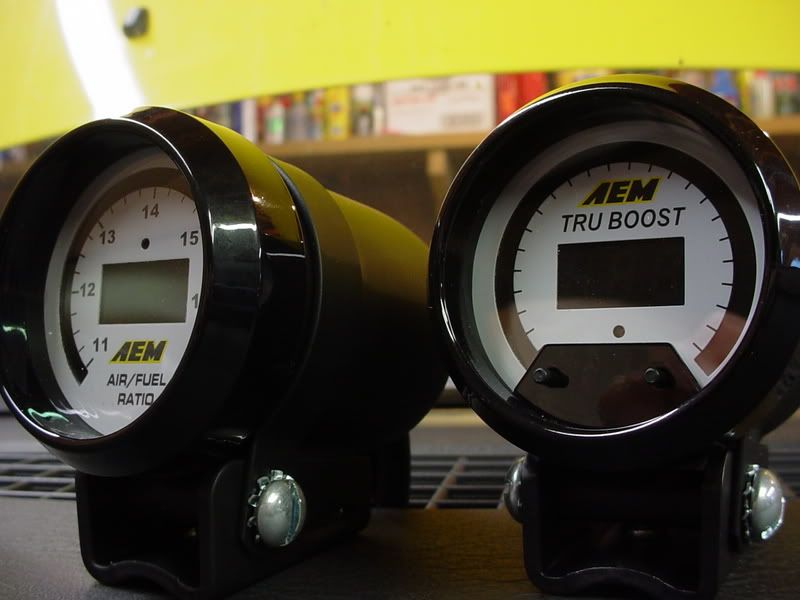
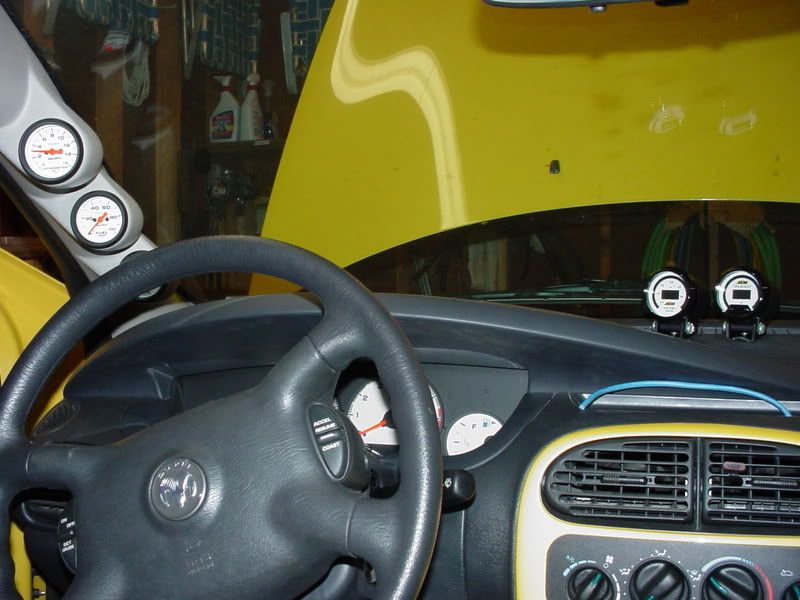
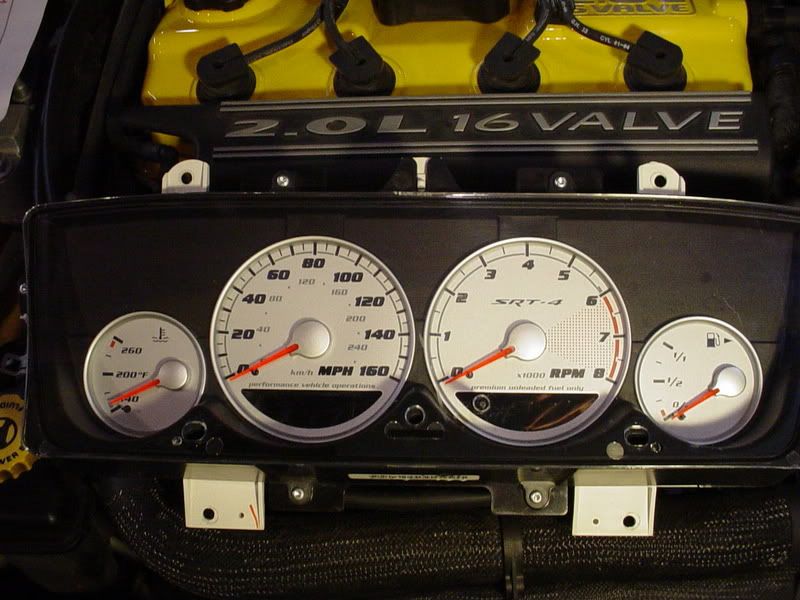
Gauges
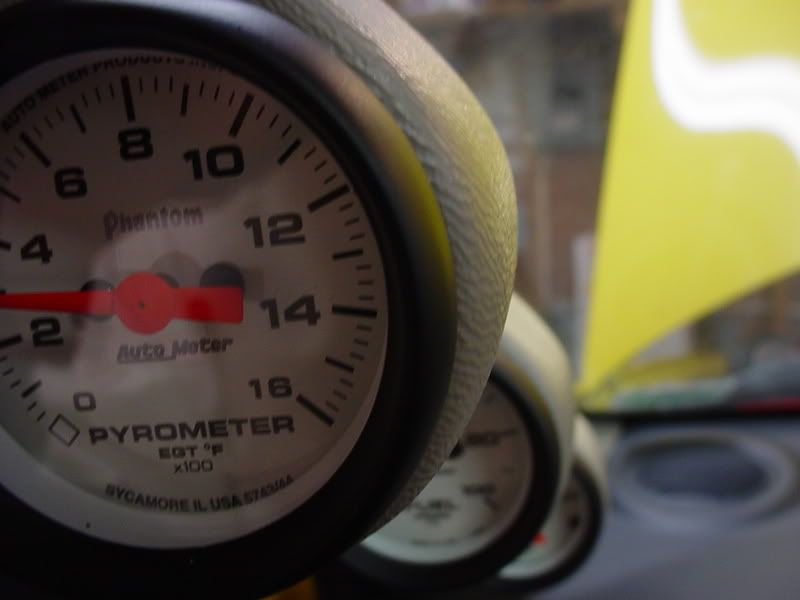
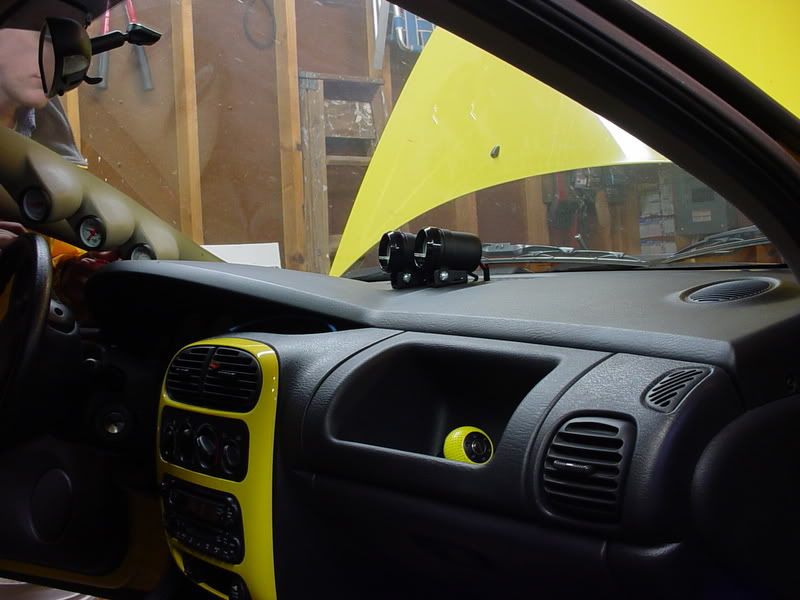
(Note ethernet cable sprouting through dash nook for MegaView)
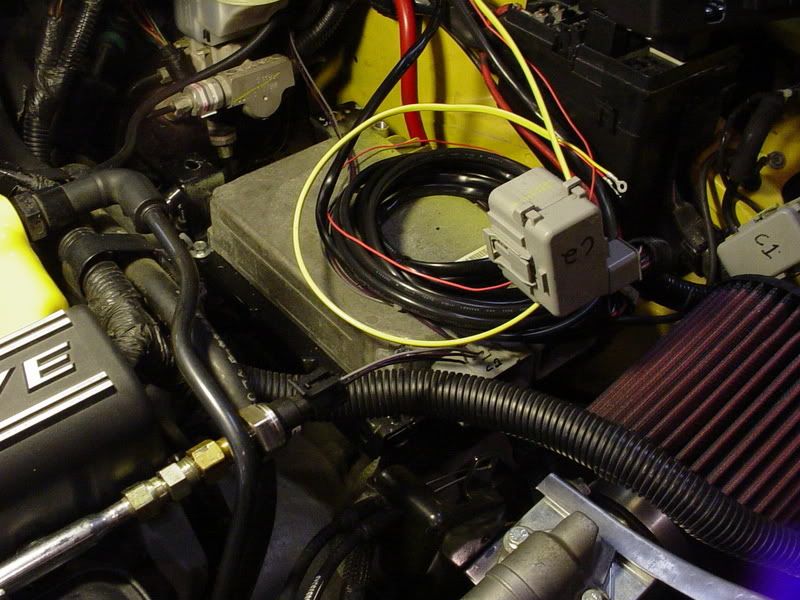
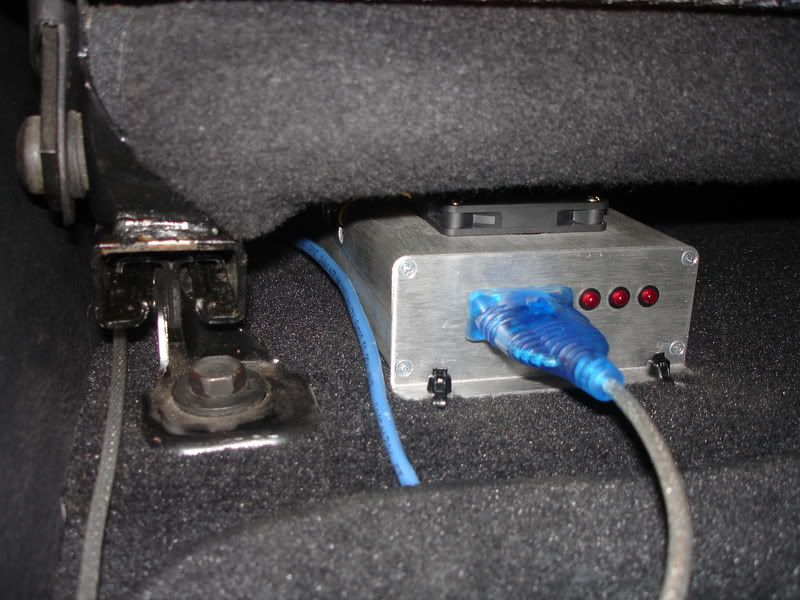
MegaSquirt location
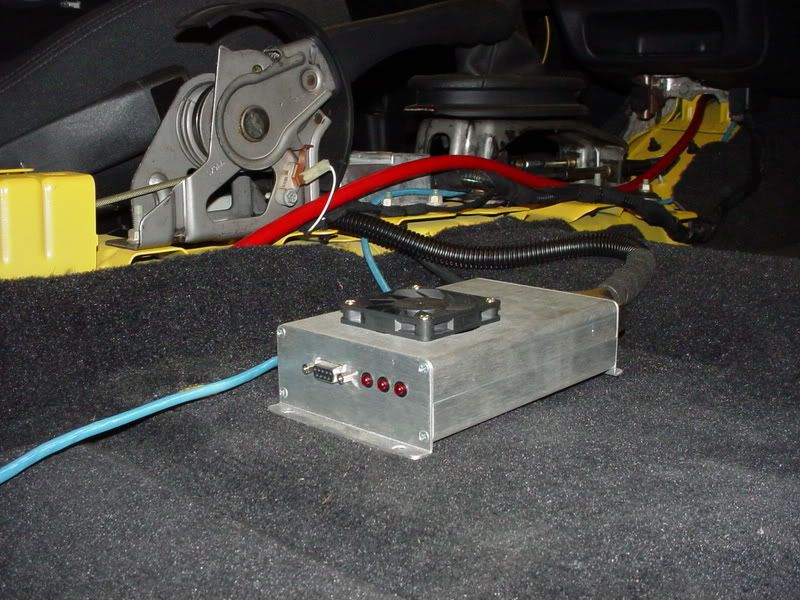
Nice clean way of connecting everything
Cleaned up a bit to be able to see the master plan better
Put this in that night...
Airbag delete is handy for holding things like shift knobs...
November 27th, 2006
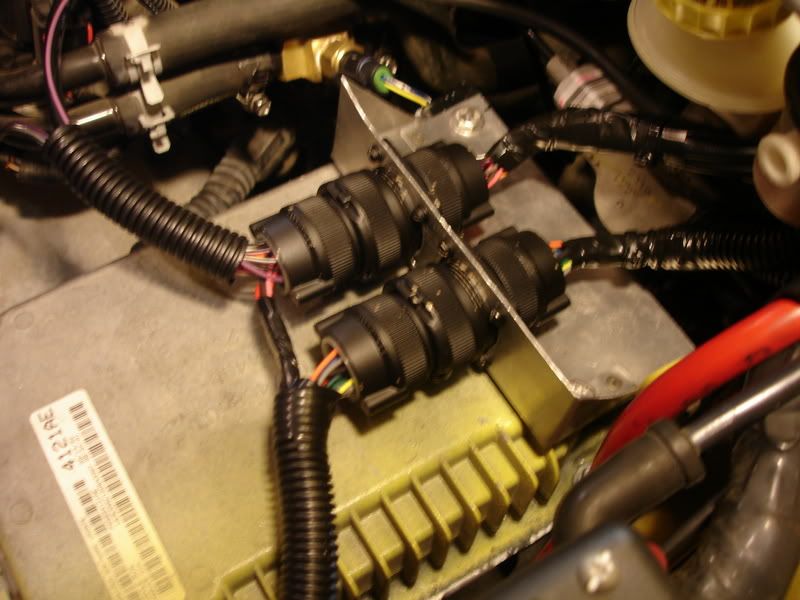
Changing things up...
I didn't like the terminal strips, they were too hard to deal with in such a small space. So, hello eBay and (new) military surplus!
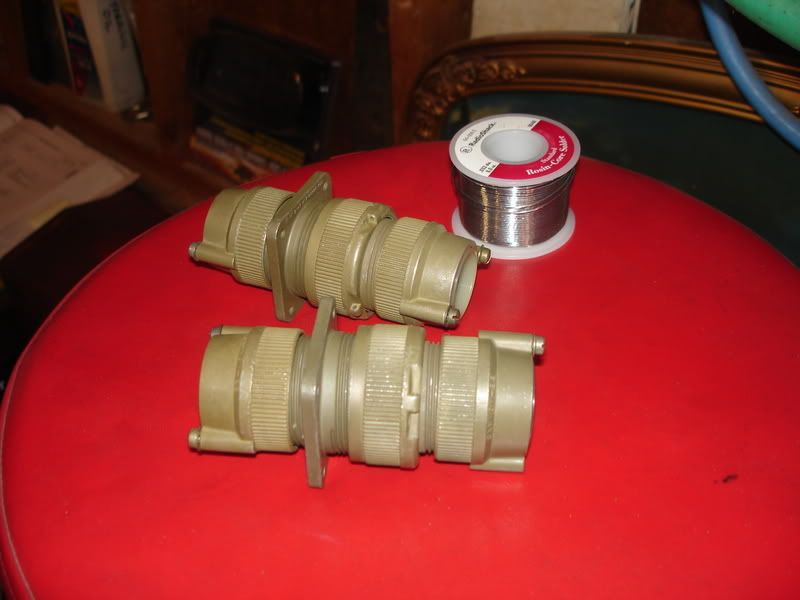
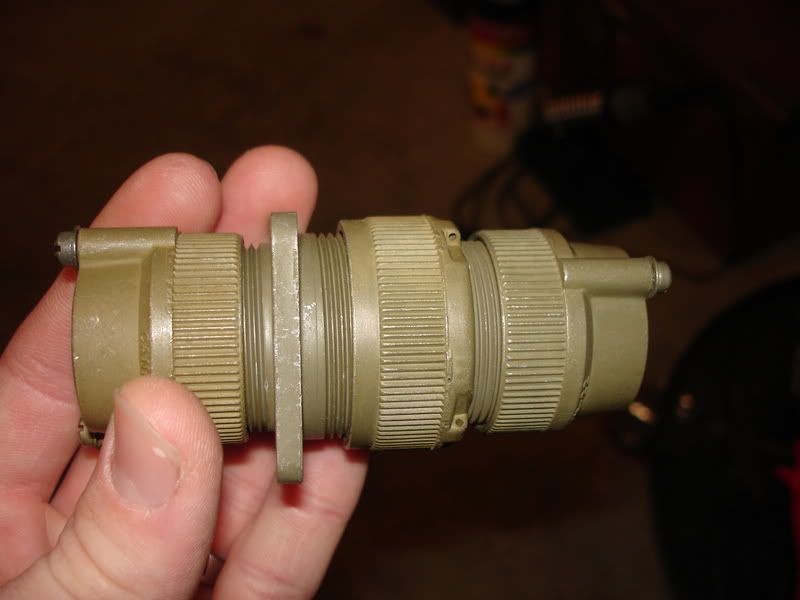
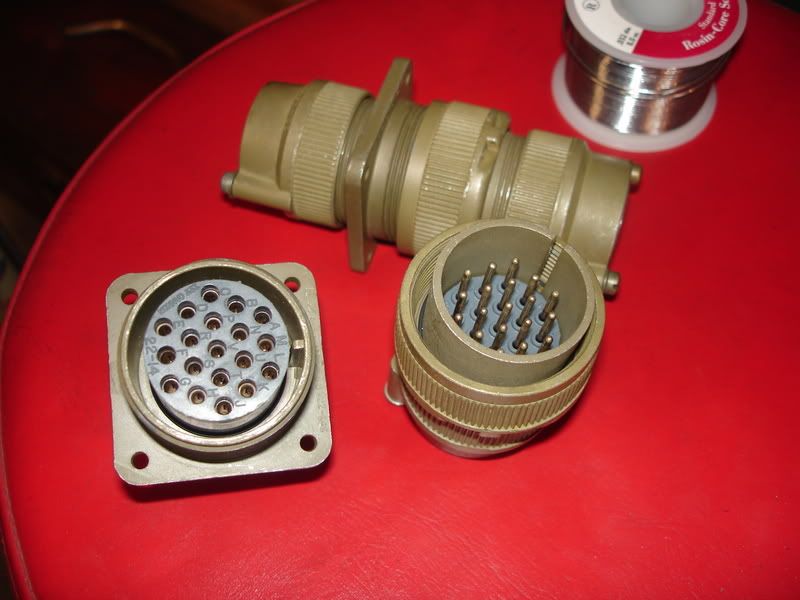
They are 19 pin quick connectors. I just made a bracket, switched the wiring, and hooked up spark control.
Video: Test driving for tuning (Dave sounds like a complete idiot on camera.)
http://www.youtube.com/watch?v=zsJsoJij_MQ
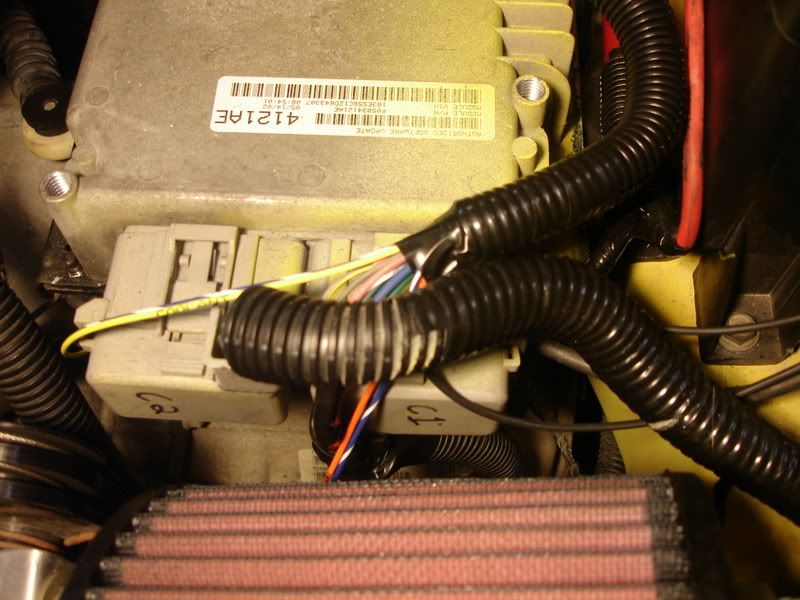
December 4th, 2006
Spark is now hooked up and the car runs! Here are some pictures of the new connections, and some video's with MS controlling it all!
Video: Trying to run....and then running with full spark and fuel control.
http://www.youtube.com/watch?v=Zmej7e9EKZU
http://www.youtube.com/watch?v=KpOXEk1uWeY[/url]