A friend
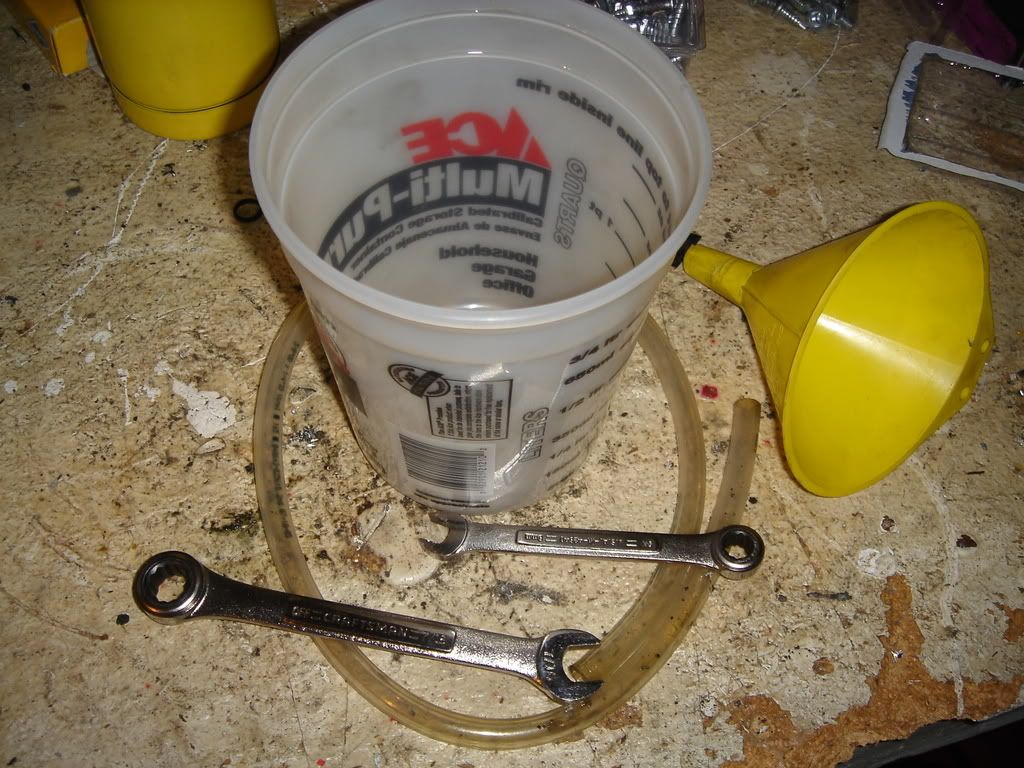
2-4' 3/8" clear rubber line
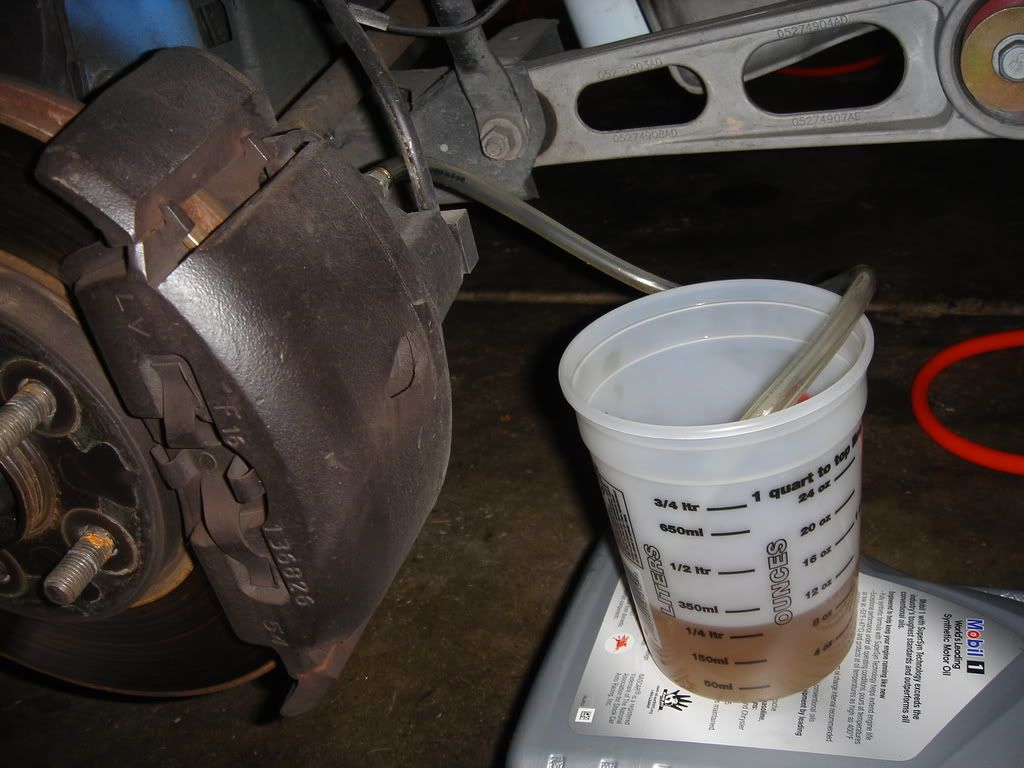
Small container
Funnel
8mm open end wrench (rear)
10mm open end wrench (front)
New brake fluid
STEP 1
Raise the vehicle and support on jackstands. All four wheels must be removed to do this, so be sure to support the car properly. Remove all four wheels and set them aside. You may need to remove your strut tower brace if eqipped, so go ahead and do that now. Pour about 2" of clean new brake fluid into the container and replace the cap.
STEP 2
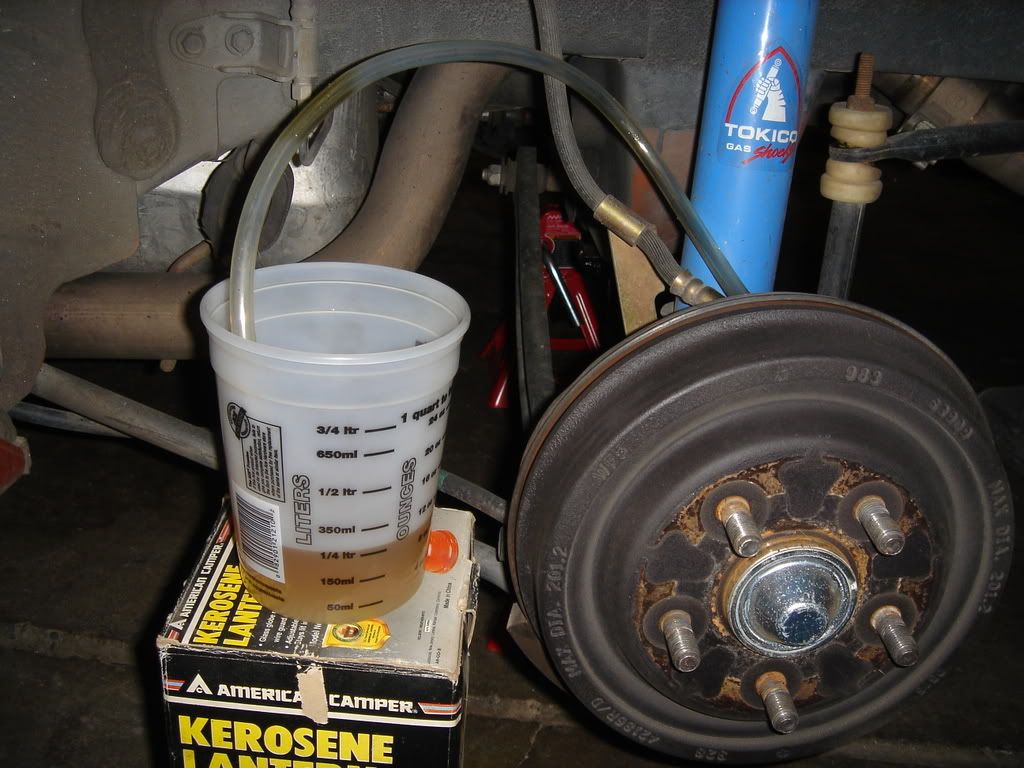
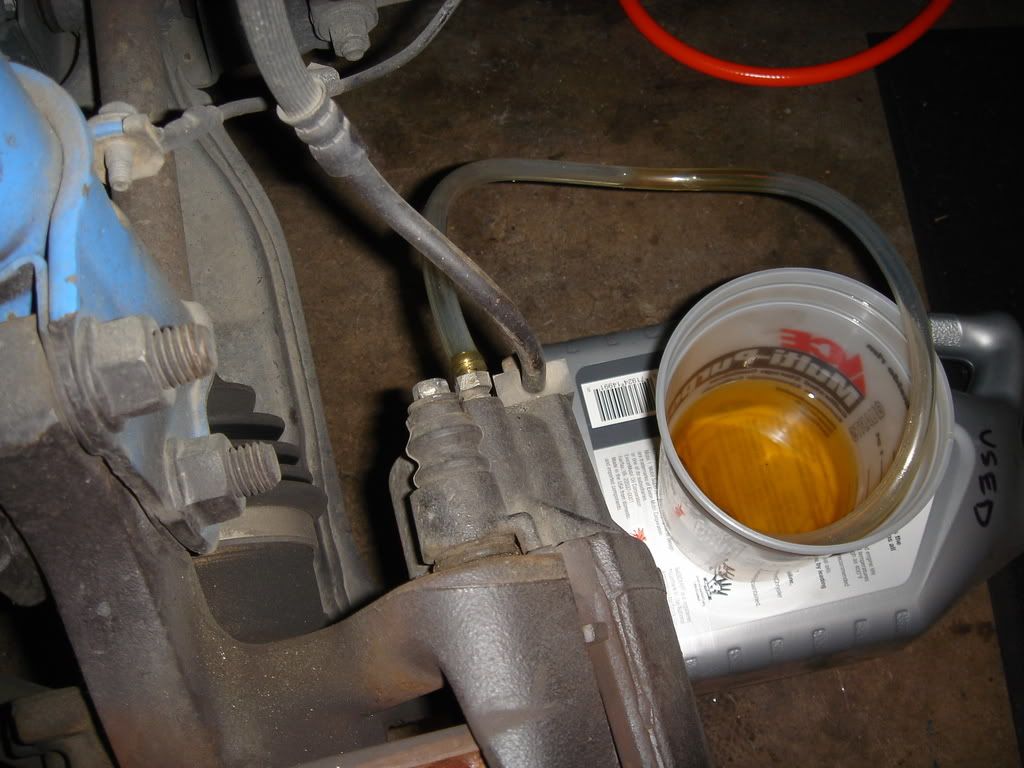
Start on the left rear. Remove the bleeder nipple cover and attach the 3/8" bleeder hose to the nipple. Submerse the other end of the bleeder hose in the new brake fluid in the container. Make sure the container and bleeder hose wont be knocked over. It helps to support the container to keep the hose from wiggling out.
Rear brakes, setup to bleed:

STEP 3
Now have your friend get in the drivers seat and pump the brake pedal 3-4 times. Make sure they hold it down on the last pump, and do not allow them to release it until you are done.
Turn the hex nut on the nipple counter-clockwise about 1/4 turn, allowing the brake fluid from the lines into the container. MAKE SURE THE BLEEDER HOSE DOES NOT COME OUT OF THE NEW FLUID.
After about 5 seconds, tighten the hex nut and have your friend release the brake pedal. Be sure to keep the bleeder hose submerged the entire time you are working on one of the brake fluid circuits. Repeat the above procedure 3-5 times until no more air comes out when you open the bleeder nipple. Tighten the hex and allow the fluid in your bleeder line to drain into the container. It is OK to remove the hose from the new fluid now.
STEP 4
Have your friend pop the hood. Remove the master cylinder cap and fill the reservoir. Be sure not to let this reservoir go dry at anytime during the procedure. Seal the cap and move to the next step.

STEP 5
Move to the right front circuit. Repeat all prep instructions from STEPS 2 and 3. Repeat the bleeding procedure from STEP 3. Once finished, be sure to refer to STEP 4.
STEP 6
Move to the right rear circuit. Repeat all prep instructions from STEPS 2 and 3. Repeat the bleeding procedure from STEP 3. Once finished, be sure to refer to STEP 4.
STEP 7
Move to the left front circuit. Repeat all prep instructions from STEPS 2 and 3. Repeat the bleeding procedure from STEP 3. Once finished, be sure to refer to STEP 4.
You can repeat the above steps as many times as needed to bleed the lines. I usually go around the entire vehicle twice to be sure the air is out. If you are using this procedure to change to new fluid or DOT4 fluid, be sure to go around the car at least 3 times to make sure all the old fluid is out. Refer to the color of the fluid in the master cylinder to determine whether the new fluid has fully flushed the old fluid out.
That's it, you're done!