By OB
This procedure covers all 2000-2005 PL chassis vehicles. Some slight variations are possible from year to year. Experienced technicians can expect to spend just under 2 hours to remove and disassemble the entire suspension, and another 2 hours to reassemble and reinstall. This is about how long it took me, taking my time and with several breaks. The procedure can more than twice as long for an amateur, especially without the proper tools and equipment.
_______________________________________________________
Tools and Equipment:
3/8 & 1/2 Dr. ratchets + extensions
Various metric and SAE sockets (10mm-18mm, 13/16", 3/4" etc)
Various combo wrenches
MacPherson spring compressor
Various pry bars
Hammer + punch
Jack and stands
Impact gun 1/2" Dr. & air compressor (optional)
_____________________________________________________
STEP 1:
Raise and support the vehicle on jack stands. You can do each corner separatly or raise the entire vehicle.
STEP 2:
Remove wheel(s) from corner(s) being serviced and set aside.
STEP 3:
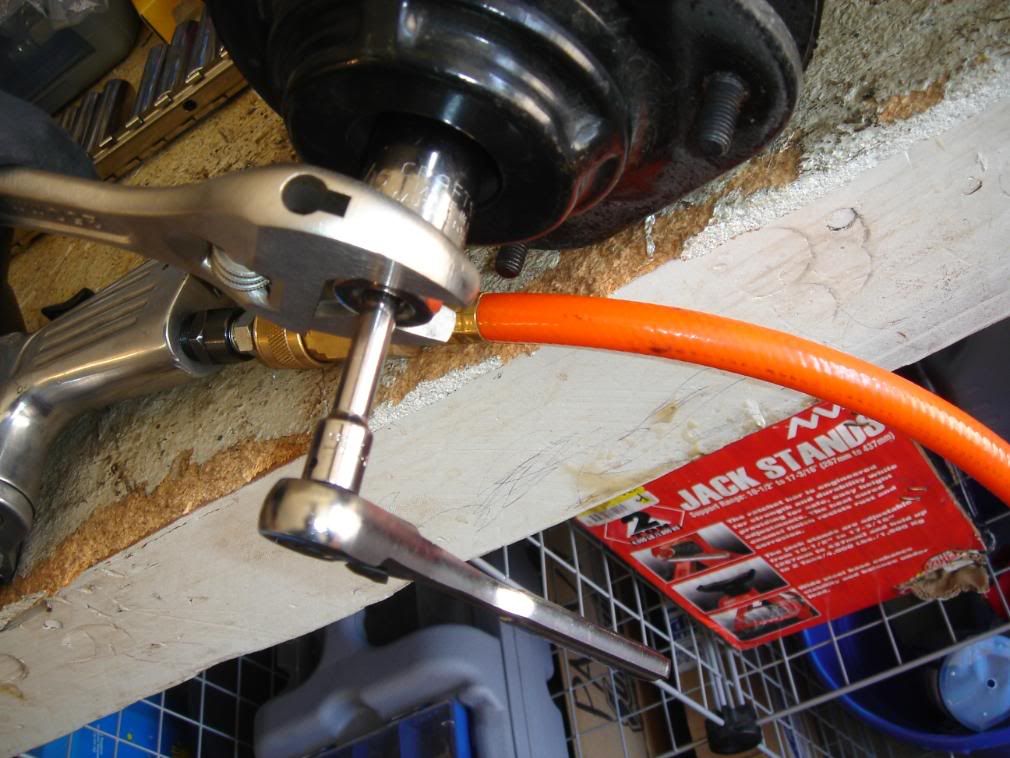
a) Begin by removing the ground screw (10mm) on the strut body (front), or the brake-line bracket (10mm) (rear). (See pic below).
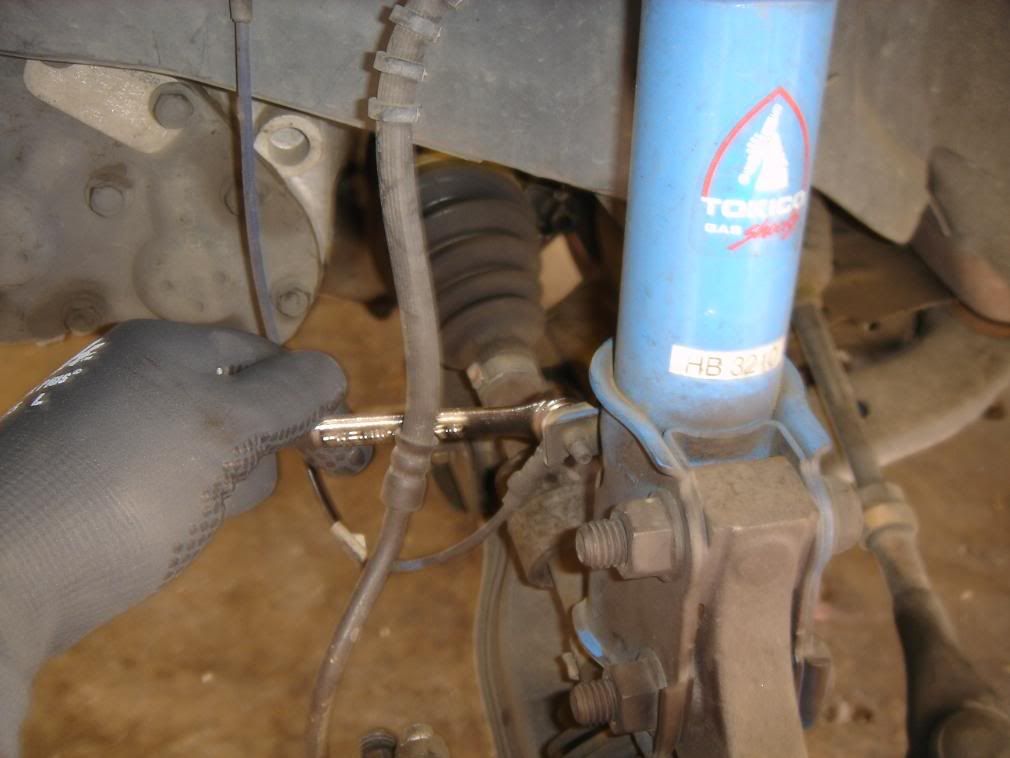
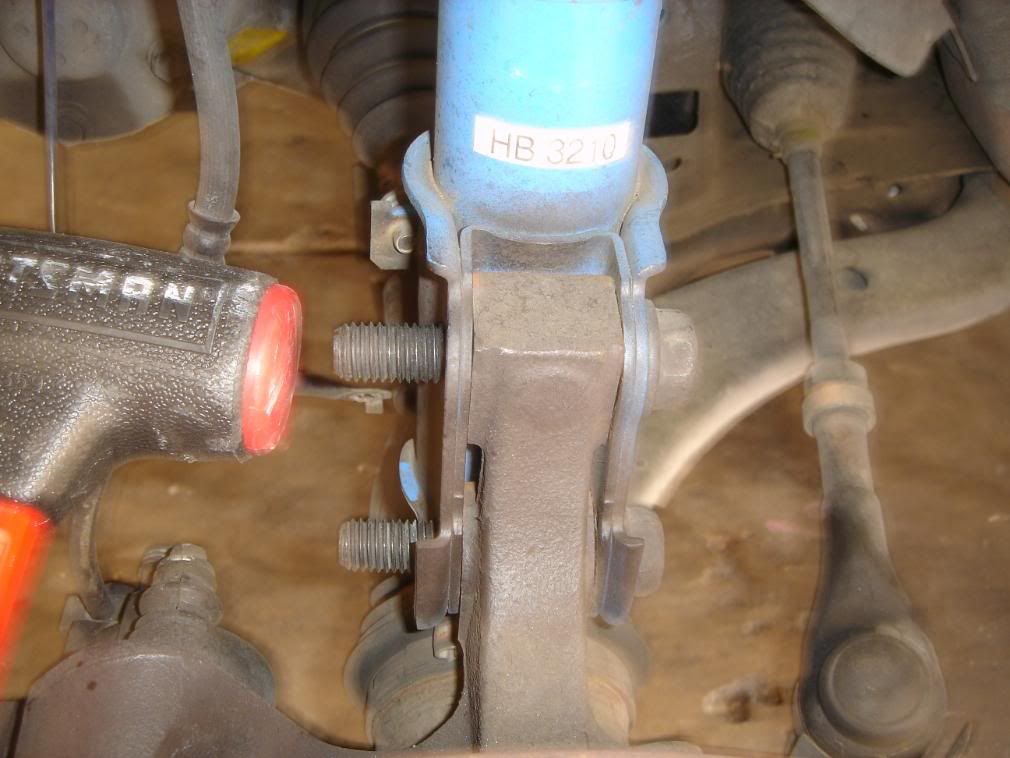
b) Next, remove the lower strut-to-hub nuts (13/16" front/18mm rear). Use a hammer (and punch, if needed) to gently tap the knurled bolts out of the hub and strut. (See pic below). Do not attempt to thread the bolt out once the nut is off. This will damage the knurled neck and ruin the press-fit of the bolts.
c) Remove the strut tower retaining nuts (13mm). (See Pic below).

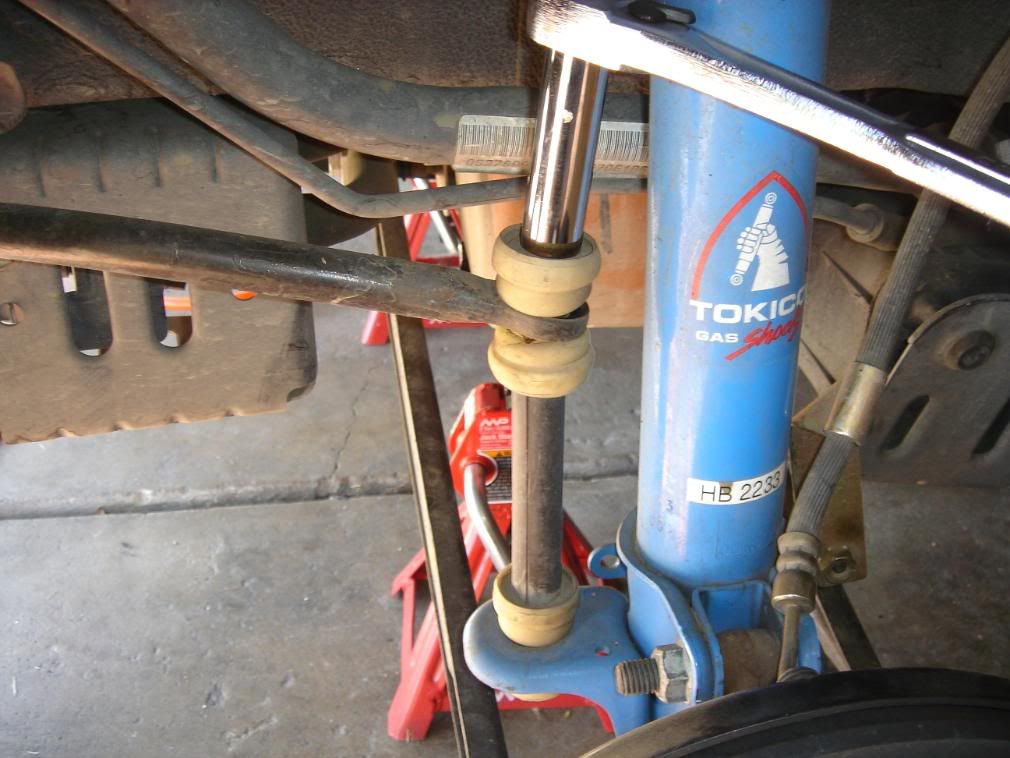
*If working on rear suspension equipped with a stabilizer bar, remove the end-link from the bar to the strut body and set aside. (See Pic below).
d) The strut assembly is now free to be removed. Angle the hub assembly to allow space to remove the strut. Be careful not to put too much stress on the tie-rod or axle. (See Pic below)

*Repeat STEPS 1-3 for each corner.
STRUT DISASSEMBLY
STEP 1:
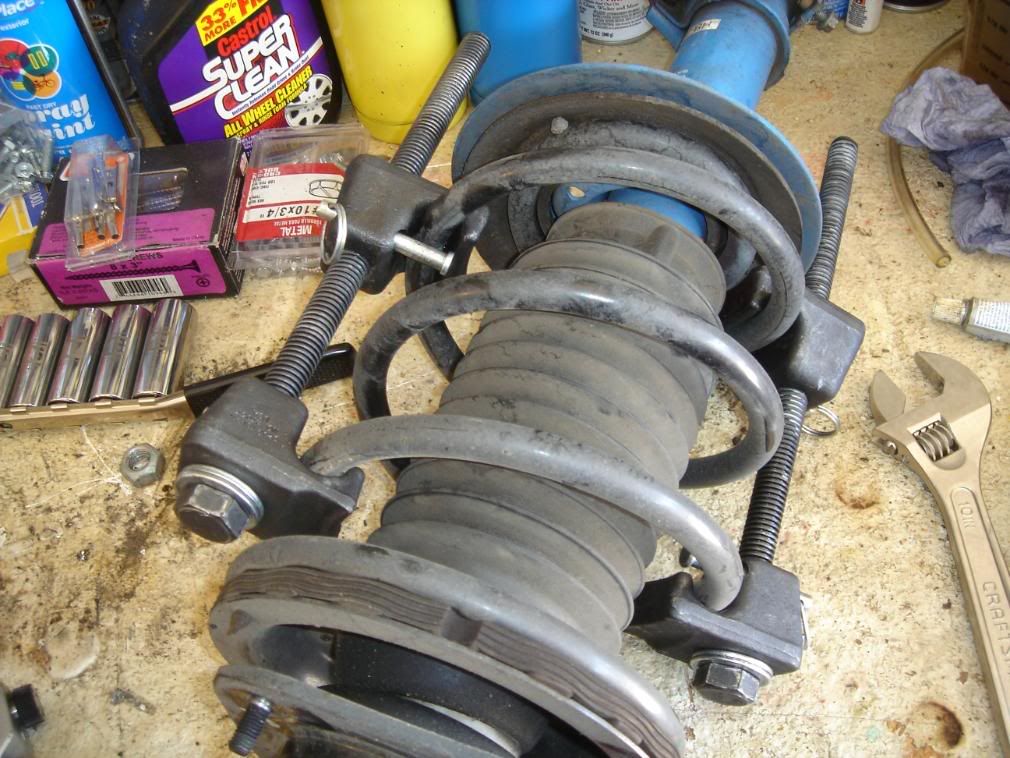
With strut assembly on bench, install spring compressor. If using a manual compressor, make sure the claws are 180 degrees apart before compressing to ensure an even pressure on the spring. (See Pic below)
STEP 2: Compress spring until the top-hat is free from any pressure. Use special tool to remove top-hat from strut assembly. With 10mm socket on strut rod head, turn 13/16" socket counter-clockwise with adjustable wrench. Keep 10mm socket from turning with 1/4" ratchet.
Special Tool:
3/8" Dr. 13/16" spark plug socket
1/4" Dr. ratchet w/ 3" extension and 10mm socket
Adjustable wrench
Once top-hat is removed, clean and inspect. Lubricate strut bearing on front units with WD-40 or equivalent. Remove spring compressor from spring evenly from side to side until free from pressure. Disassembly is complete.
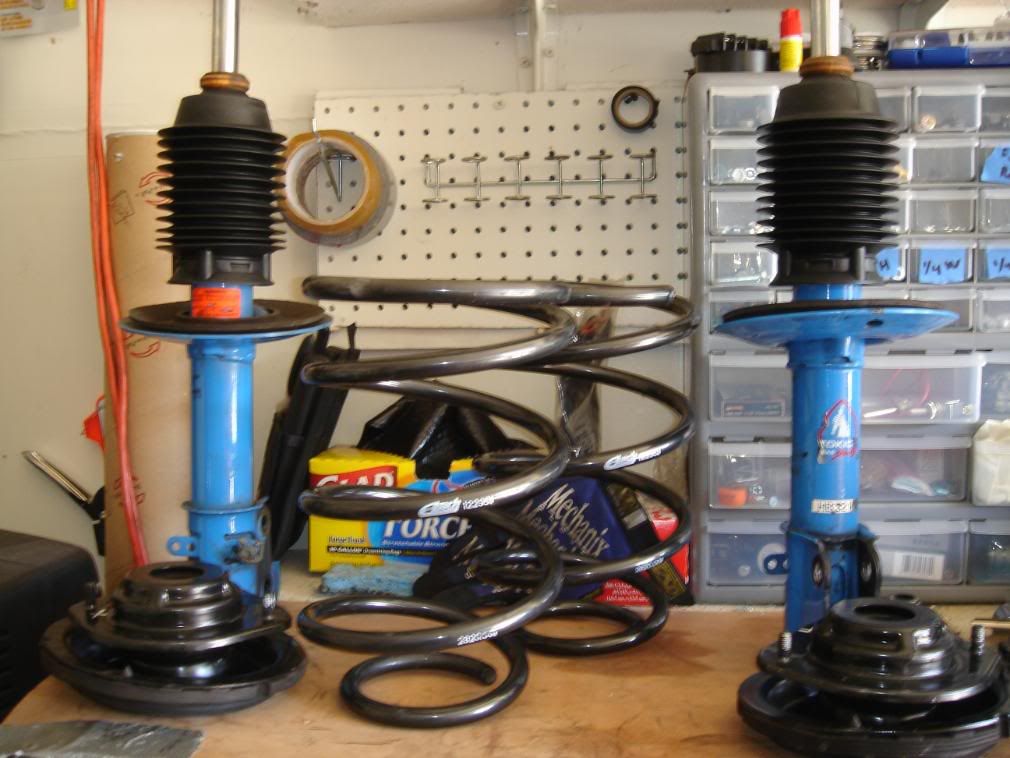
Front suspension, completely disassembled, cleaned, and lubricated:
BUMP-STOP SERVICE
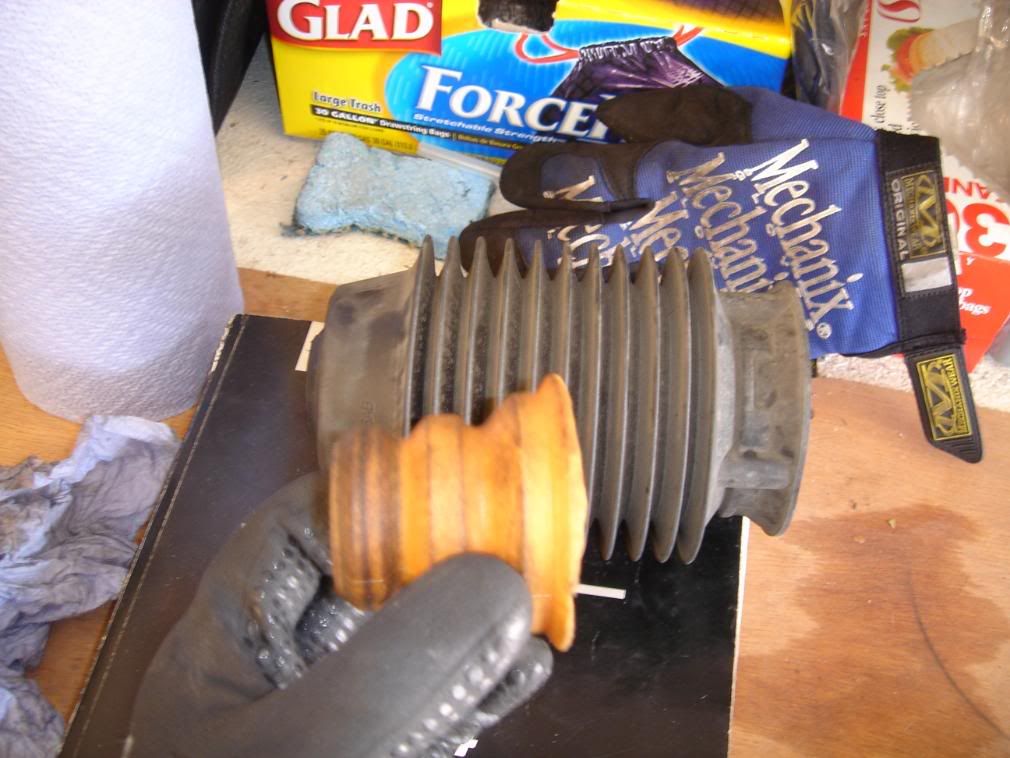
If installing lowering springs, it is a good idea to shorten the height of the stock bump-stops to prevent bottoming out as well as to increase suspension travel. Cut about 1/2"- 3/4" off of each bumpstop. (See Pics below).
Stock bump-stop
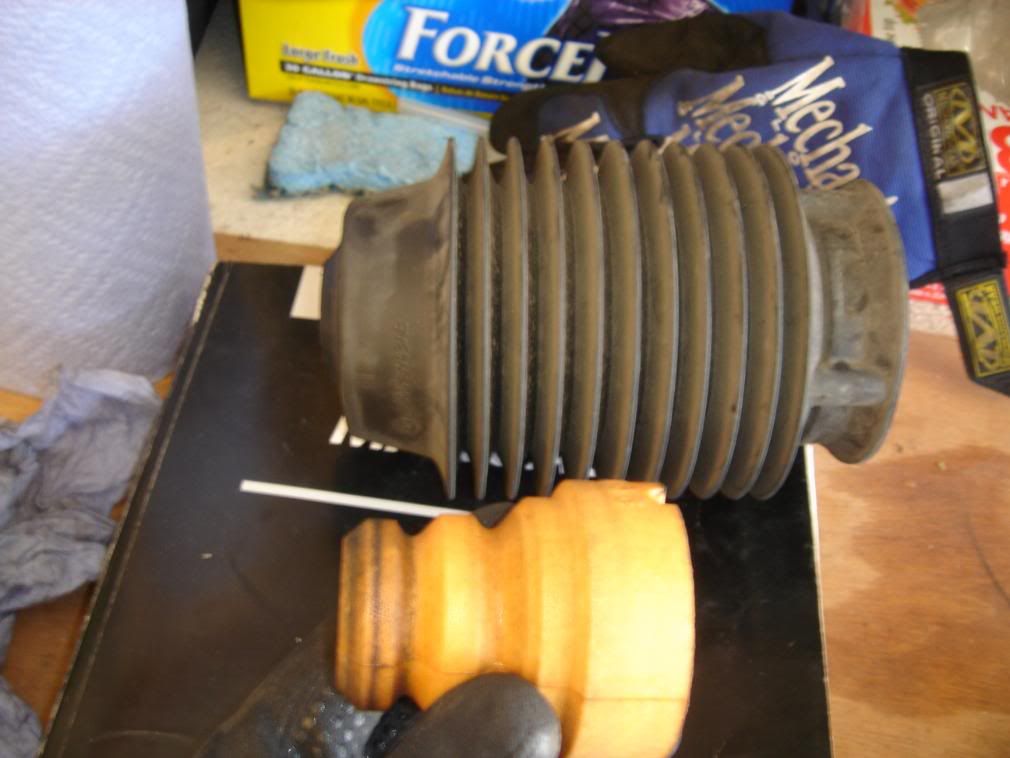
Shortened bump-stop
STRUT REASSEMBLY
Reassembly is opposite of disassembly. Install spring compressor on spring, seat properly on strut perch, then install top hat and tighten nut with Special Tool. Remove compressor and reinstall strut assembly in vehicle in reverse order of removal. It is wise to double check tightness of strut top-hat nut once the strut assembly is reinstalled in the vehicle. Make sure all nuts and bolts are tight and everything is back together.
ALIGNMENT
After servicing the strut assembly, an alignment is required to prevent premature tire wear and to return proper handling characteristics. Have this done by a professional on an alignment rack.
All comments and questions welcome, thanks for looking.