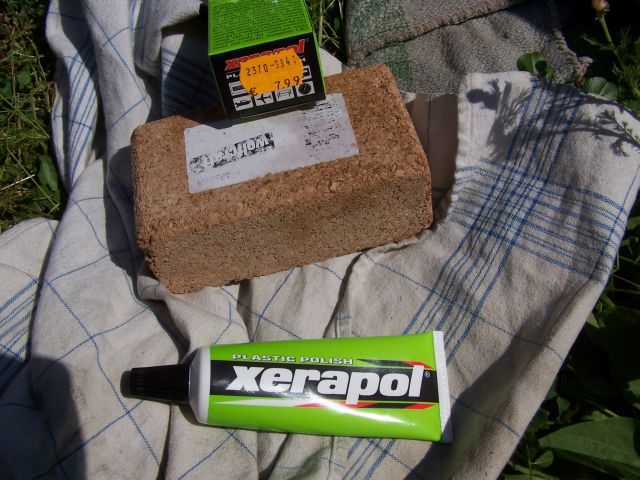
so we need several tools: 800 grid sandpaper, 2000 sandpaper (these numbers are critical, 1000 or 400 won't work or may damage the plastic. too high will have no effects at all.), Turtle Wax ICE liquid clay bar (this thing is a little bit expensive, but i cannot find anything sub, sometimes it's on sale in target about 10 usd, walmart has it about 13 bucks), Meguiar Plastix (or 3M polishing compound, turtle wax and polishing compound works ok but not that good).
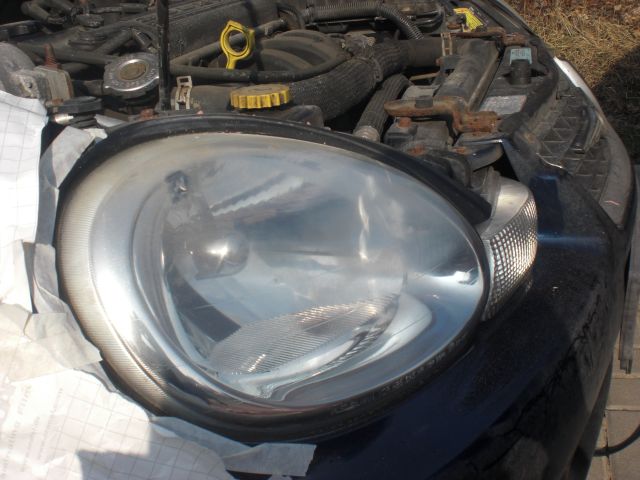
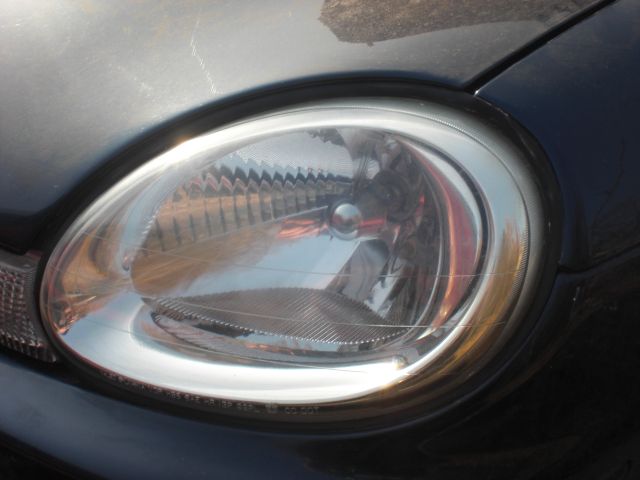
1. took off the headlight cover, rinse it in any sinks at home until all the oxidazes are wet.
2. soak both 800 and 2000 sandpaper in the water for about 10 mins.
3. use the 800 sandpaper to sand the surface of the headlight cover evenly with the water rinsing. (BE AWARE: the headlight and the sandpaper have to be wet, otherwise damage will occur!
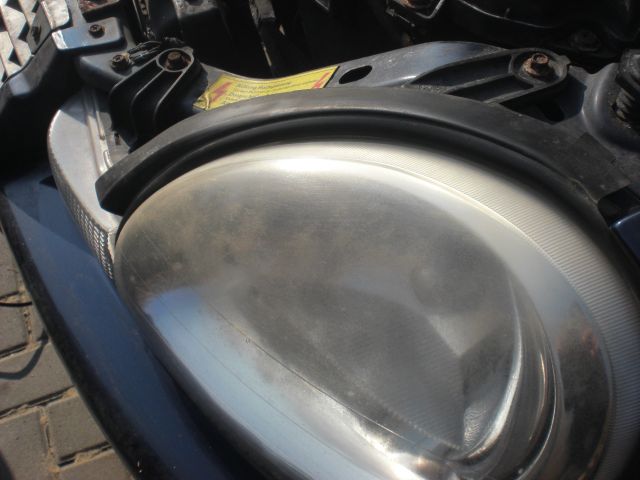
4. until the headlight appears to be evenly white and foggy, stop sanding and rinse with water. wash away all the plastic powders left on the cover!
5. use the 2000 sandpaper to sand the surface of the cover evenly with the water rinsing (same as 800). BUT, sand the headlight surface in the VERTICAL direction instead! if u sand in horizontal again, it will cause scratches (that's why one of my headlight has to be resanded in order to get rid of them...)!
6. the headlight should appear more crystal after step 5. still foggy but even. rinse it with water in order to wash all the plastic powders away.
7. use the sponge provided by ICE clay bar, put about half the sponge liquid clay bar and polish the headlight in horizontal direction. press firmly and evenly.
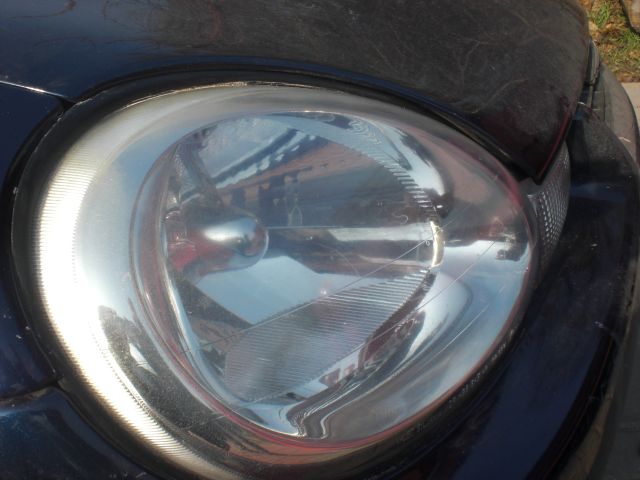
8. after the polishing, the headlight should appear almost brand new crystal. if some small scratches appear on the cover, or the headlight is not clear enough, repeat step 7 but polish in vertical direction. if still not good enought, repeat 7 and 8. (always use liquid clay bar in line motion, DO NOT polish in circle motion! otherwise swirl marks will occur.)
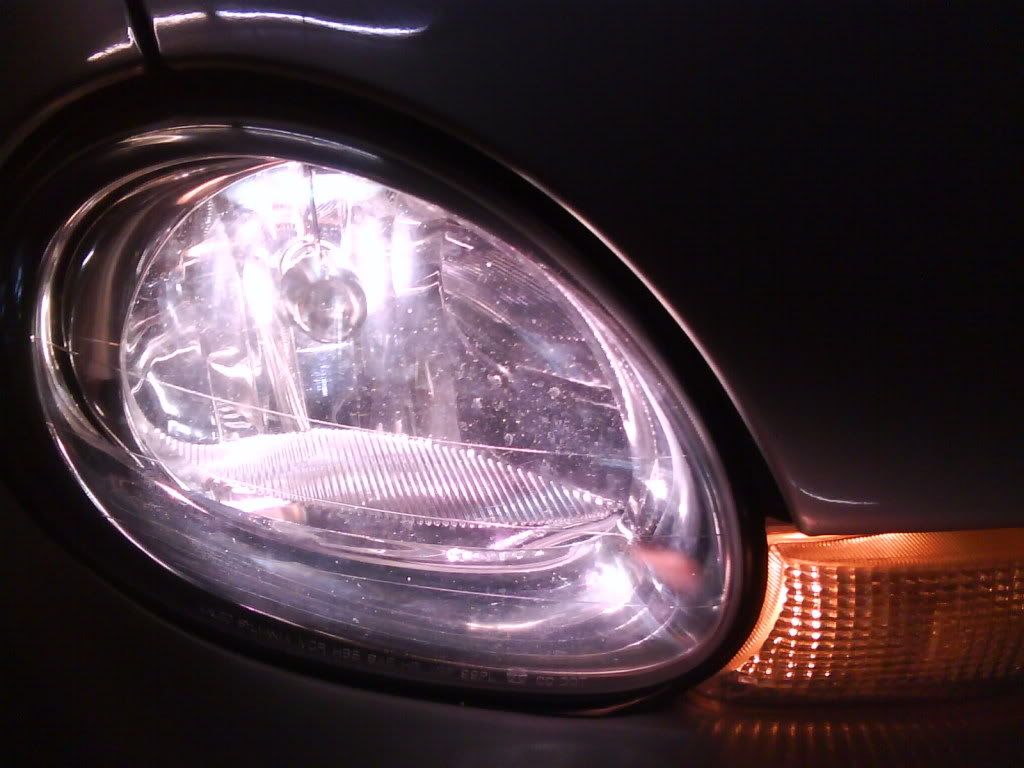
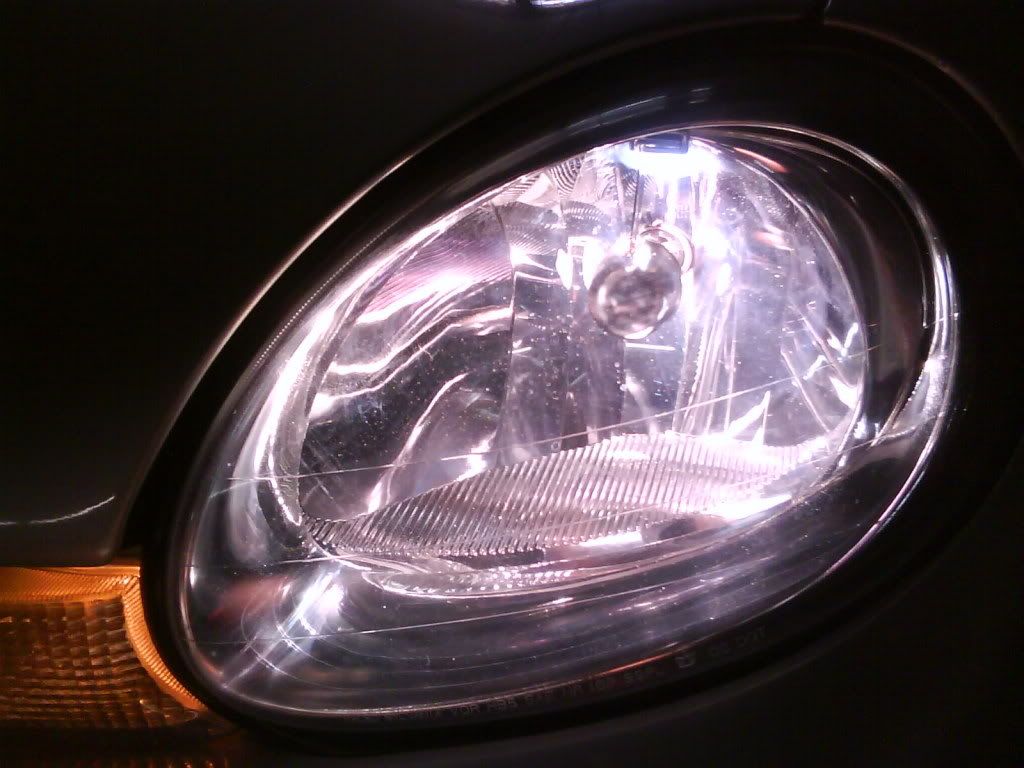
9. put meguiar plastx onto the headlight and polish it in circle motion (same as waxing) or use a waxing machine which will result better. after it hazed, remove it by microfiber cloths or cotton cloths fast or use the machine to wax off it. your headlight should appear brand new now!!!
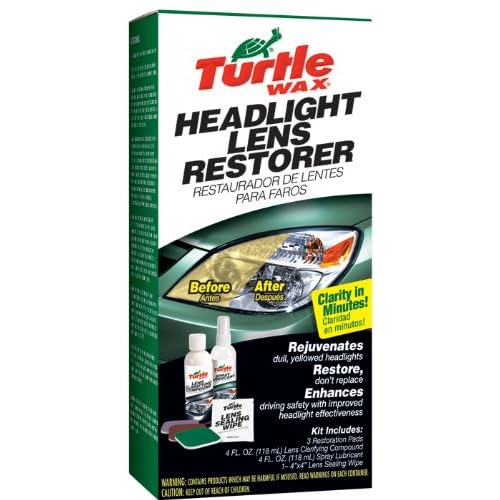
HEADLIGHT RESTORATION KITS ON THE MARKET DO NOT WORK OUT INDIVIDUALLY! DO NOT WASTE YOUR MONEY ON THEM!!!


 bit sorry when i was doing it i forgot to take pictures... i will take some pictures when i do my friends car next month maybe...