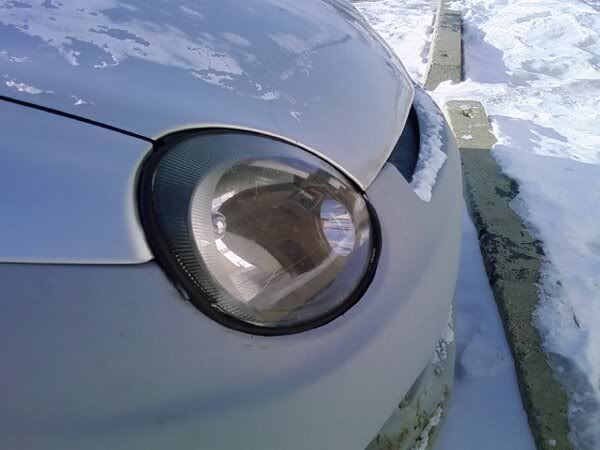
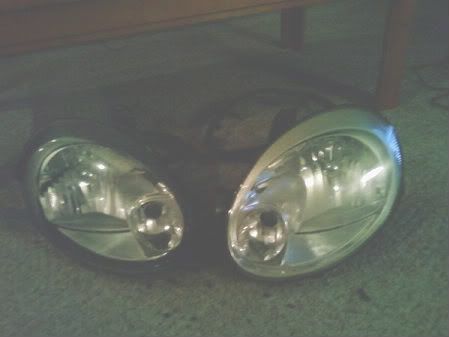
When I searched all around my area for Neon Headlights I could only find one regular silver one, and one which had the black bezel. There are How-To's somewhere but I couldn't find any on here so here goes.
This mod takes about 2-3 hours with no Experience.
You need:
-An oven of course
-Plastic paint(Krylon fusion worked great for me, dries fast and leaves a pretty much perfect finish)
-Scotch Pad/fine sandpaper(Pref 800 grit)
-RTV sealant or even windshield sealant(Black or clear, doesn't really matter)
-Oven mits or gloves
-Automotive paint tape(If you plan on not painting a certain area)
-A flatblade screwdriver or even a butter knife(pref 2 of each)
-* Depending on what year of light you have, you might need a small torque bit to remove the bezel from the lens(One of mine didn't, the other was a push in style).
Step 1: Preheat oven to 250* F, try to use a cookie pan and place the rack near the bottom so the light gets even heat.
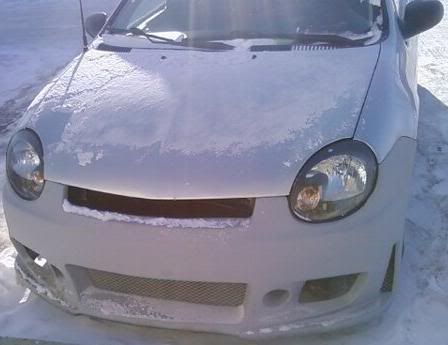
Step 2: Remove the headlights from the car, you can use a 5/16" or I think it's a 7mm. There are 2 bolts on each headlight. When you remove the lights, remove the large screw on thing that holds in the HL bulb as well.
Step 3: Remove the rubber thing around the outside, there is one part near the bottom that is glued on so don't be afraid to rip it off. There is also a rubber weather seal where the headlight bulb goes in. DO NOT remove the screws in the back unless you plan on painting the headlight reflector...which probably isn't a good idea.
Step 4: Place the stripped headlights in the oven for about 15 minutes(pref one at a time). You might have to repeat this step(I had to do it twice for each headlight).
Step 5: Once they are done take them out and start to pry the little clips awap from the lens(Remember to bend them back after the lens is removed before the case cools down too much). Pry the outer lip away from the lens to break the seal ALL the way around. Now find a spot to pry against the egde of the lens(It will make a mark on the case but the rubber seal covers it, just remember to bend it back to original). You will have to do this in a few spots to actually pop the lens out cause the RTV is Still super sticky at this point.
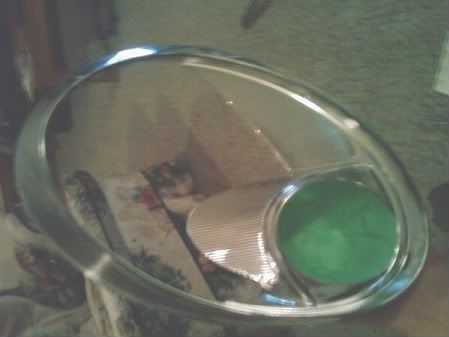
Step 6: Remove the inner Bezel, Either it will pop out of the lens or you will need a torque bit to remove it(Try your best not to touch the outside of the bezel, paint doesn't stick to grease).
Step 7: Lightly sand only the area's you plan to paint, if you are using Krylon, your sanding doesn't have to be perfect cause the paint sticks to pretty much anything(I think it's self etching).
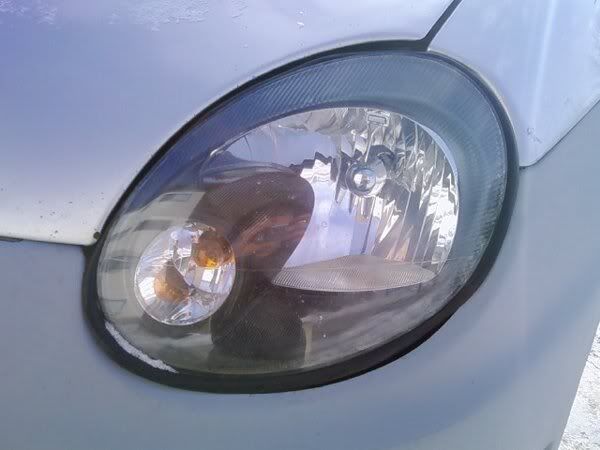
Step 8: Tape the area you plan on leaving chrome(It's really not that hard, and if you leave the signal light chrome it looks 100x better then if it was pure black). Now either wipe clean with a lint free clotch, or blow it off with compressed air/hair dryer.
Step 9: Paint the bezel with multiple light coats(I waited about 2-3 minutes between sprays when it was about -9 degrees celcius outside). Make sure your coats are LIGHT, the last thing you want is orange peal or drips. I only applied 3 light coats, and one final extremely light 4th coat right after the third.
Step 10: Let dry for about 15-20 minutes NO LONGER cause when you remove the tape you might have some paint that seeped through. Remove the tape carefully(Just push through the hole in the back) If you do have seeps, take the sticky side of a peice of tape and rub lightly where the seep is, if you do it right you can make a perfect edge where the black meets the chrome. Don't rub too hard or you will scratch the chrome.
Step 11: If you did everything right, you should have a finished bezel and now it's ready to be reassembled(now would be a good time to polish your lenses). Attach the bezel to the lens, and make a prefit before you apply the new RTV. You might have to remove some of the old sealant, if you do stick it in the oven again for another 15minutes and scrape the old rtv out with a knife, or even a screwdriver. Reassemble the headlight(Wash your seals in soap and water and let dry, trust me it tops it off). When you push in the lens with the new sealant, put the outside seal on right away to hold the lens in place.
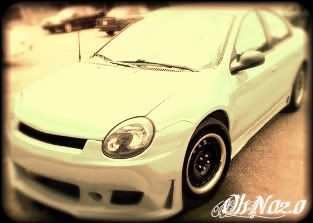
Now you should have a finished product.