I'm finally starting the build of my second Rally Neon. It's a 2003 Dodge Neon SXT MT which I picked up for cheap and my plan is to prep the car for Open 2WD (That's the 'do anything you want' forced induction class.) Since we're ditching most of the interior and we'll be going with upgraded or custom turbo parts it didn't make much sense to start with an SRT-4 with 90K miles on it. The plan is to get the car caged and ready for rally - test with the 2.0L and finish an event or two and then swap to an SRT-4 motor.
I invite you to follow the progress on our site - http://rallynotes.com (and on the FB page https://www.facebook.com/rallynotesteam)
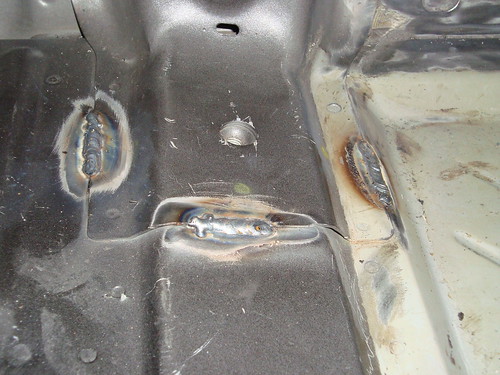
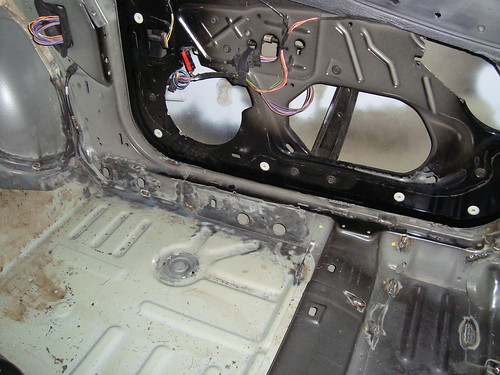
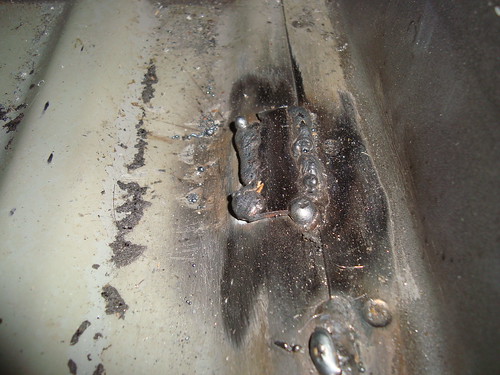
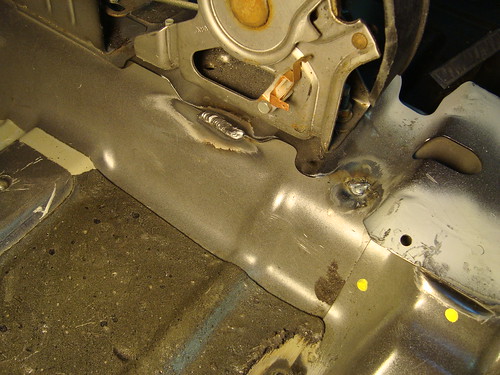
We're going to be doing some pretty advanced stuff: Cage, Seam welding, re-design radiator support, strengthen (or replace) K-frame, rally suspension, plexi windows, carbon fiber fabrication, fiberglass trunk / hood, electronics, aerodynamics, etc, etc. We just finished taking the 31.2 pounds of sound deadening off the floors and firewall. The car is on a strict diet: http://rallynotes.com/2011/04/the-2gn-g ... -car-diet/
The reason I chose the 2003 SXT was based on what I read here on 2GN.org - You guys are a HUGE resource of info. I want to help that out by documenting the project and questions here.

So I have a couple of questions and would love to hear your input on some of the ideas I want to try.
* Should I scour the earth for an SRT-4 fuse-box engine bay wiring? I'll certainly get the SRT-4 engine harness. The reason I ask is that I am just about to clean up the engine bay wiring now that the 2.0L is out. A former owner bashed the radiator support hard and that jammed wires into the AC compressor.
* Rally is unkind to FMIC's.
* I can find CF and fiberglass hoods, but no fiberglass trunk lids. Any ideas?
Next up - We find seats that fit us, seam welding, and roll cage.
If there is anything at all the I can answer for you guys about stage rally - let me know!
Thanks!
- Kris