Budget 1gn build challenge (UPDATE: DIY Port&Polish)
Posted: Thu Jul 03, 2014 11:35 pm
Hey guys been a member here a while never really posted much though. So me and some friends at work were sitting around and talking about Top Gear and how much we really liked the episodes where they would go out and buy car with a budget, use the left over money for mods and do a set of challenges to see who had purchased the best car. With that in mind we decided to do some thing similar.
The rules we have agreed on are as follows: total budget is $1500. You must go out and buy your vehicle it can be any make and model as long as you do not exceed the price limit.
All things you use on your car is to be added into the total excluding the following: the transportation/equipment needed to get vehicle, taxes, registration, insurance, consumables(gas, oil, car soap,ect.), tools bought to work on car, any safety equipment( roll cages, helmets, fire extinguisers, ect.), and media recording devices such as gopro cameras and associated mounting hardware.
any parts and services you can get for free, able to provide yourself, or already have at the time of the competition is allow and you are not required to add to your total.
this challenge is focused on sportsmanship and having a good time so we leave it to the competitors discretion when it comes to the sportsmanship of things like free part/ services (example: getting a free fully built 383 to stuff in your geo metro might not be in the highest regards to sportsmanship)
the challenges: so far the time frame for the challenges are some time early November. the challenges are dyno. to see highest overall horsepower and best power-to-weight ratio, fastest 1/4 mile drag, fastest lap time at a road coarse track, best fuel mileage, and a static appearance judging by a group of unbiased judges. also all competitors are required to drive cars to and from challenge areas. so cars will need to be "road legal" at least enough to not get pulled over/towed if a cop were to drive by you. also there is one more aspect to the challenge and that is resale value. The plan is to see how much money you can get for your car after the challenge and the overall winner would get the winners pot consisting of 10% of all competitors resale price. If you chose to keep your vehicle rather than sale it you may do so by putting $50 into the winners pot.
point for each challenged are divided as follows: first place-5pts, second place-4pts, third place-3pts, fourth place-2pts, fifth place-1pt, sixth place and on will receive 0-pts. all point will be added up at end to determine overall winner.
finally on to the part you been waiting for since I have owned 2 neons prior to this challenge and I knew the potential of them. I already knew what I needed to get so with out further a due here is the car I chose as my challenge car.
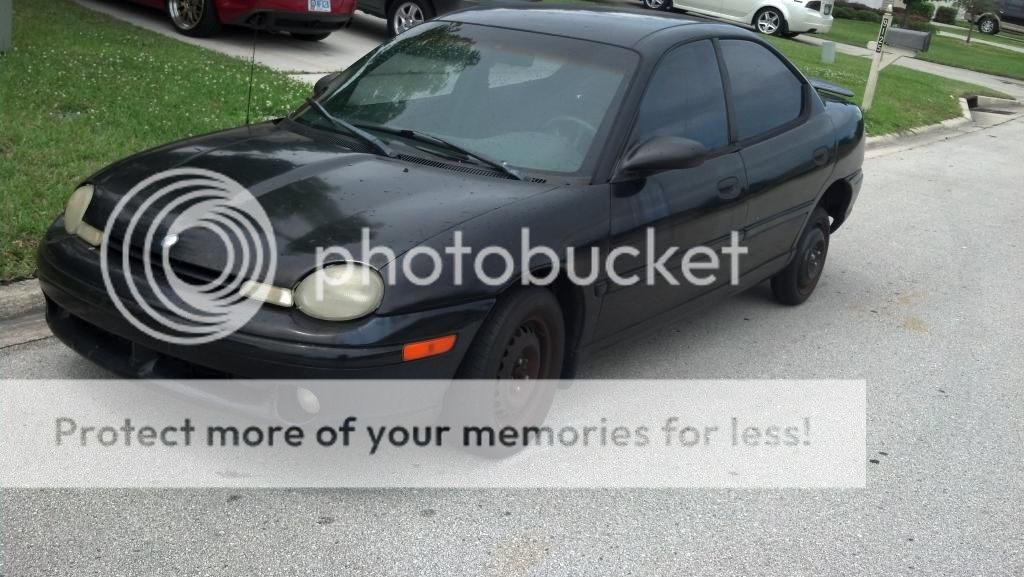
1998 Black Plymouth Neon Espresso purchased for $600
when i bought it it was not running the guy i bought it from owns a small mechanic shop and was selling for a customer who had drove it till the water pump seized at ~240,xxx miles causing the timing belt to stop and allowing the interference engine to do its thing also it was rolling on a spare and it seems as if its been on the spare for a while cause the tread on the spare was almost completely gone exterior wise it didn't look to bad.
well i was towing it home on a car dolly down the interstate when passenger rear tire blew out scratching the crap out of the rear quarter panel, knocking off the gas door and rear fascia and breaking the rear passenger tail light so I swapped the good front tire with the rear and towed it the rest of the way home.


went out to the local pick-n-pull a few days later and picked up a set of 2gn snowflakes a new passenger tail light and fluid caps for the engine cause for some reason all those along with all the fuses/relays are missing from the car
Price-$100

decided to clean up the wheels before getting some used tires mounted on em
before


After

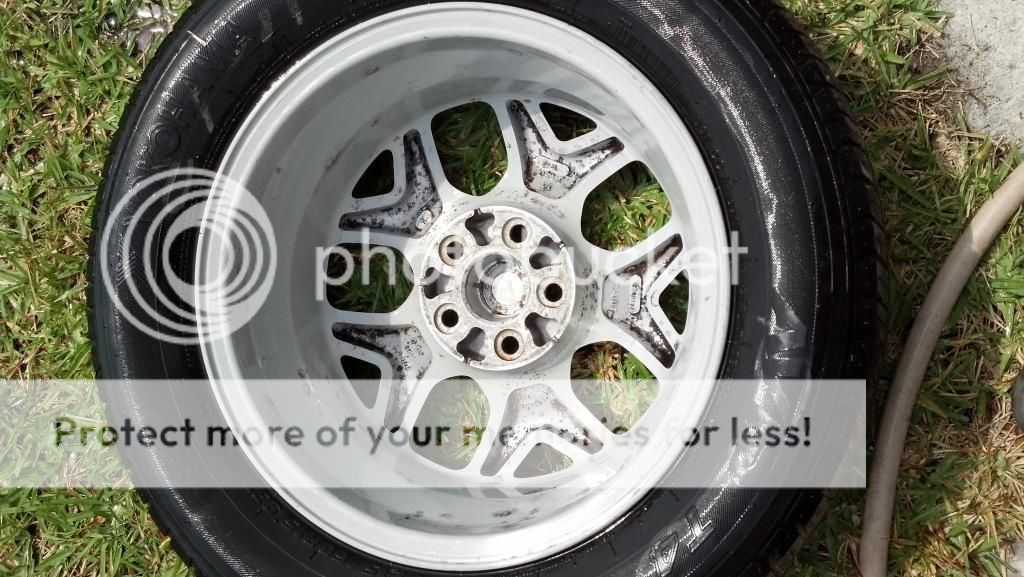
i'm sure I could have gotten the back sides a bit cleaner but I wasn't really worried about it.
went out and was lucky to find a set of 4 used Primewell PS830's in 195/60/15 got them mounted and balanced
price-$180

need some new lug nuts only 3 holding on each wheel.
some pics after washing the car to see the condition of the paint.


the headlights were showing their age so i went at them with multiple grits of wet/dry sand paper and some polishing compound. the one on the left is done the right is still dirty and clouded to show a before and after.

here's a pic after spending a couple hours with some rubbing compound

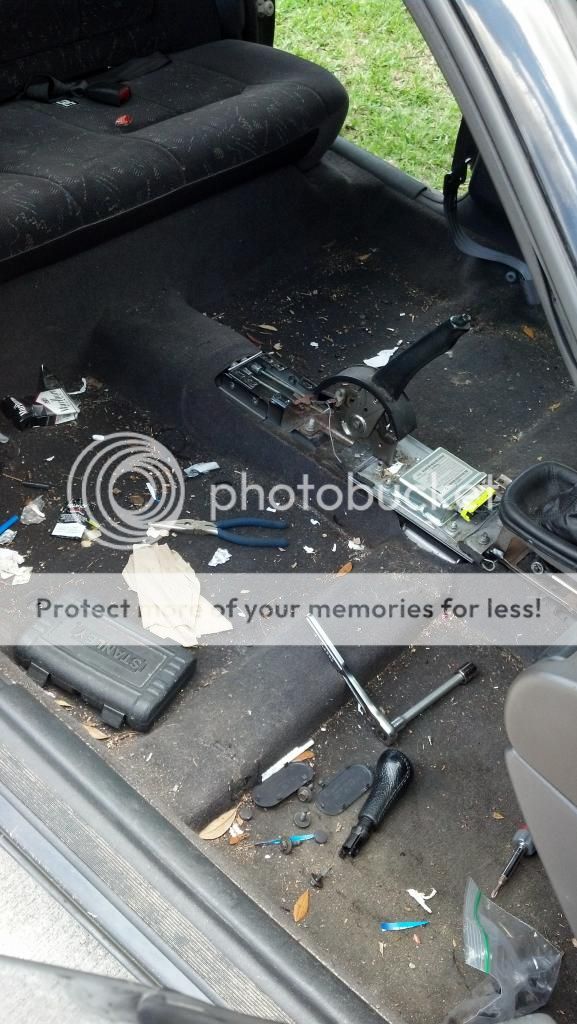
here's the nasty interior and dont let the old scratched up JVC head unit fool you it is not connected the factory one was sitting on the passenger seat when i bought the car the head unit is literally just sitting in there no connector for unit or nothing. thanks for the paper weight.

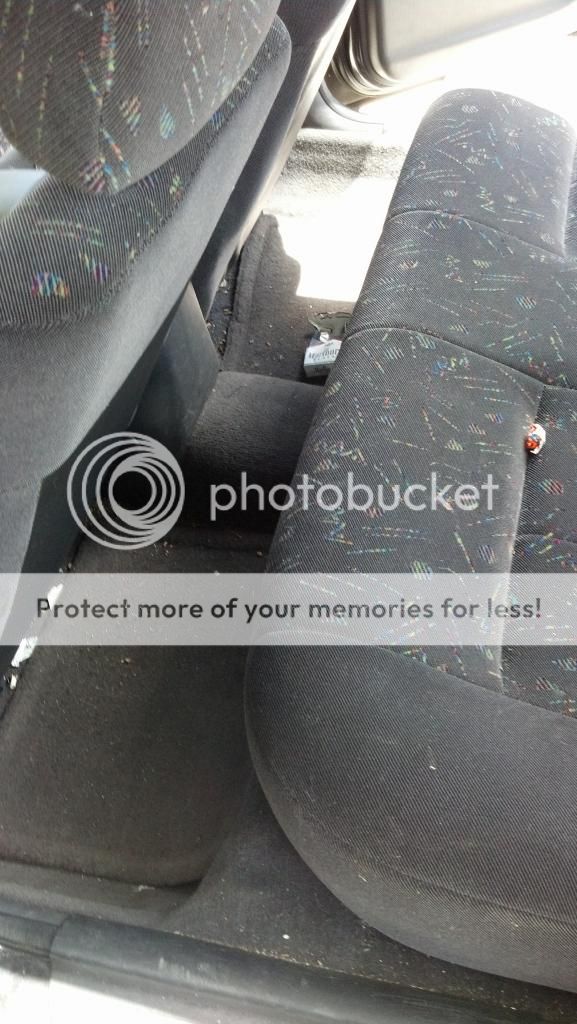
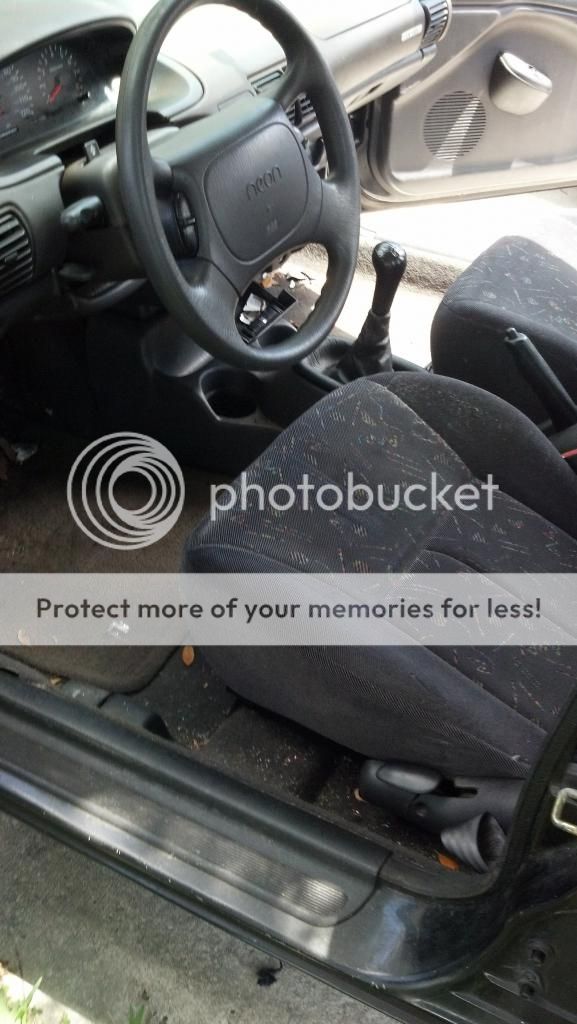
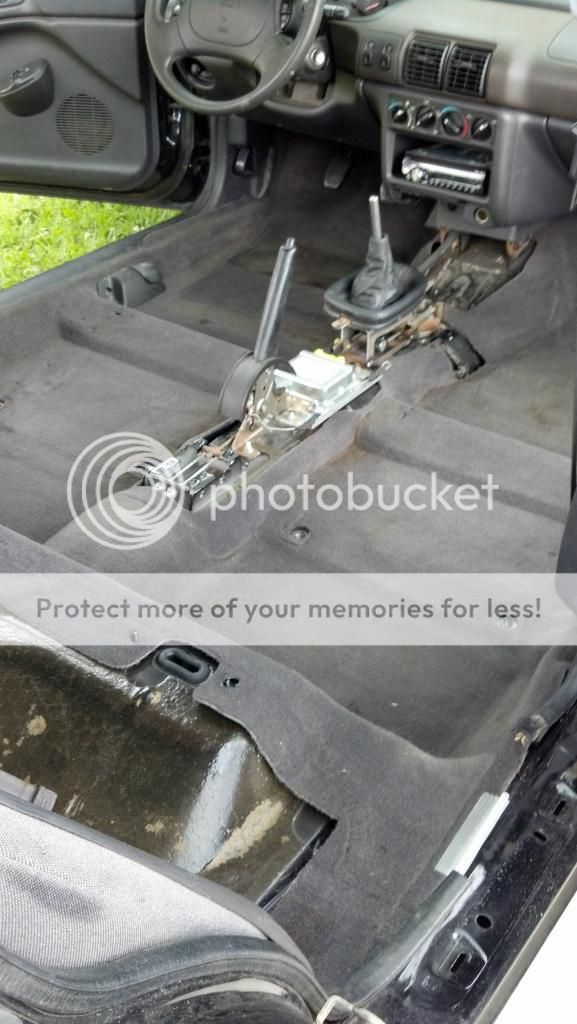
with front seats and center console removed
borrowed a friends carpet shampooer here is the interior after vacuum and shampooing

well that's it so far. total spent as of now is $880 or my $1500 plan to start tearing apart the head to get to those bent valves and reassemble with all new gaskets and seals for the top end and some other things to get it running again I don't want to go to much in detail about my plans just yet ill try to keep on here to update when I can but like many others on here i have a family and a job so time and money aren't always in surplus.
P.S. i do realize that Grassroot Motorsport magazine does a challenge just like this but by the time i saw that i had already started this. i might enter next years GRM challenge though.
The rules we have agreed on are as follows: total budget is $1500. You must go out and buy your vehicle it can be any make and model as long as you do not exceed the price limit.
All things you use on your car is to be added into the total excluding the following: the transportation/equipment needed to get vehicle, taxes, registration, insurance, consumables(gas, oil, car soap,ect.), tools bought to work on car, any safety equipment( roll cages, helmets, fire extinguisers, ect.), and media recording devices such as gopro cameras and associated mounting hardware.
any parts and services you can get for free, able to provide yourself, or already have at the time of the competition is allow and you are not required to add to your total.
this challenge is focused on sportsmanship and having a good time so we leave it to the competitors discretion when it comes to the sportsmanship of things like free part/ services (example: getting a free fully built 383 to stuff in your geo metro might not be in the highest regards to sportsmanship)
the challenges: so far the time frame for the challenges are some time early November. the challenges are dyno. to see highest overall horsepower and best power-to-weight ratio, fastest 1/4 mile drag, fastest lap time at a road coarse track, best fuel mileage, and a static appearance judging by a group of unbiased judges. also all competitors are required to drive cars to and from challenge areas. so cars will need to be "road legal" at least enough to not get pulled over/towed if a cop were to drive by you. also there is one more aspect to the challenge and that is resale value. The plan is to see how much money you can get for your car after the challenge and the overall winner would get the winners pot consisting of 10% of all competitors resale price. If you chose to keep your vehicle rather than sale it you may do so by putting $50 into the winners pot.
point for each challenged are divided as follows: first place-5pts, second place-4pts, third place-3pts, fourth place-2pts, fifth place-1pt, sixth place and on will receive 0-pts. all point will be added up at end to determine overall winner.
finally on to the part you been waiting for since I have owned 2 neons prior to this challenge and I knew the potential of them. I already knew what I needed to get so with out further a due here is the car I chose as my challenge car.
1998 Black Plymouth Neon Espresso purchased for $600
when i bought it it was not running the guy i bought it from owns a small mechanic shop and was selling for a customer who had drove it till the water pump seized at ~240,xxx miles causing the timing belt to stop and allowing the interference engine to do its thing
well i was towing it home on a car dolly down the interstate when passenger rear tire blew out scratching the crap out of the rear quarter panel, knocking off the gas door and rear fascia and breaking the rear passenger tail light
went out to the local pick-n-pull a few days later and picked up a set of 2gn snowflakes a new passenger tail light and fluid caps for the engine cause for some reason all those along with all the fuses/relays are missing from the car
Price-$100
decided to clean up the wheels before getting some used tires mounted on em
before
After
i'm sure I could have gotten the back sides a bit cleaner but I wasn't really worried about it.
went out and was lucky to find a set of 4 used Primewell PS830's in 195/60/15 got them mounted and balanced
price-$180
need some new lug nuts only 3 holding on each wheel.
some pics after washing the car to see the condition of the paint.
the headlights were showing their age so i went at them with multiple grits of wet/dry sand paper and some polishing compound. the one on the left is done the right is still dirty and clouded to show a before and after.
here's a pic after spending a couple hours with some rubbing compound
here's the nasty interior and dont let the old scratched up JVC head unit fool you it is not connected the factory one was sitting on the passenger seat when i bought the car the head unit is literally just sitting in there no connector for unit or nothing. thanks for the paper weight.
with front seats and center console removed
borrowed a friends carpet shampooer here is the interior after vacuum and shampooing
well that's it so far. total spent as of now is $880 or my $1500 plan to start tearing apart the head to get to those bent valves and reassemble with all new gaskets and seals for the top end and some other things to get it running again I don't want to go to much in detail about my plans just yet
P.S. i do realize that Grassroot Motorsport magazine does a challenge just like this but by the time i saw that i had already started this. i might enter next years GRM challenge though.


