How to: Radiator replacement

Post Reply
User avatar
rseldner
2GN Member
Posts: 123
Joined: Thu Apr 10, 2008 11:33 pm

How to: Radiator replacement

Post by rseldner » Thu Mar 12, 2009 10:34 pm

Hey guys. So after over a month I’ve decided to finally post the pics up of my radiator exchange. There’s no how-to on this yet so here goes…
All you’ll need are some basic tools (rachets, wrenches, screwdrivers, etc), a bucket, a couple of hours to kill, and a new Radiator (duh) – I bought mine on ebay for $80 shipped cuz I’m a cheapskate. You could get a Koyo @ www.go-part.com/ for about $110, which is still pretty damn cheap. I strongly suggest you do this with another person.

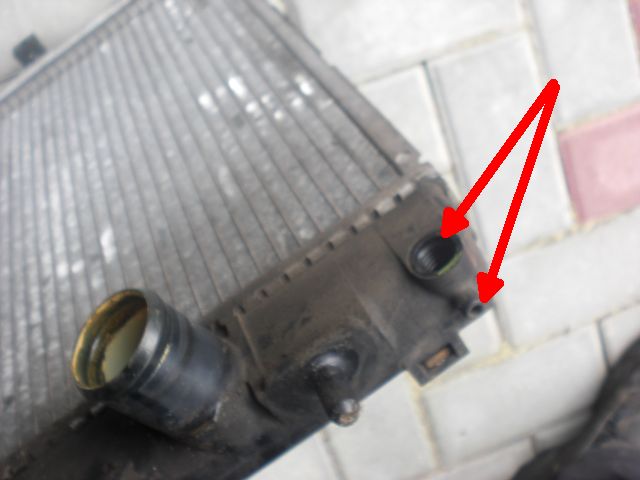
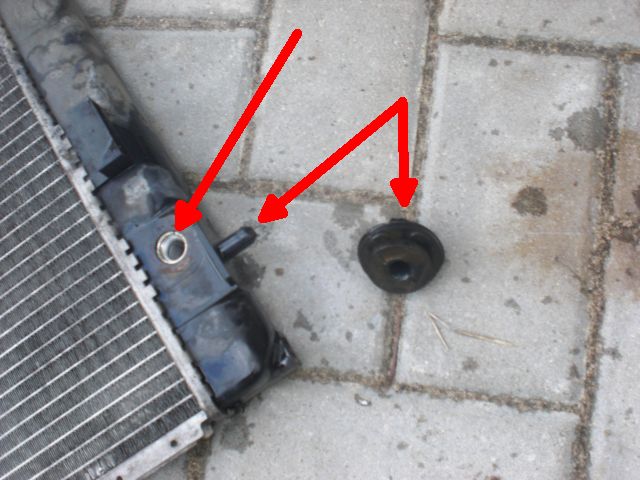
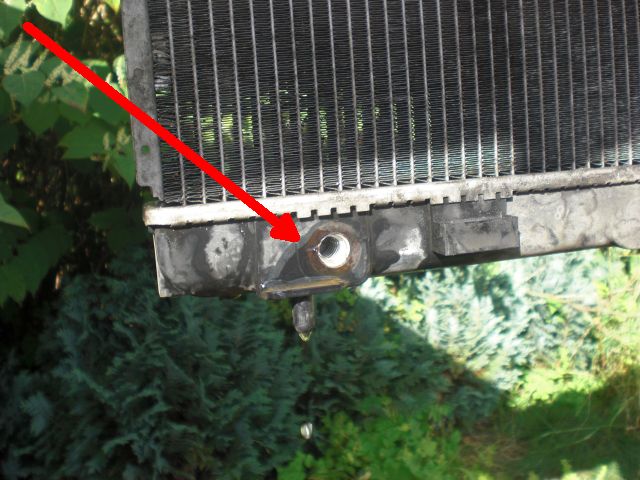
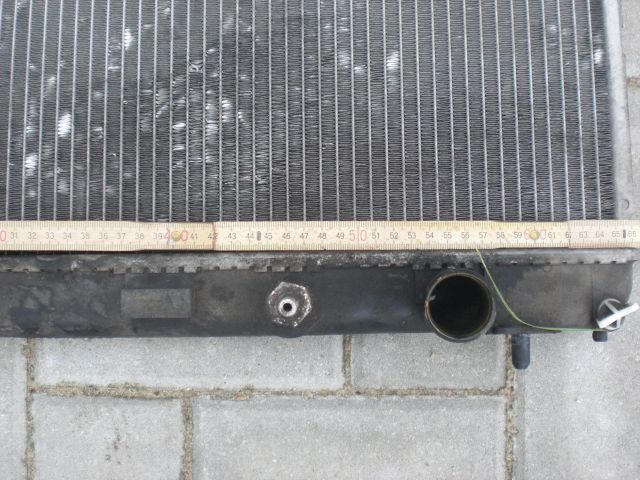
Leak on old Radiator: apparently its somewhat common for it to leak at this spot.

Image


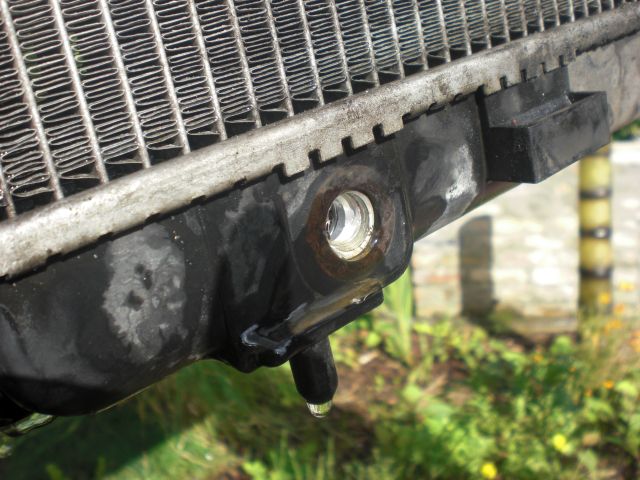
My JB Weld ghetto fix to get me through until I received the new radiator. This stuff is really cool but 1 coat didn’t exactly stop the leak, though it did significantly slow it down. I think 3 coats would have been better but I didn’t bother since it takes about 12 hours or so for it to dry.

Image

Image


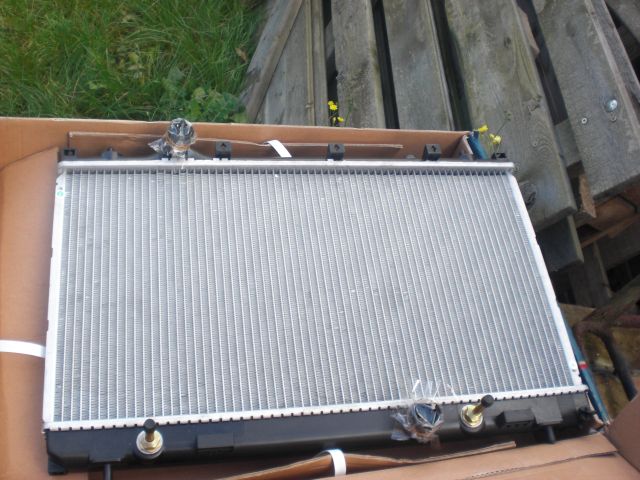
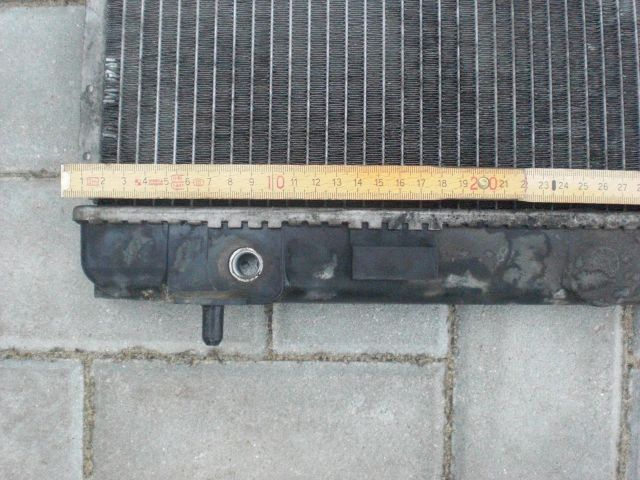
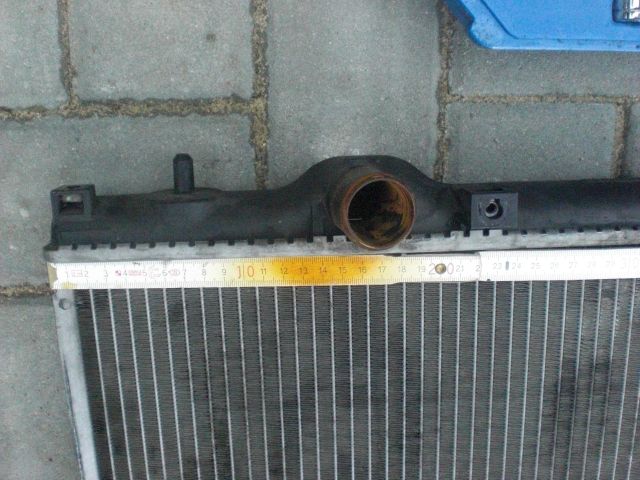
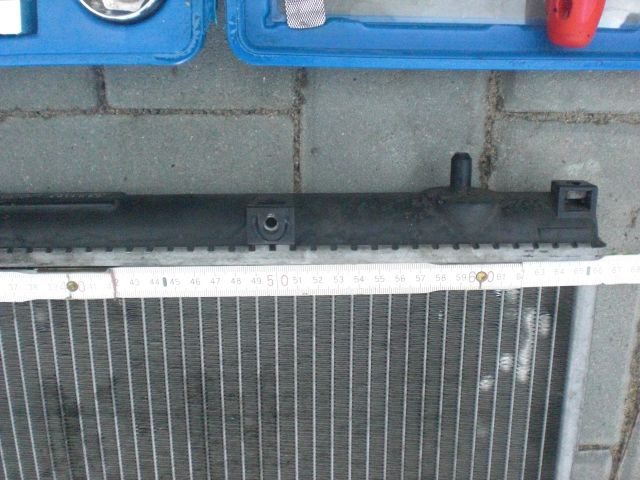
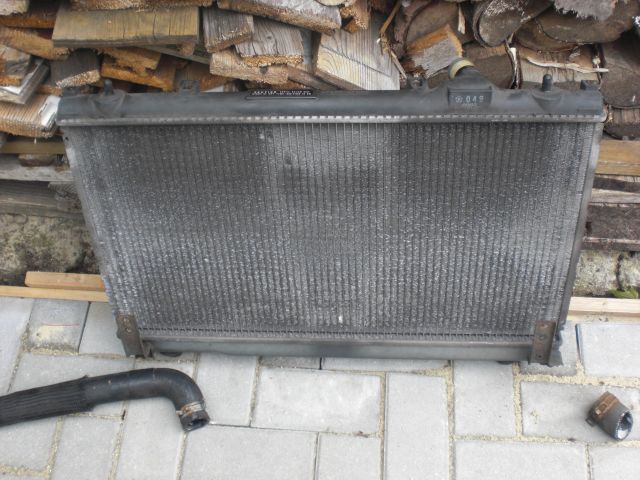
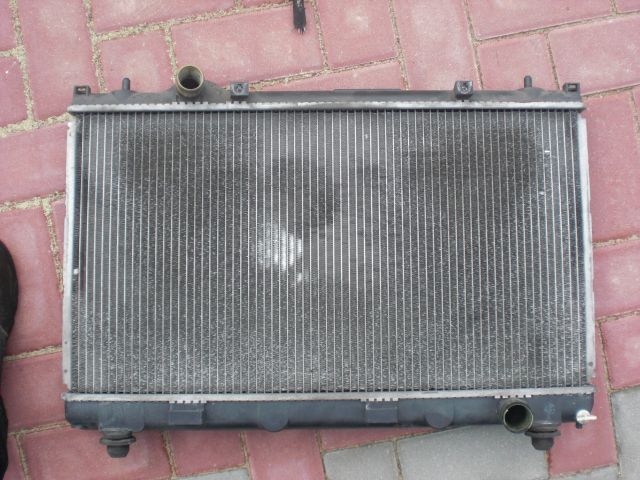
New radiator!! yAY. took 3 days to get here. the quality of the tanks isn't so great. perhaps i should have gone with the Koyo lol . i've had it for a month now though and its worked perfectly!


Image


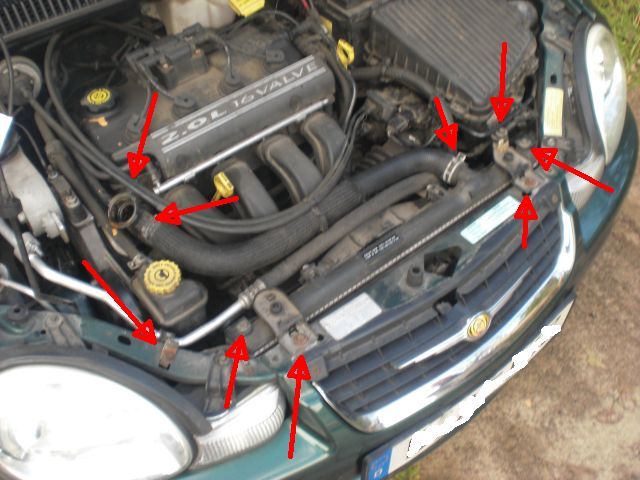
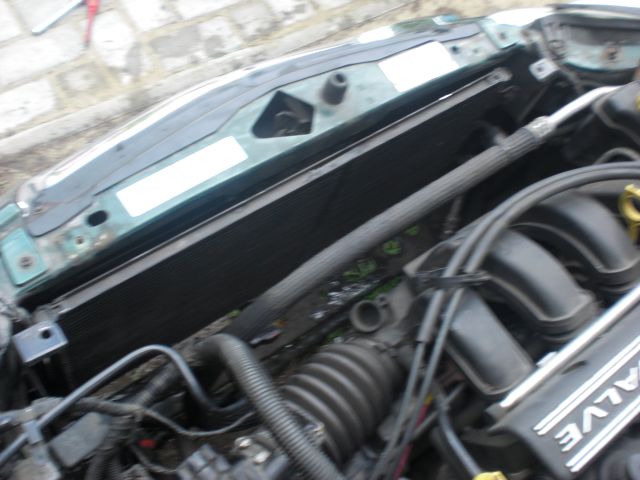
Step 1: Unplug negative cable on battery. Raise your car enough to be able to work on from underneath. I suggest using a couple of jack stands or ramps. Set a bucket down and drain the radiator. Facing the front of the car, the drainage plug is located on the bottom left of the radiator. The coolant will drain out of THE BOTTOM of the radiator, not out of the plug (so I guess it’s technically a valve, not a plug. whatever) This will take at least 30 minutes so go grab a few beers.

Image


Step 2: After the majority of the coolant has drained, close the valve/plug. If you have an automatic like I do, remove the ATX lines hooked up to the radiator. These are the two thin hoses connected to the bottom of the radiator. All you need is a screw driver, and a good angle on the clamps holding them. Once you remove them, you will want to plug them so you don’t end up draining all your tranny fluid. I used some screws that happened to fit them pretty snug.


Image

Image

Image


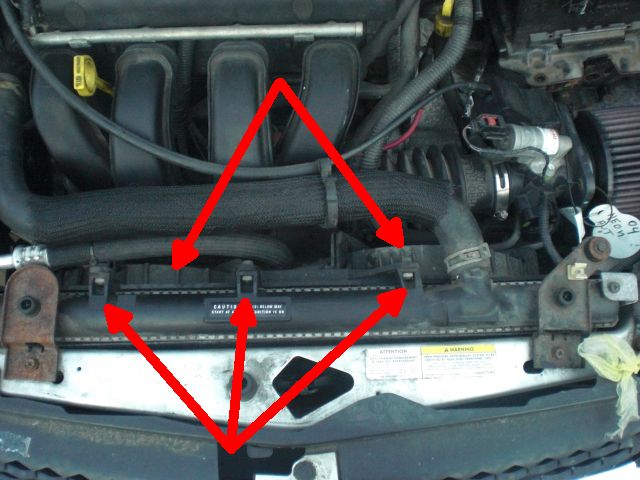
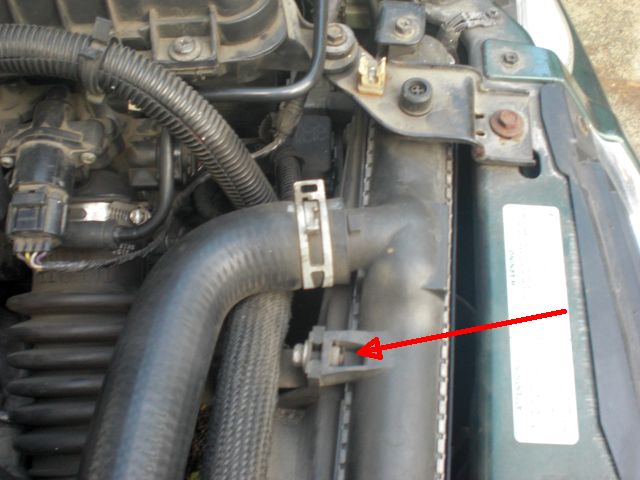
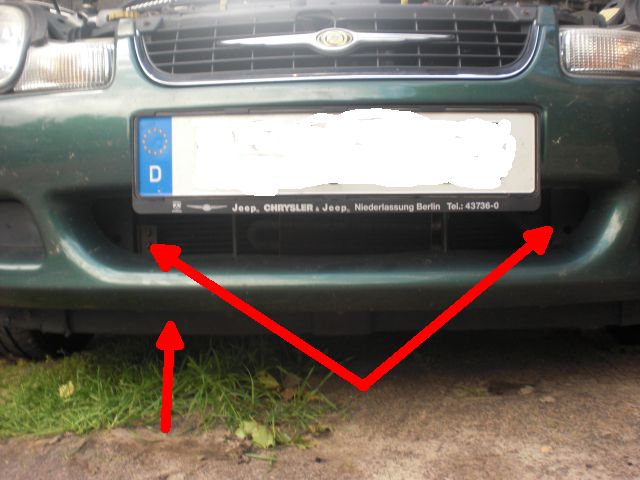
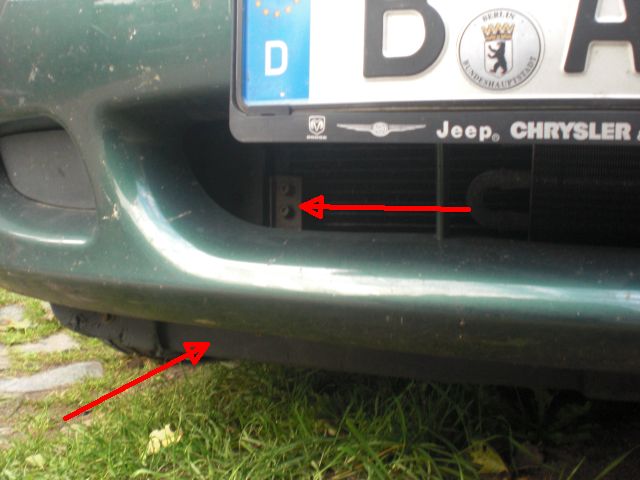
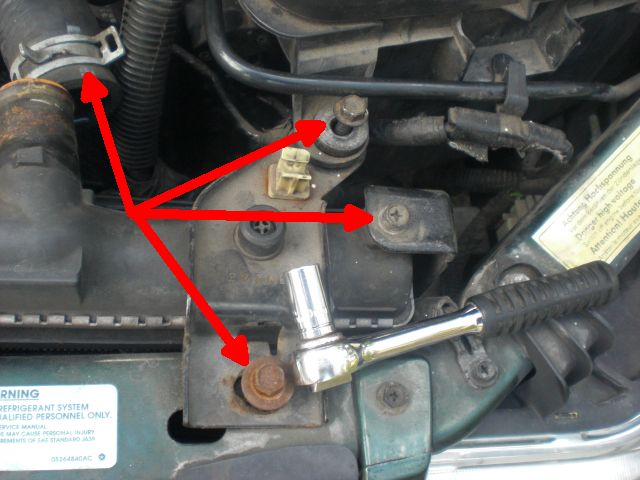
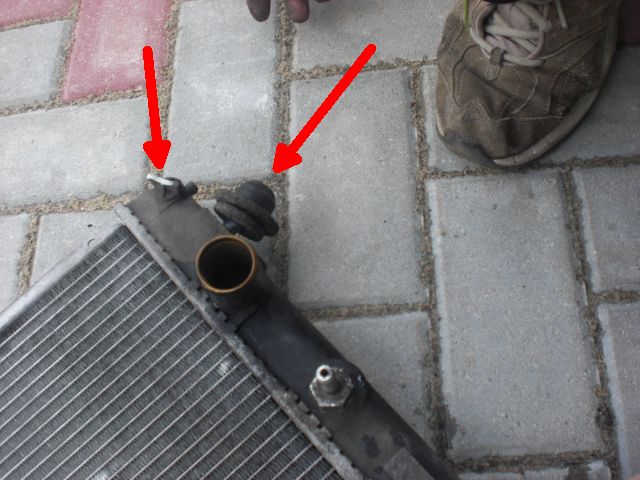
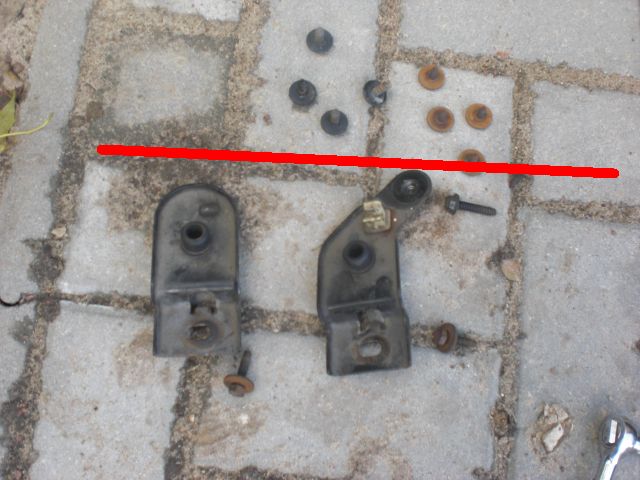
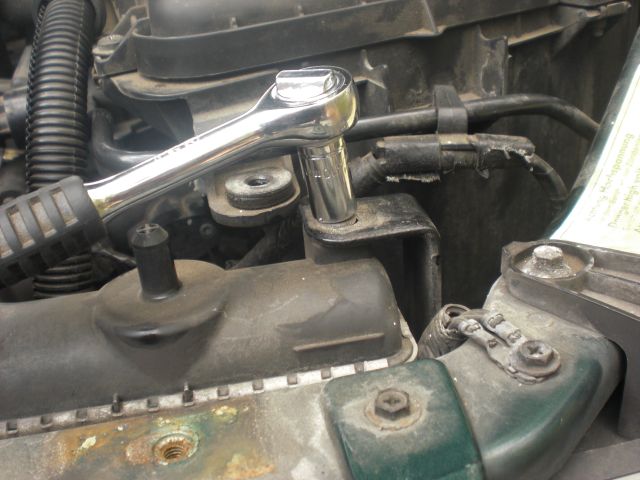
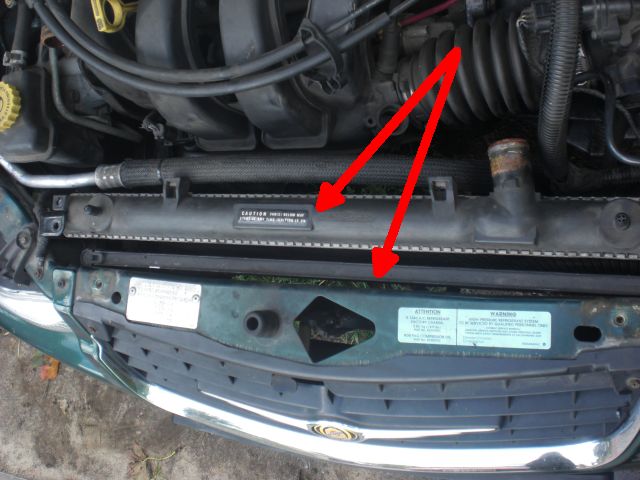
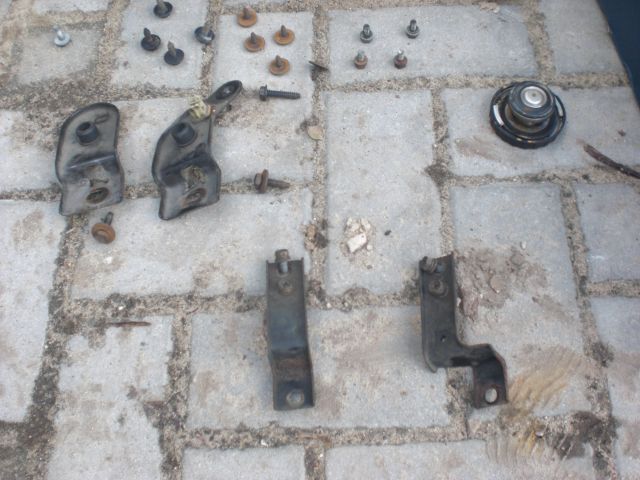
Step 3: Remove the bolts mounting the radiator to the frame. Piece of cake.


Image


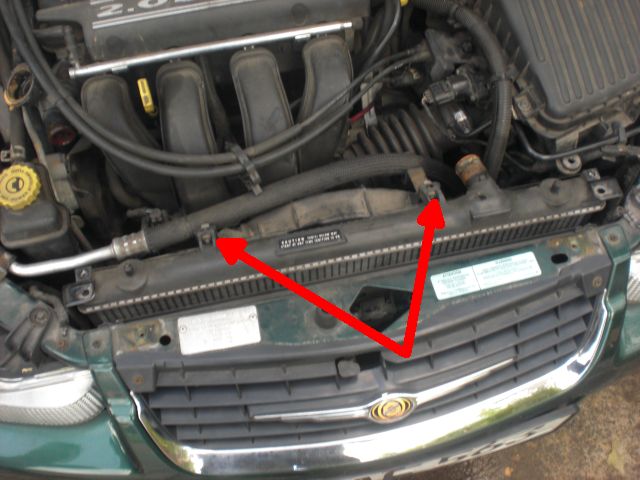
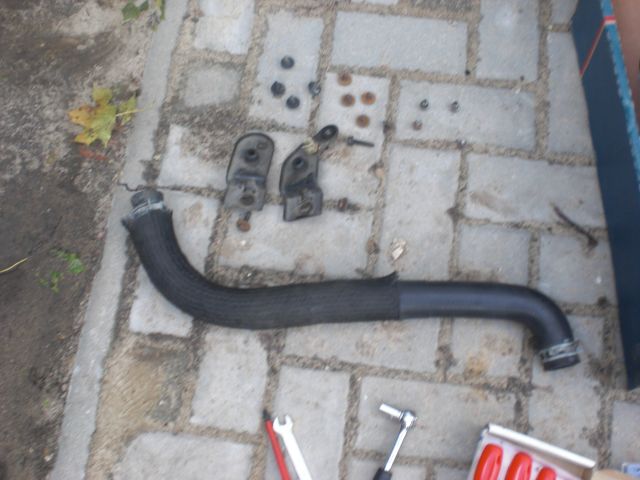
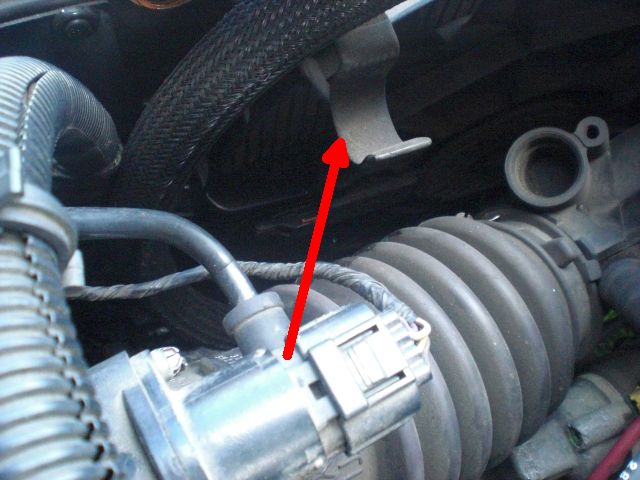
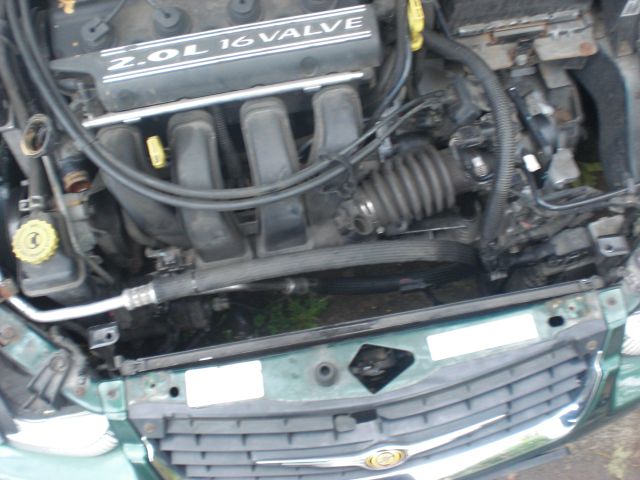
Step 4: Remove the top and bottom radiator hoses. Use some pliers to pinch the clamps and pull the hoses our. Be careful not to make a mess as there might be coolant in the hoses. I learned the hard way. Had myself a nice coolant shower while removing the bottom hose. Sorry, no pics of the bottom hose. Same principal as the top one though.

Image

Image


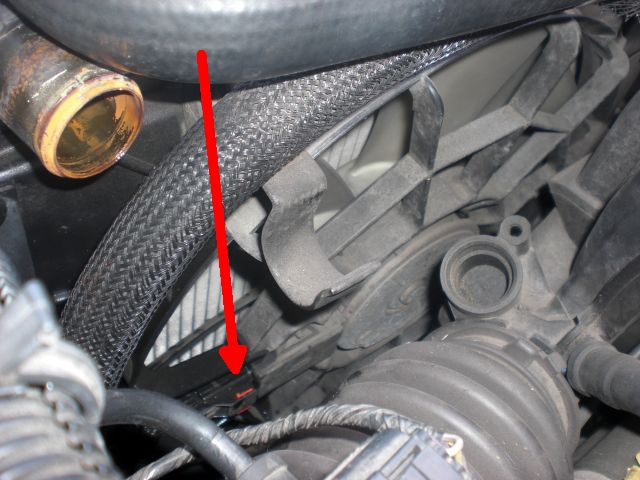
Step 5: unplug power cable on the fan. Its located on the right side underneath the where the top hose connects to the radiator. Very easy. If you look at the picture where I’m removing the hose clamp with the pliers , you can see the power cable at the very bottom of the pic. there's a little red tab on it.


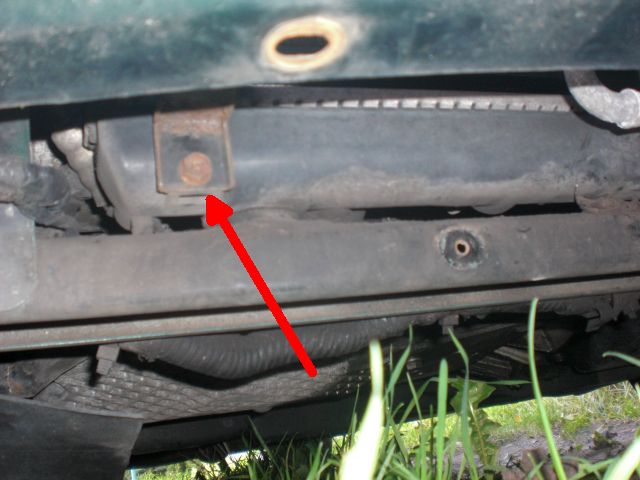
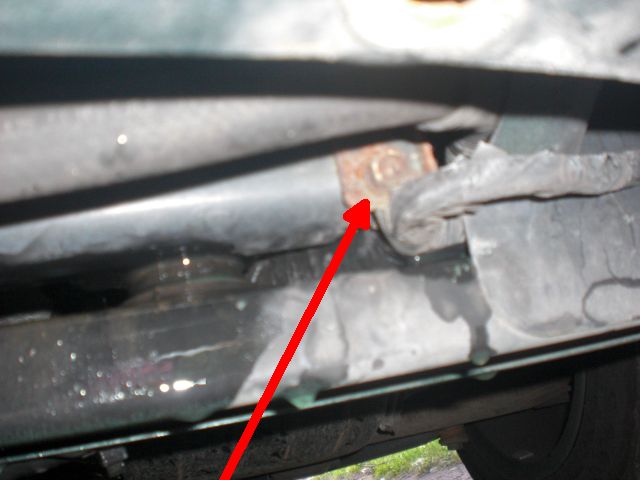
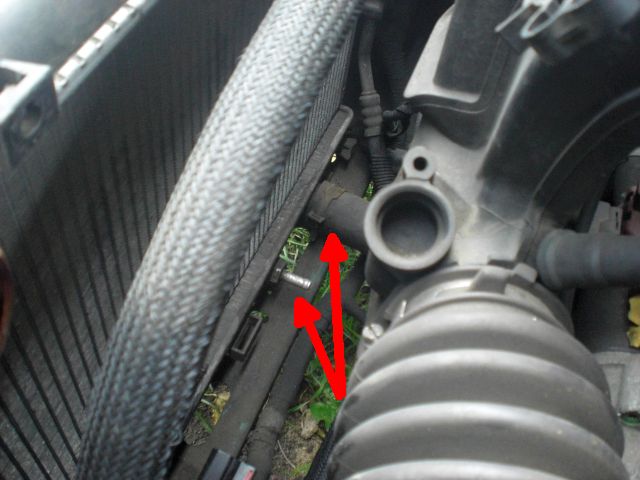
Step 6: Remove bottom bolts that attach the radiator to the condenser. Pull condenser away from radiator and pull the radiator out. This step was VERY tricky for me & my roommate but we finally got it out.

Image


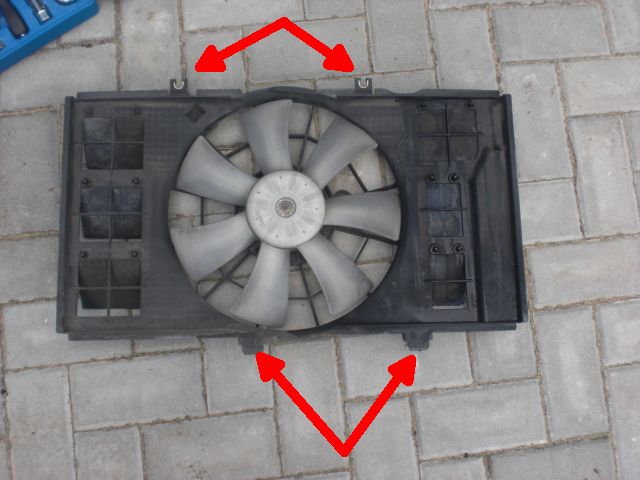
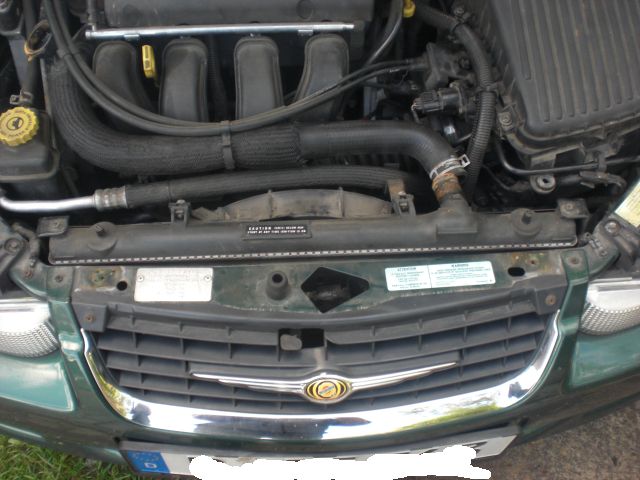
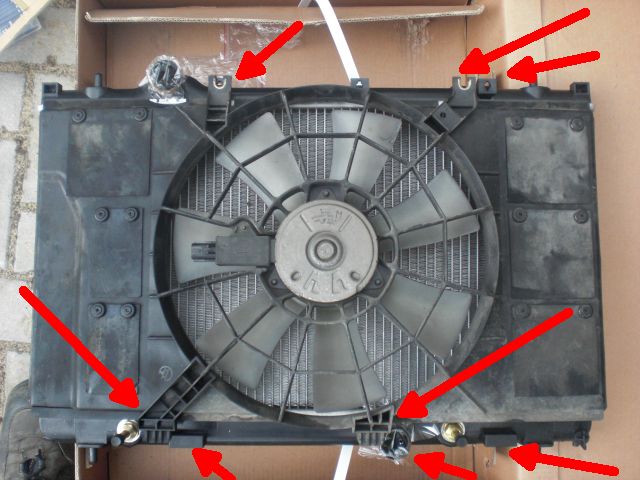
Step 7: Remove fan from old radiator and mount on the new. Now follow these steps backwards to install the new radiator. Fill with new coolant once you’re done and then take a shower.


Image

Total cost was $95. $80 for radiator, $10 for coolant, and $5 on some burger king for my roommate for helping me out :thumbup:

Let me know what you guys think of this write up...or whether i misses something. peace! :rockon:

User avatar
supermike
2GN Member
Posts: 403
Joined: Fri Jun 13, 2008 10:31 pm
Location: Carlisle PA

Post by supermike » Thu Mar 12, 2009 11:20 pm

I noticed that you took your airbox out, but I don't recall it actually being mentioned in writing. It's definitely easier of you take the airbox out. Great write up though! :thumbup:
Official "I'm Going to Drive My Neon till it Dies" Club #000036 <--- Done

Image

User avatar
rseldner
2GN Member
Posts: 123
Joined: Thu Apr 10, 2008 11:33 pm

Post by rseldner » Thu Mar 12, 2009 11:42 pm

good point/observation; however, i originally removed it because i was cleaning my engine bay out since i had coolant all over the place. note the bottle of simple green on top of my valve cover. looking back, leaving the airbox out was a good call.
Image

User avatar
Gnuserup
2GN Member
Posts: 661
Joined: Sun Jun 28, 2009 3:06 pm
Location: Germany

How To: radiator removal

Post by Gnuserup » Mon Sep 20, 2010 3:52 pm

Make sure you got the right radiator if you like to swap it,
it´s a good idea to remove the airfilterhousing
then remove the fan. The single-fan has two screws on top of the radiator
the double-fan has three.

Image

Image

An overview of screws and clips which have to be removed.

Image

Take off the radiator cap (near the head)

now unscrew the lower bumper-cover

Image

Let the cooling water out and catch it to dispose it or maybe use it again.
The radiator has a little stuff on the lower right side which could be unscrewed with your fingers.

Image

Image

It has not be to removed totally. The water comes out at the little nozzle. You could reach it through the frame.

Image

Remove the hose and clambs now.

Image

Unplug the fan. Push down the clip and pull out the plug.

Image

Remove the mounting support for the climatehose.

Image

Now the upper screws from the fan.

Image

Carefully lift the radiator, it has only the screws on top and take it out.
At the bottom are just two brackets.

Image

Remove the mounting which helds the condenser and the radiator.
Three screws right and three left. But carefully as they are often rotten and you could ruin the radiator.

Image

Image

Image

Image

Remove both upper mountings now. The radiator stands on two rubberplugs
on the frame at the bottom.

Image

Image

Image

Image

Unscrew two screws at the top of the radiator now which connects the condenser and the radiator.

Image

You can easiliy reach the lower hose to remove it now..

Image

It´s time to unlink the radiator and the condenser now..

Image

Lift the radiator. But very carefully to avoid damages on the condenser or the climate hoses.

Here some mountings and screws ...

Image

Looks finally:

Image

Image

Install in reversed order.


Some impressions:

New aftermarket radiator with the two nozzles for the automatic transmission fluid.
Unfortunatelly for the double-fan as you can see the three screws on top..

Image

The old radiator out of a 2000 Neon with 3-speed-ATM.
You can see the rubber bearing and the hole where the nozzle broke out a while ago.

Image

Here they are usually leaking a while later after you maybe have installed a seperate cooler
for your atm...

Image

Image

See where the single fan does not match the double-fan-radiator.

Image

some measures of the old radiator...

lower left

Image

lower right

Image

upper left

Image

upper right

Image

height on the right

Image

2000 radiator for a manual transmission (fit´s perfectly at the automatic car)

Image

Image

User avatar
Gnuserup
2GN Member
Posts: 661
Joined: Sun Jun 28, 2009 3:06 pm
Location: Germany

Post by Gnuserup » Mon Nov 15, 2010 7:14 am

Today I got a used radiator for the 4-speed-atx neon. Unfortunatelly they unscrewed both nozzles before shipping. So I noticed, that the automatic-cooler is a totally seperated cooler at the mainradiator inside the lower watertank, because it clacked around there :banghead:
Originally it has seals and is hold by the nozzles.
My "new" used radiator is useless now, because these seals are gone and there might be no great chance to install new seals as the left is bad to reach.

Result is, don´t ever remove these nozzles for longer and don´t drive without them, not even just without only one. If your trany-hose-nozzle teared off, it´s an absolutely must to fix that, too.

Image

Now I now the reason why the radiator of my buddy last time was leaking there :lol:

Image

He drove a few thousand kms without the left nozzle after they installed a seperated tranycooler.

occasional demons
Junior Admin
Posts: 20306
Joined: Thu May 03, 2007 12:14 pm
Location: Ashland Ohio

Post by occasional demons » Mon Nov 15, 2010 9:43 am

The radiator wouldn't be a total loss, if you can plastic weld some plastic sheet over those holes. Of course it will need thoroughly degreased first. If plastic weld epoxy is not available, some quality RTV silicone, and water tight rivets will hold a plate over those holes too. Then you just need a separate ATF cooler, which is a good idea anyways, given the recent track record of them failing. The only small concern is the small amount of ATF in the cooler that may float out into the coolant. If you spray some degreaser through it before sealing the holes, it may not be enough to even matter.
Bill
Olha Koba, a psychologist in Kyiv, said that “anger and hate in this situation is a normal reaction and important to validate.” But it is important to channel it into something useful, she said, such as making incendiary bombs out of empty bottles.
2000 Neon MTX swap with '02 R/T PCM
1999 neon coupe 2.4 swap
2021 Forester

User avatar
Gnuserup
2GN Member
Posts: 661
Joined: Sun Jun 28, 2009 3:06 pm
Location: Germany

Post by Gnuserup » Wed Nov 17, 2010 9:08 am

yeah, the seller refunded the price and gave me the radiator for free now. So I like to try out something to seal it up :D

kitopal
n00b
Posts: 2
Joined: Sun Jun 01, 2008 4:00 pm

Thanks

Post by kitopal » Fri Mar 01, 2013 6:13 pm

changing the radiator was so easy... thank you guys for all the info... years ago, but still helpful.
:rockon:

Dennis Blewett
2GN Member
Posts: 31
Joined: Tue Jul 22, 2014 5:36 am

Post by Dennis Blewett » Fri Jul 25, 2014 2:51 am

Maybe I misread something, but am I right to believe that the radiator a person selects is dependent on the fan an individual is going to use (assuming I need to replace the radiator and not the fan)?

In other words, am I right to believe that a three bolt radiator that holds the dual fan system will not be able to work with a single fan system?

Also, any tips to get to the bottom-right radiator hose without using jack stands would be great. I'm a hefty guy, so it's difficult for me to fit underneath the vehicle. I was able to feel around, and I think I can feel around enough to take off the clamp holding down the radiator hose: I think getting it back on is going to be more complicated than taking it off.

occasional demons
Junior Admin
Posts: 20306
Joined: Thu May 03, 2007 12:14 pm
Location: Ashland Ohio

Post by occasional demons » Fri Jul 25, 2014 12:43 pm

Yes, the radiator is dependent on which fan set up you have. The 1gn neons had mounts for either style of fan set up. They got more specific with the 2gn's.

Kind of unlike Daimler to spend for two sets of molds, but I guess if it makes life more frustrating for the consumer, why not?

Try removing the fan(s) to get to the lower hose from above. But if the clamp has the tabs on the bottom, you may have to struggle the first time 'round.
Bill
Olha Koba, a psychologist in Kyiv, said that “anger and hate in this situation is a normal reaction and important to validate.” But it is important to channel it into something useful, she said, such as making incendiary bombs out of empty bottles.
2000 Neon MTX swap with '02 R/T PCM
1999 neon coupe 2.4 swap
2021 Forester

Dennis Blewett
2GN Member
Posts: 31
Joined: Tue Jul 22, 2014 5:36 am

Post by Dennis Blewett » Fri Jul 25, 2014 10:20 pm

How important are the rubber feet on the radiator?

I took out the radiator recently and noticed that there is only one rubber foot. Should I go purchase another?

I'm thinking with all of the mount points, it won't be such a serious issue.

*Note: I think the vehicle is a junker, atm.

Also, the middle bolt on the right-bottom bracket broke while I was trying to take it out. Could someone please give me good suggestions for taking the bolt out?

It's at 4:50 in this video: https://www.youtube.com/watch?v=9l9HVYCWRGM

occasional demons
Junior Admin
Posts: 20306
Joined: Thu May 03, 2007 12:14 pm
Location: Ashland Ohio

Post by occasional demons » Fri Jul 25, 2014 11:51 pm

You need both grommets. Otherwise you might get a hole rubbed in the bottom of the tank.

The bolt in the radiator bracket, or where it attaches to the core support?

There is no good way to get it out of the radiator bracket. You would chance drilling a hole in the radiator. If the core suport, you can drill it and use an easy out and a torch/Deep Creep penetrant to try to get the broken part out.

In your other thread, you mentioned the lower support looked warped. This may be why one of the rubber grommets is missing. The radiator may not fit in there correctly with the grommet in place.
Bill
Olha Koba, a psychologist in Kyiv, said that “anger and hate in this situation is a normal reaction and important to validate.” But it is important to channel it into something useful, she said, such as making incendiary bombs out of empty bottles.
2000 Neon MTX swap with '02 R/T PCM
1999 neon coupe 2.4 swap
2021 Forester

Dennis Blewett
2GN Member
Posts: 31
Joined: Tue Jul 22, 2014 5:36 am

Post by Dennis Blewett » Sat Aug 30, 2014 2:01 am

I went to the junkyard and found out that the bolt that goes to the mounting bracket adjacent to the AC condenser actually wasn't that much of a big deal. I learned at the junkyard that the person can bend the mounting bracket and push out the bolt.

If anyone doesn't understand my post, then go to a junkyard and mess around with the radiator, AC condenser, brackets, and bolts on a 2nd generation neon. An EZ out was not necessary at all nor was unbolting the bumper.

Post Reply

Return to “HT Engine”