Parts
Zex Programmable WOT Switch - ~$50
Summit Racing Adjustable RPM Switch - $49
(2) SPST Automotive Relays (4 prong) - ~$10
Inline Fuse Holder - Depending on your 12V source
Tools
Wire Cutter
Strippers
Wire
Screwdriver
Splices/Butt connectors or
Solder/Heatshrink
Step 1 - Sensor Wiring
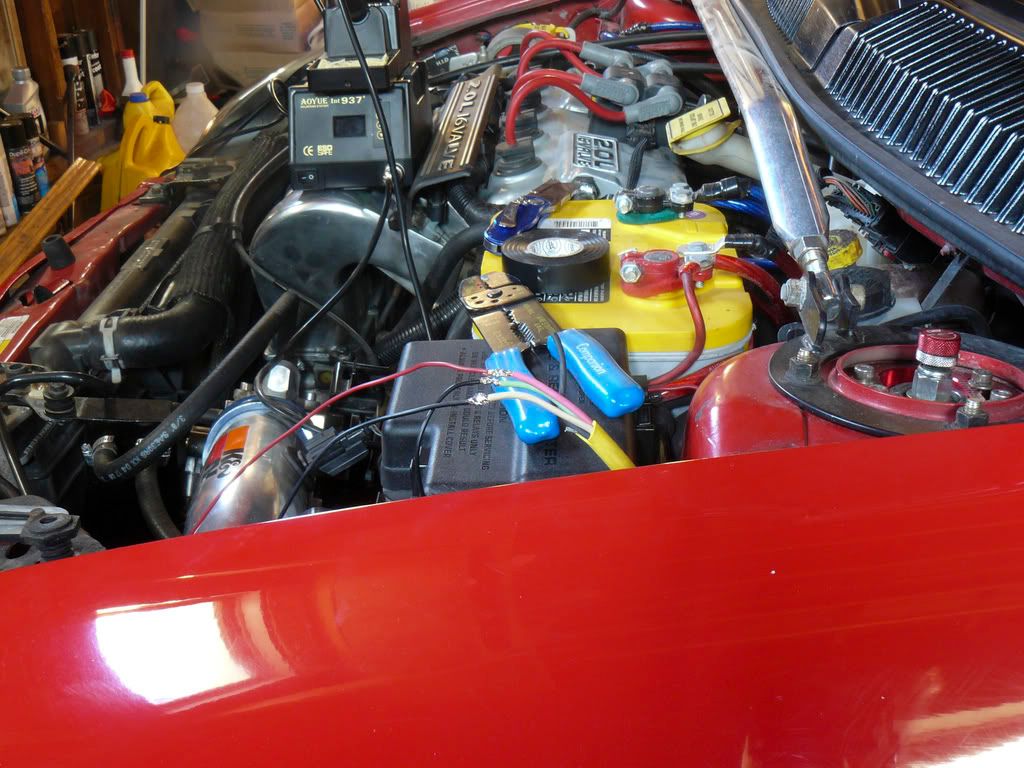
Locate and tap into the TPS and coil signals. For your coil, you can use either of the end wires leading to the coil pack. The middle wire is the ground and will not be used. I choose to tap into the TPS sensor near the throttle body. On 00-02 models this should be the orange/dark brown wire. The other two wires at the sensor are ground and 5V voltage supply. Finally, you will need to ground the MTV motor, and run another wire to be where your switches will be located. When I did this project, I choose to run wires through the firewall, and keep my switches/relays under my center console.
Here are some picture of my engine bay wiring. I ran my wires along the left side of the engine bay.
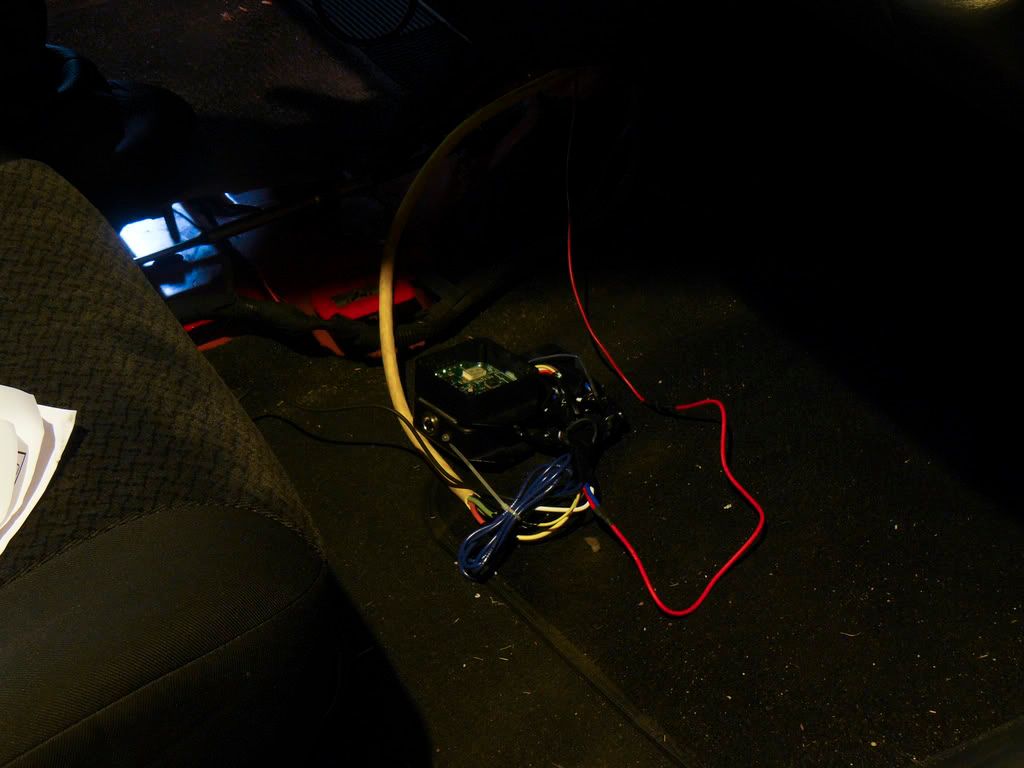
This one shows the actual switches inside the cabin.
Step 2 - Switch Wiring
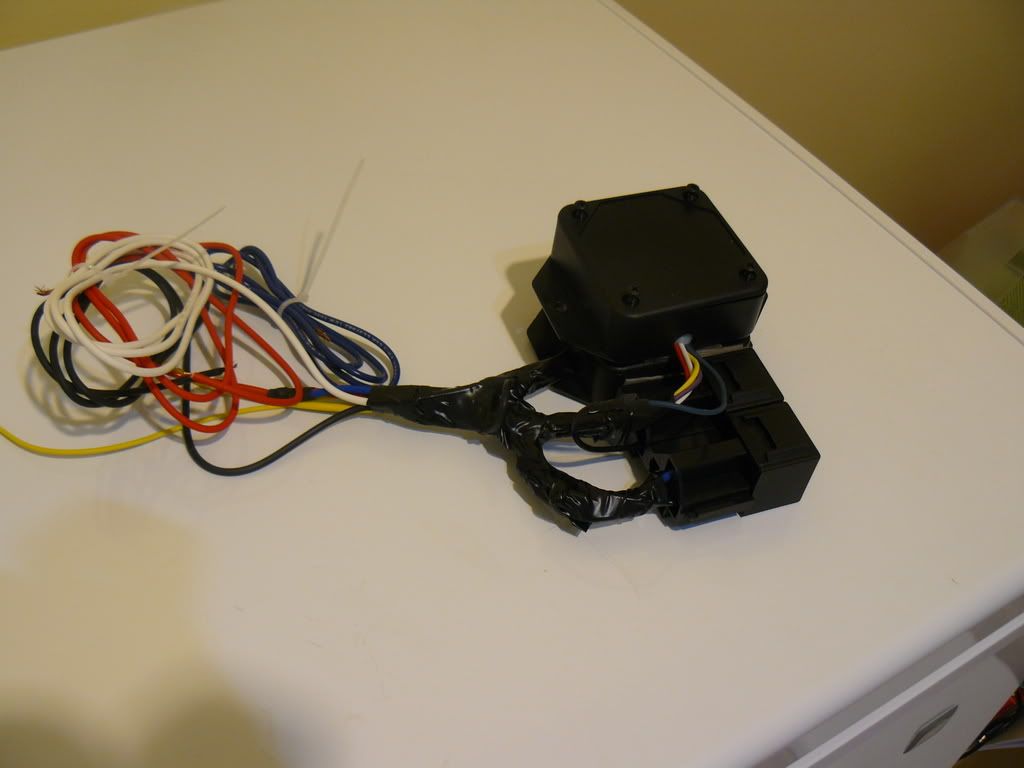
Depending on if your switches are located in the cabin or the engine bay, they still need to be wired to the relays. The following schematic and picture show what the wiring should look like.
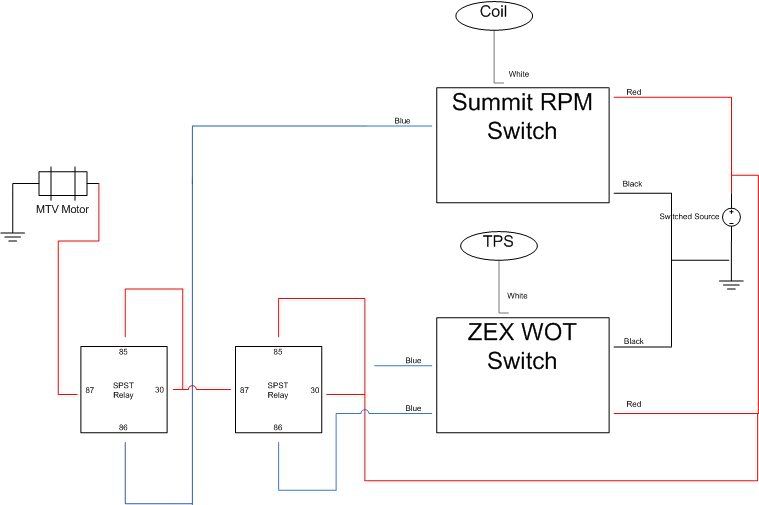
If your browser is cutting this image off, right click and select view image.
The zex switch has two blue outputs. The second output could be used to power an led or some indicator of your choice to let you know you are at WOT. The switched voltage source can be found in a number of circuits. Depending on which you use, an inline fuse might be necessary.
Step 3 - Switch Programming
Programming of the modules is pretty basic, following the switch instructions will get it done. The WOT box might need to be done a few times until it works properly. The summit window switch should be set for 1 cylinder mode.
Don't forget, there are two stickies in this section about this topic. This is just my way of doing it.
