By OB
This is a very easy and fast procedure. It can be done without raising the front of the vehicle, but it is much easier when done from below. My steps and pictures are based on doing this procedure from underneath the transaxle. Expect to spend 10-30 mins on this procedure.
Note: This procedure is for all T-350 equipped manual tranaxle vehicles ONLY.
_____________________________________________________
Tools and Equipment:
Ratchet & short extension (3-4")
10mm socket
Brake fluid (DOT 3 or 4, whichever you use).
_____________________________________________________
STEP 1: Pump the clutch pedal 30-50 times, check for a spongy feel. If it feels good, your clutch fluid circuit probably does not need bleeding. Top off the fluid level in your clutch fluid reservoir if needed. If the pedal feels spongy or you're suspicious that air might have made its way into the system, proceed to STEP 2 below.
STEP 2: Raise the front of the vehicle enough for you to get under it and have some space to work. Be sure to secure it on jackstands for safety.
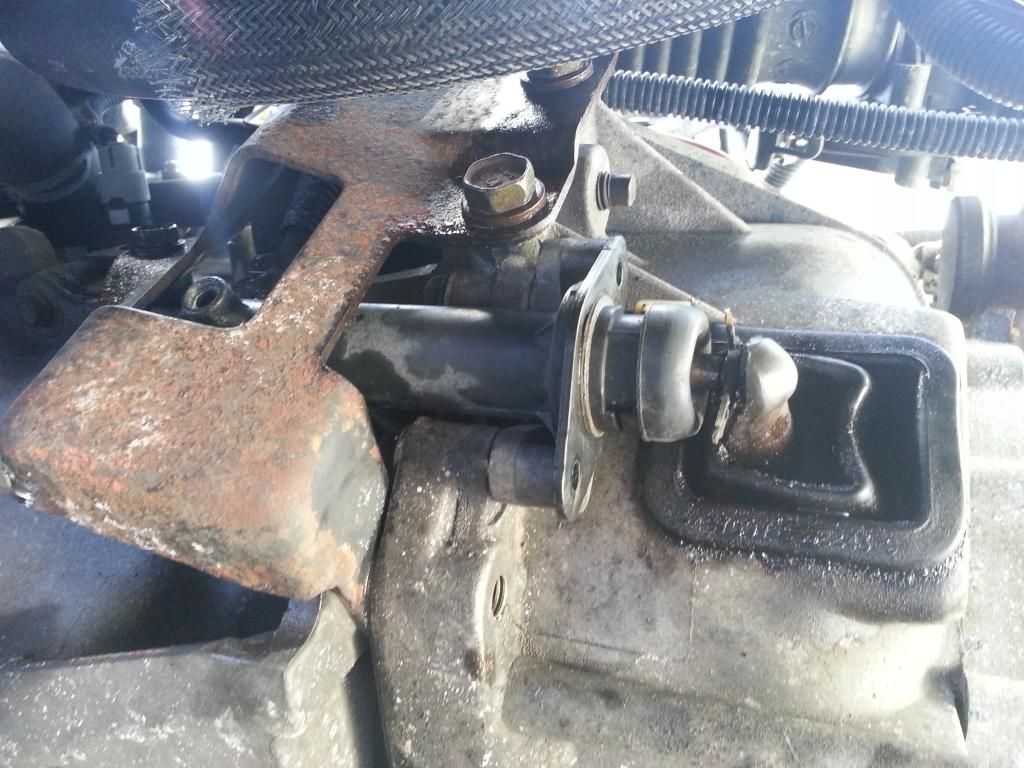
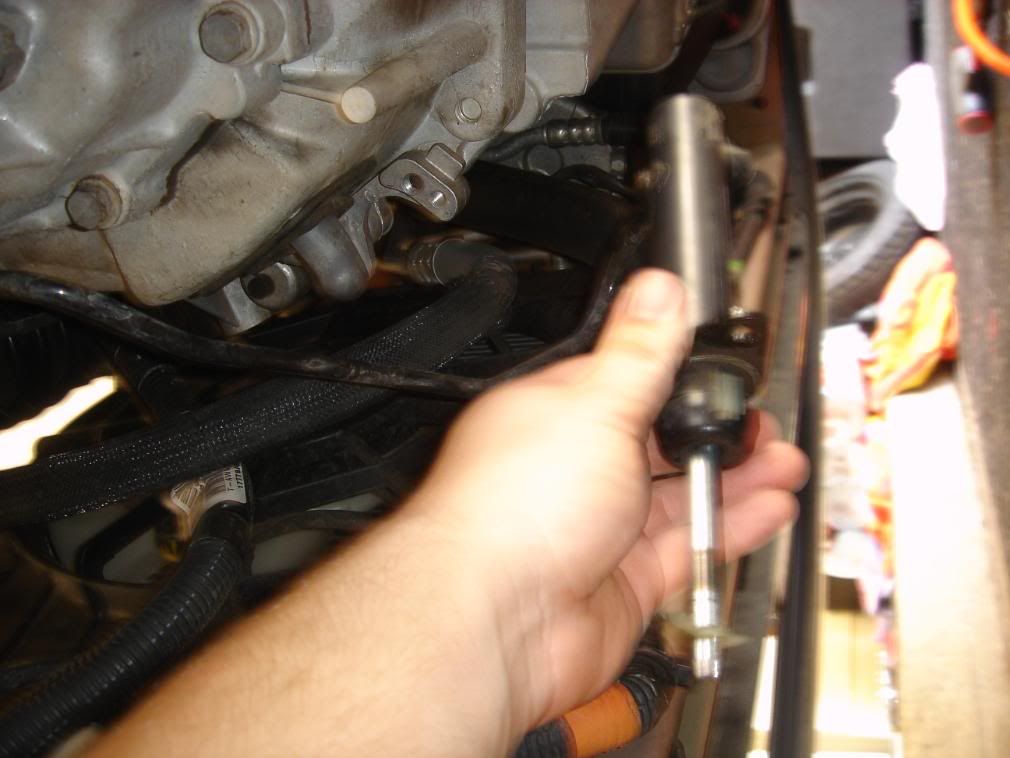
STEP 3: Locate the clutch slave cylinder. It is attached to the transaxle bellhousing via two 10mm screws (see pic below). Remove these and pull the cylinder away from the transaxle while sliding the flange (where the screws go through) towards the ground. The pushrod should come free from its seat and the whole cylinder will be free from the tranaxle. Be sure not to disconnect the fluid line going to the cylinder.
Pic 1: Slave Cylinder
Note: DO NOT pump the clutch pedal after the slave cylinder has been disconnected from the transaxle. This could cause damage to the pushrod and cylinder internals.
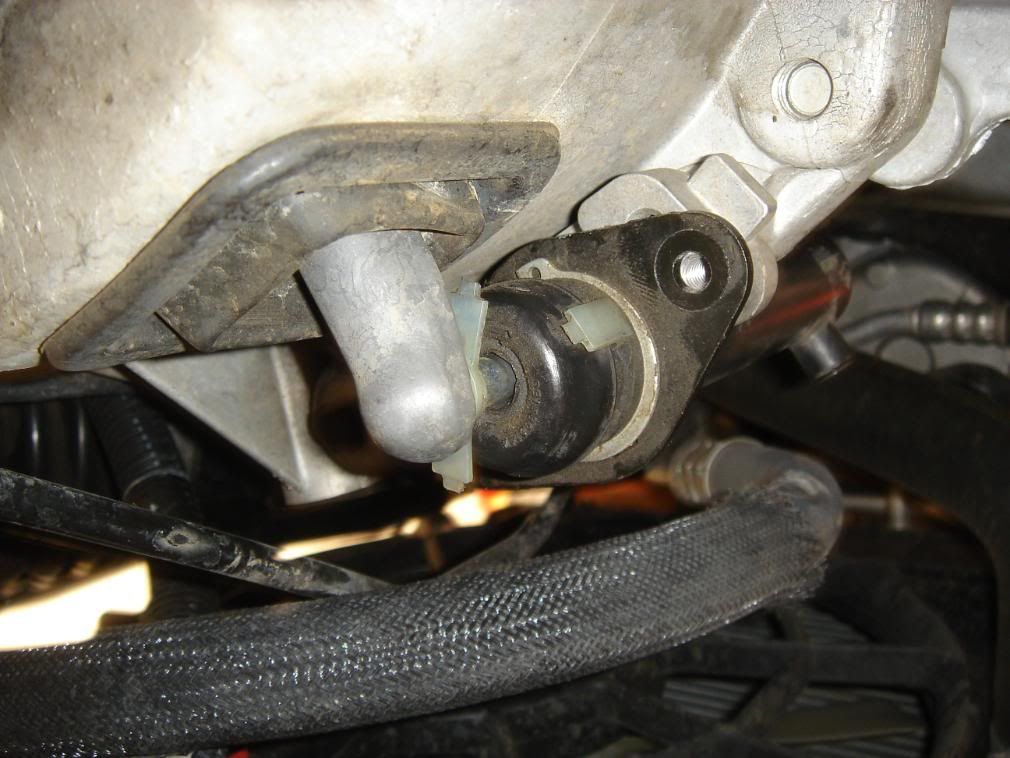
STEP 4: Allow the slave cylinder to hang at the lowest possible position without putting stress on the fluid line (see pic below). Proceed to pump the pushrod all the way into the cylinder bore and back out 10 times. Be careful not to break the T-shaped tab at the end of the pushrod. Once the bleeding is complete, reinstall the pushrod into its seat and snap the slave cylinder body back into place. Be careful not to bend or damage the fluid line or pushrod during reinstallation. Reinstall and tighten down the fasteners.
Pic 2: Slave cylinder; pushrod.
STEP 5: Top off the fluid reservoir if needed. Proceed to re-pump the clutch pedal 30-50 more times, or until you feel that it is operating correctly. If it still feels spongy, you may have an internal issue with the master cylinder or the slave cylinder itself. The OEM recommends replacement of BOTH units to correct this issue. I would suggest trying to re-bleed the slave cylinder circuit once more before condemning any components.
That's it, you're done. Lower the vehicle and take it out for a test drive. All questions and comments are welcome, thanks for looking.


 Sam-I-Am