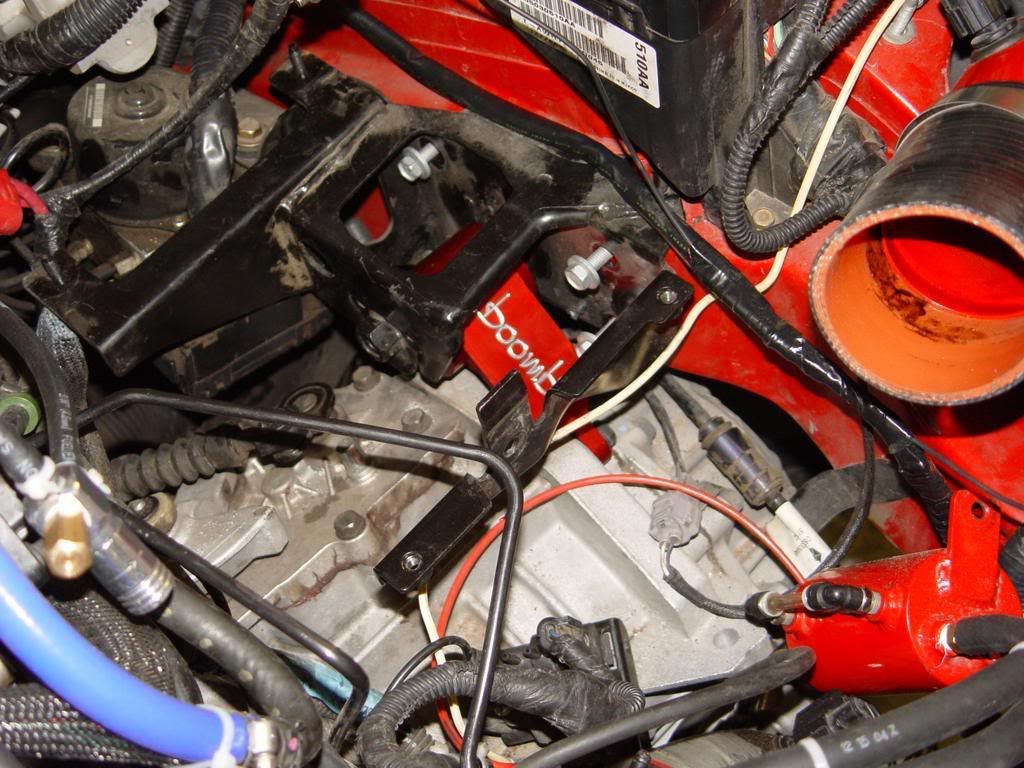
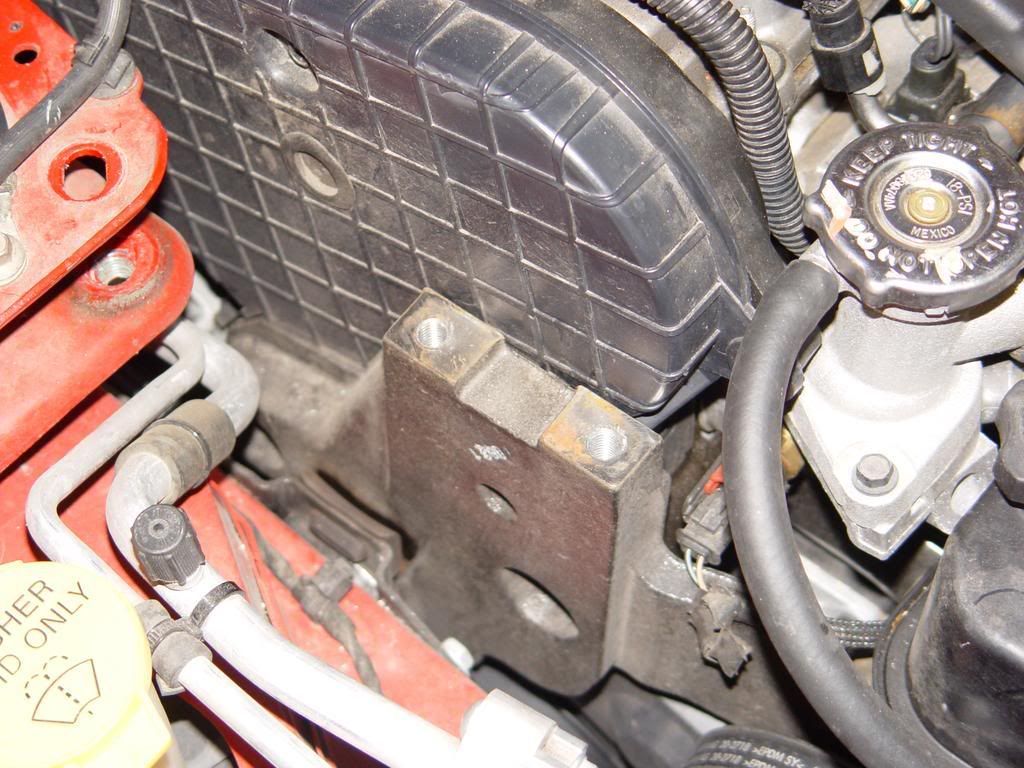
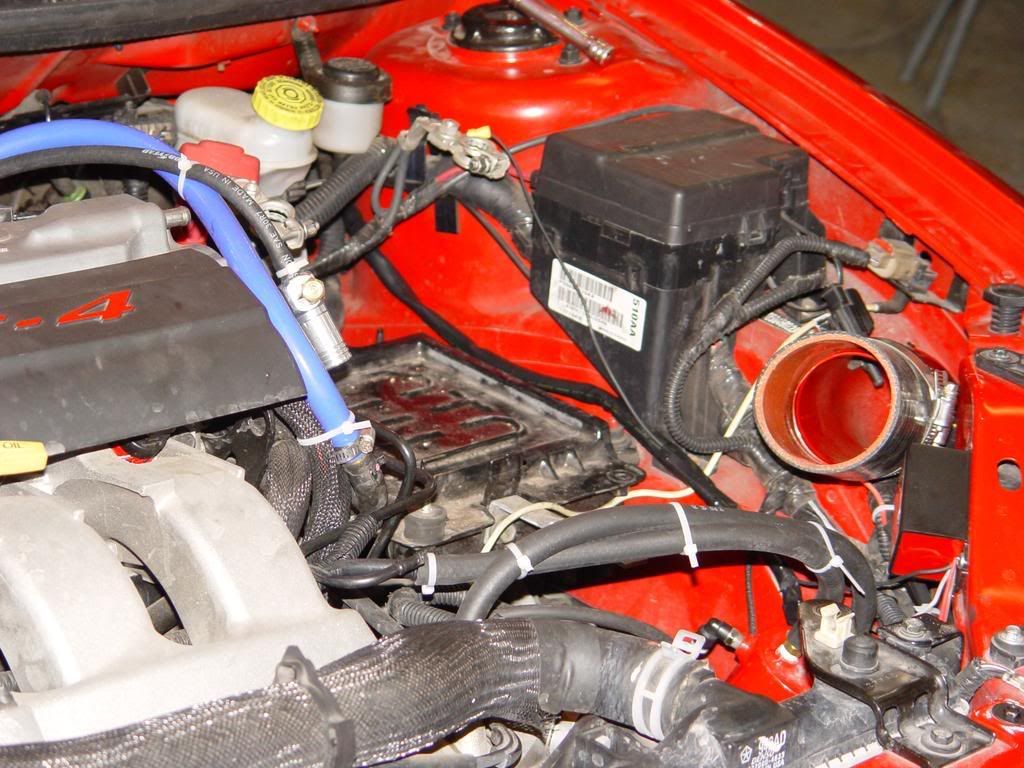
The passenger side is the easier side to do, so we will start there. Jack up the passenger side of the car and support it with a jack stand. The upper motor mount is just held in with two bolts. Remove those.
Remove the piece on the engine that the motor mount bolts in to, Boomba supplies a new piece that fits with their mount.
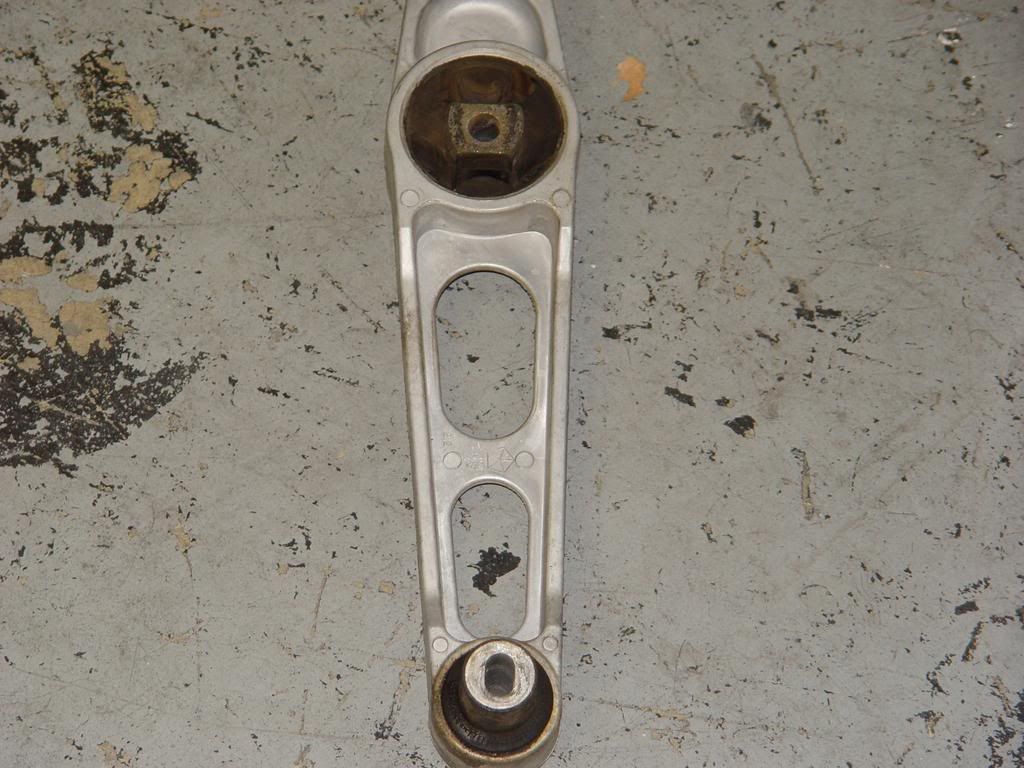
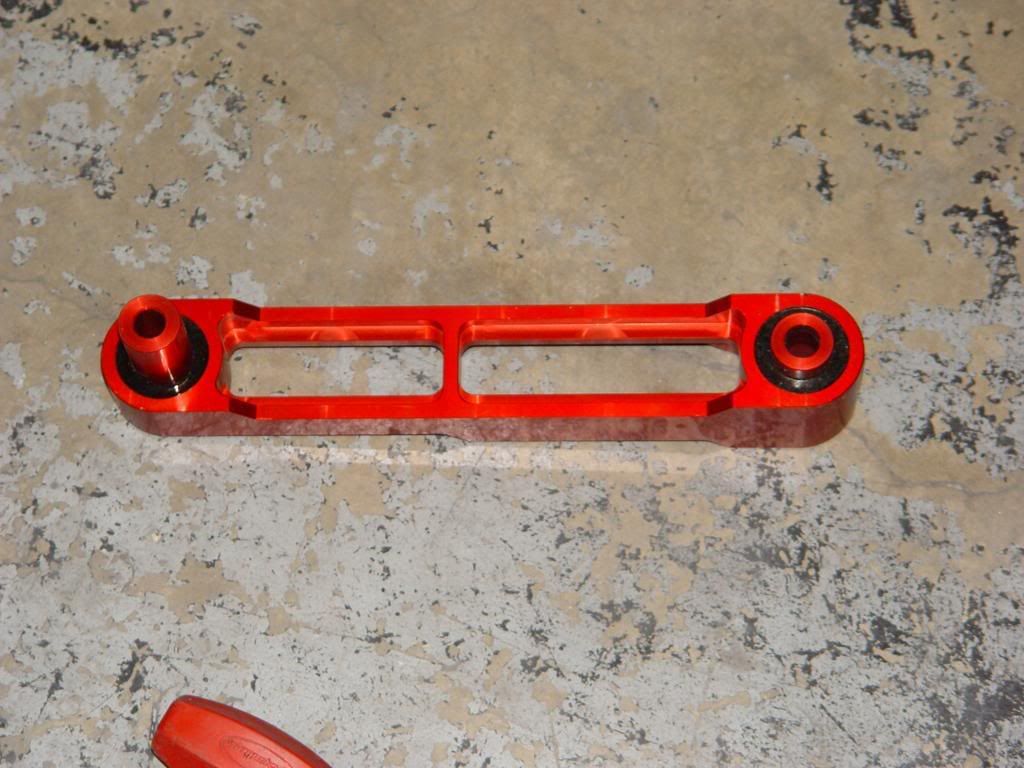
Here's a comparison of the two pieces
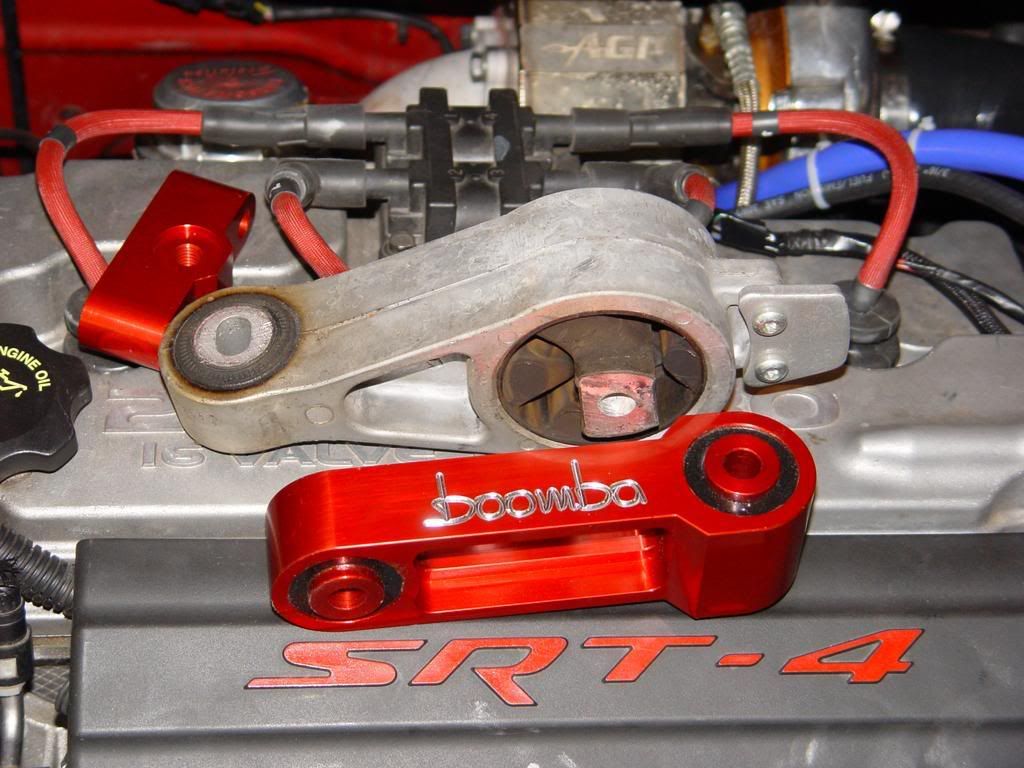
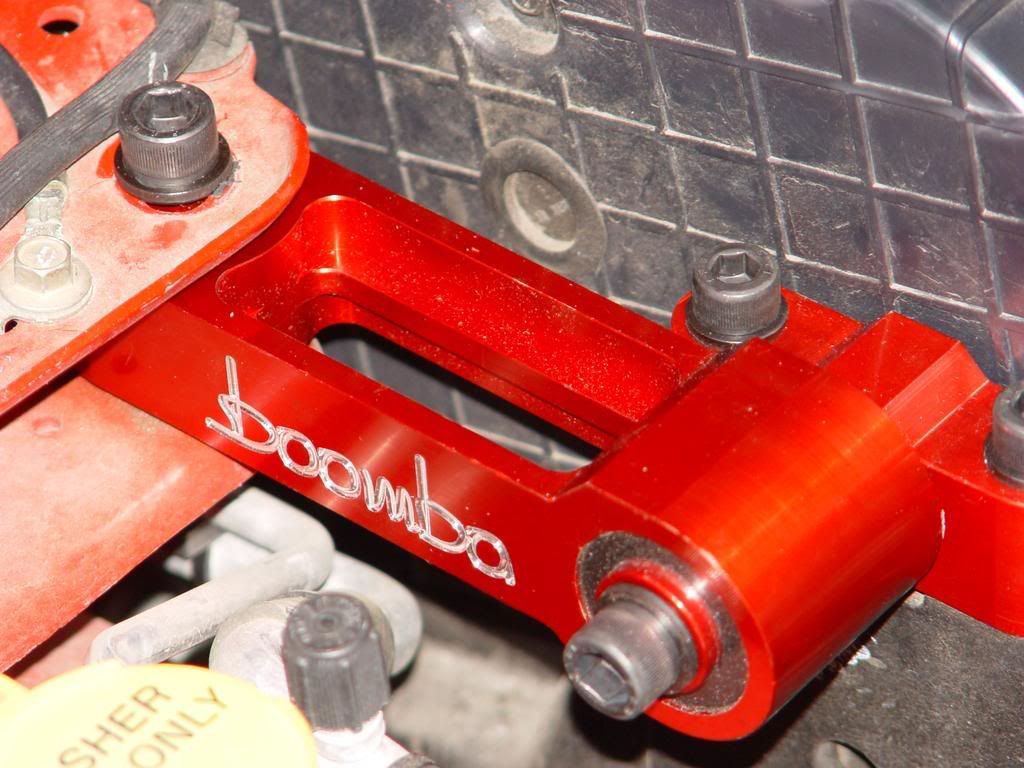
Install the new piece that Boomba supplies and bolt it down.
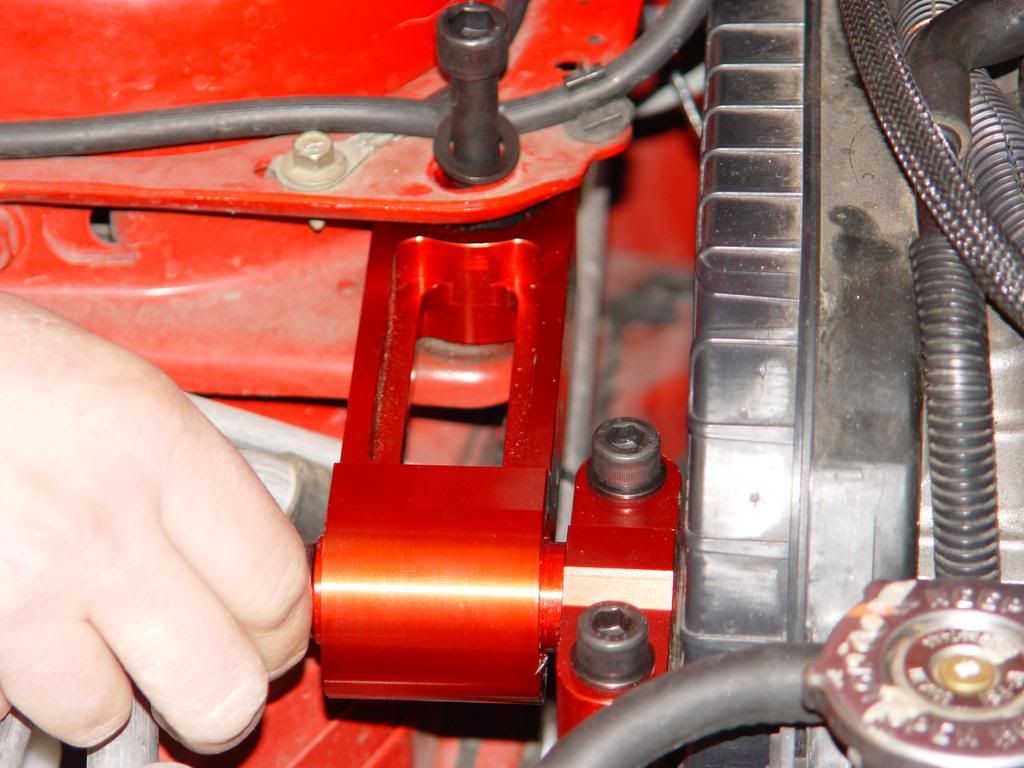
Make sure the mount is positioned properly and hand tighten the bolts. once everything is in place, tighten them completely.
That is it for the top
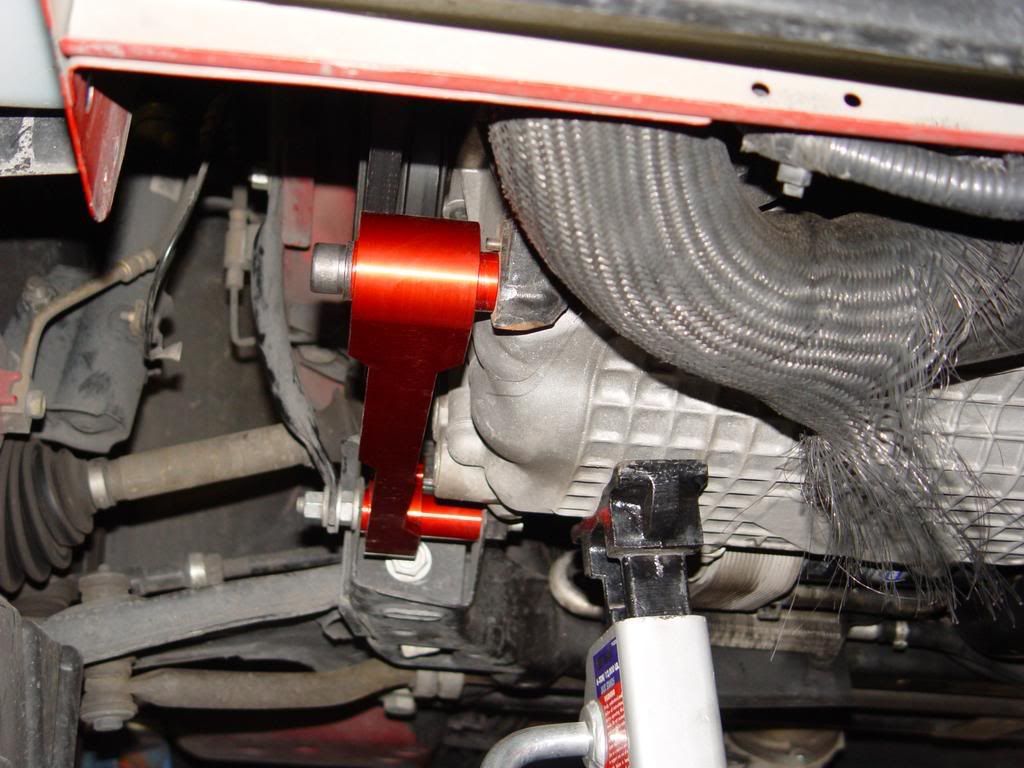
For the bottom you need to remove the lower plastic trim panel. This is held on by 3 10mm bolts and 2 push in retainers.
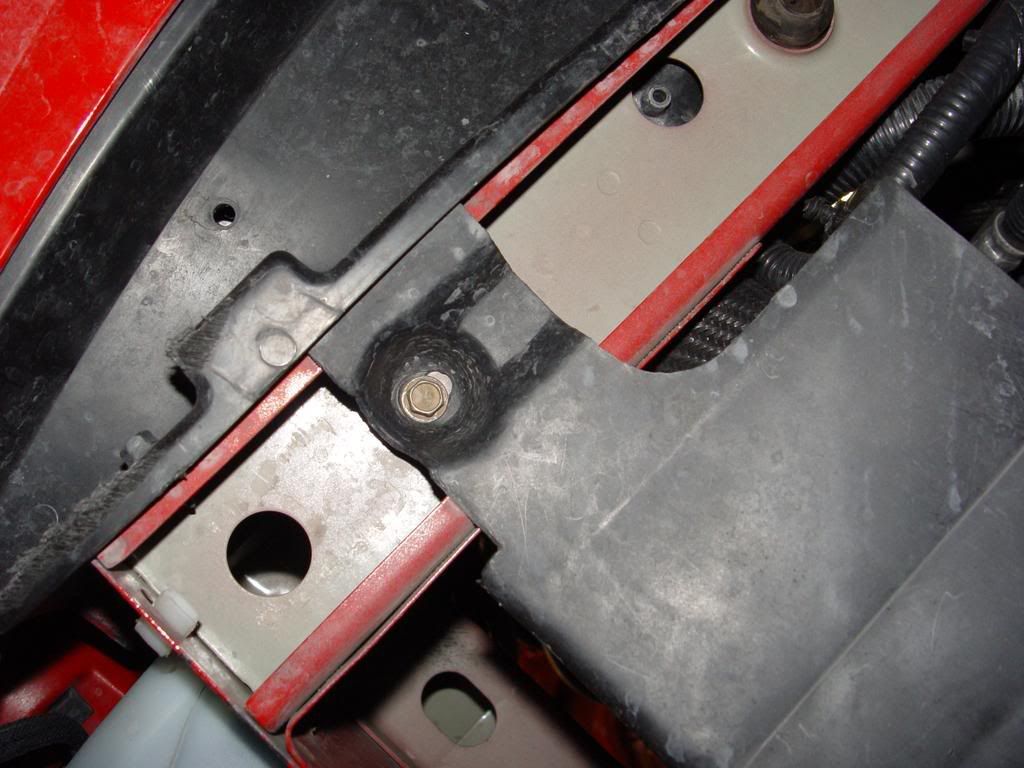
You can see one of the clips on the left and one of the bolts on the right, the other bolt would be farther to the right
Once the cover is removed you can access the mount
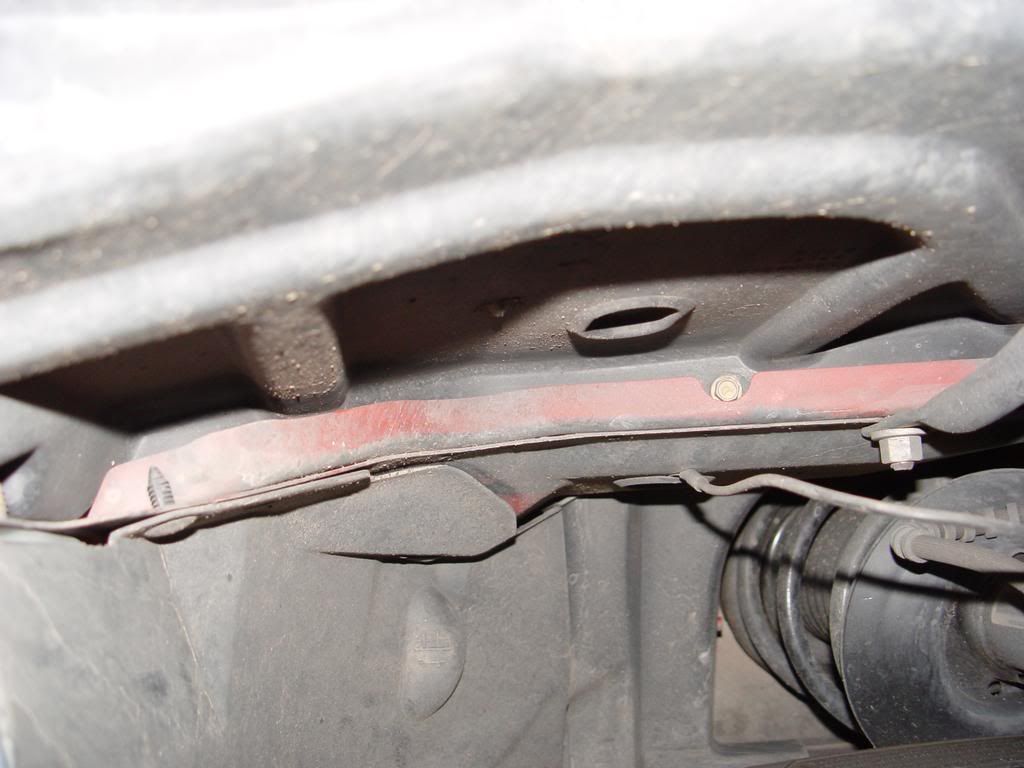
Now remove the large bolt from the front of the torque arm. Remove the lower nut from the bracket that is attached to the rear bolt of the torque arm and loosen the upper nut so that you can move this bracket out of the way
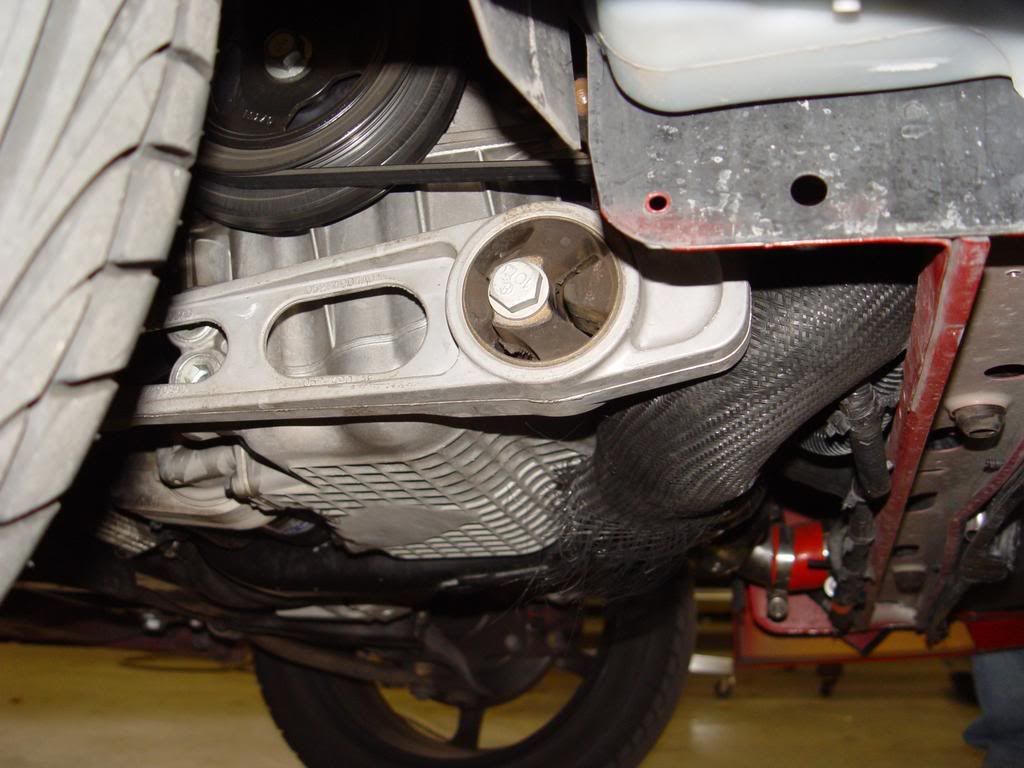
Remove the rear bolt of the torque arm and take it out. Installation of the mount is pretty much reverse of this process. You may need to jack up the engine a tiny bit to get everything to line up properly.
The driver's side is a bit more work. Jack up the driver's side and put it on a jack stand. Start by removing the airbox http://forums.srtdistrict.com/showthread.php?t=253
And removing the battery. There is a 13mm bolt behind the battery that you can loosen and lift the battery out.
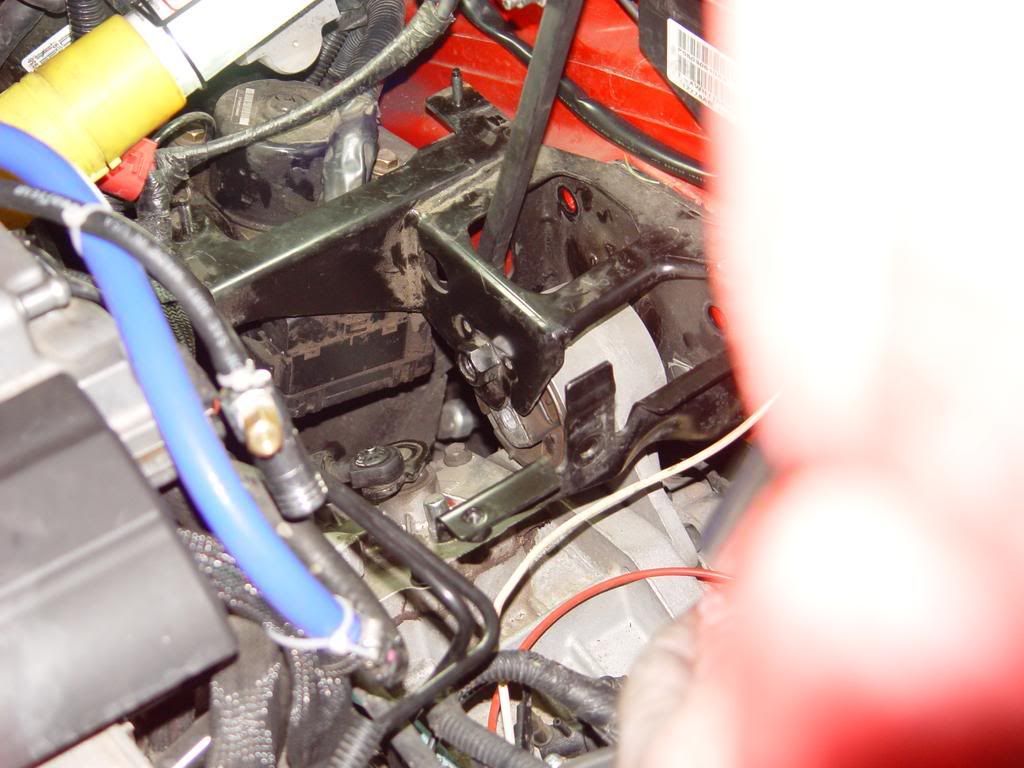
Next remove the battery tray, there should be 4 bolts holding it on, two on the back side, and two on the right side.
that give access to the mount and the bracket.
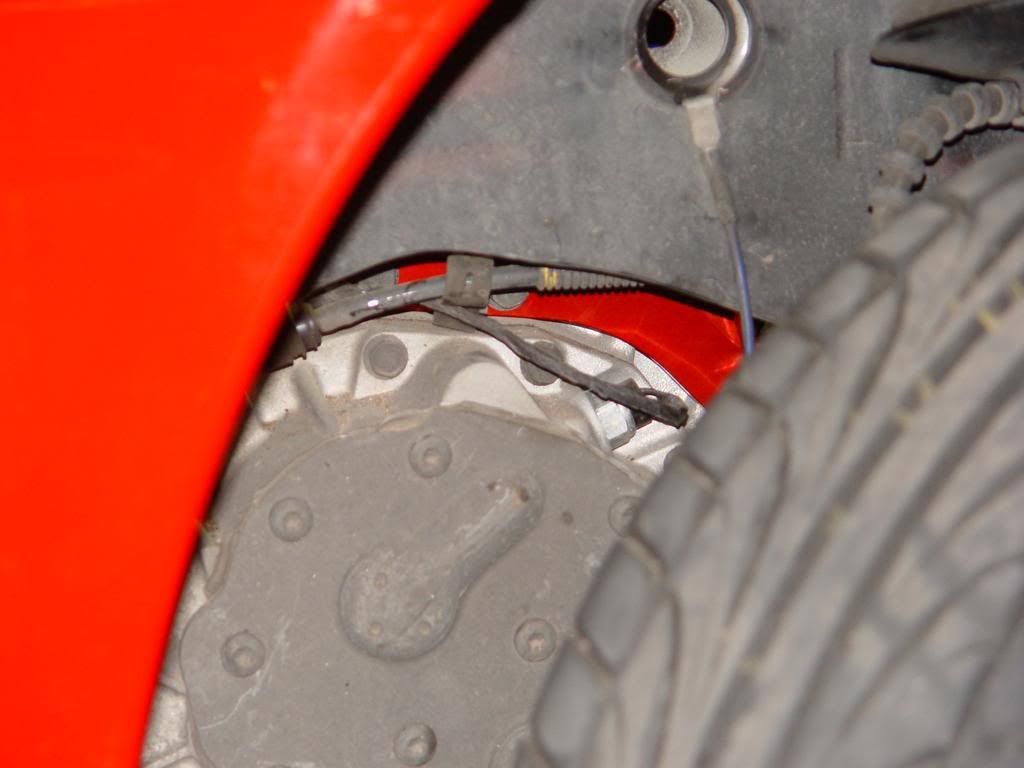
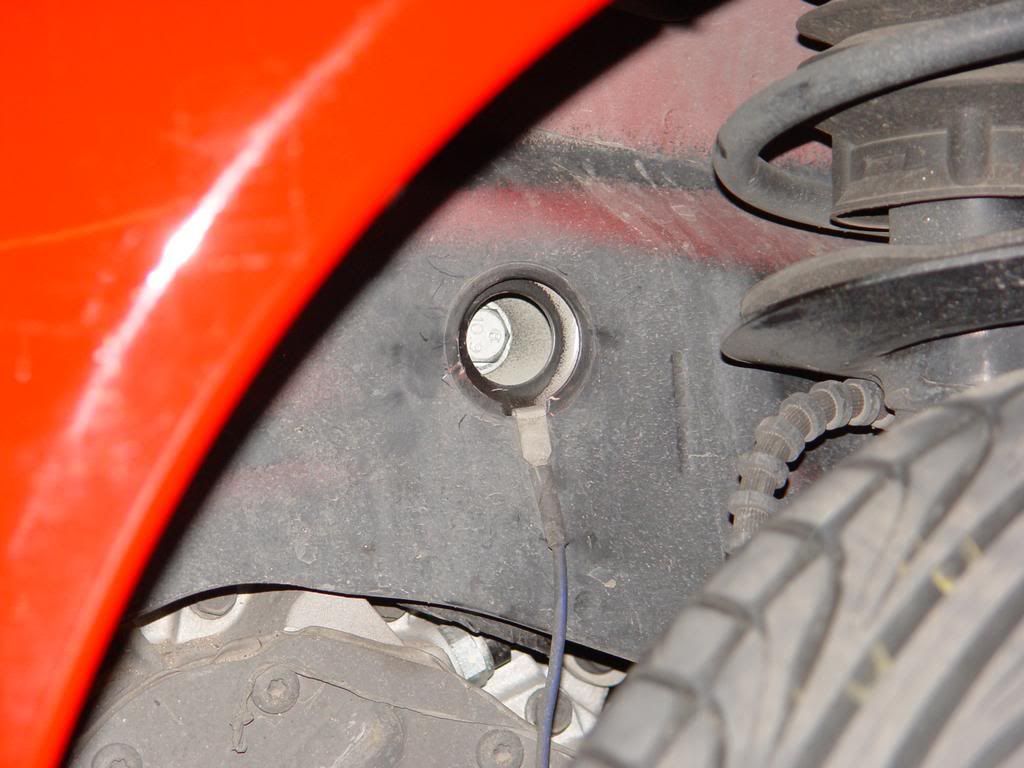
Support the transmission with the jack, you will need to raise and lower it for the install. It's rather quick to remove the 4 bolts to the bracket, which makes it easy to replace the mount. Remove the main bolt of the mount. Inside the wheel well you will see a little cap. Pop off the cap and you can access the bolt.
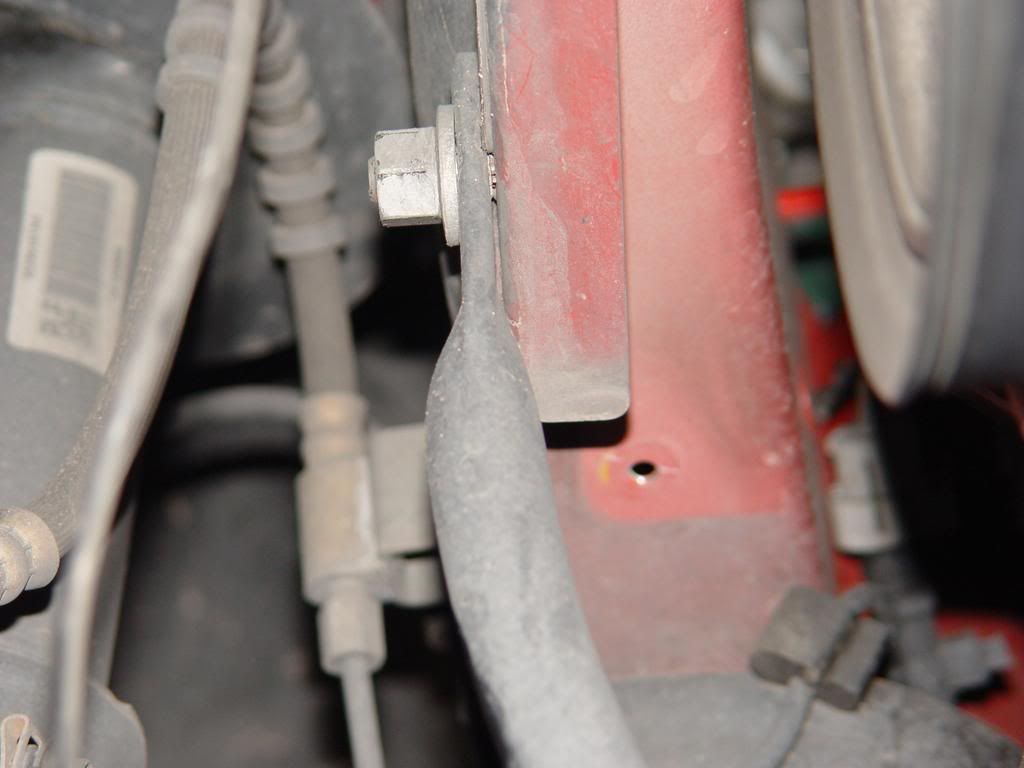
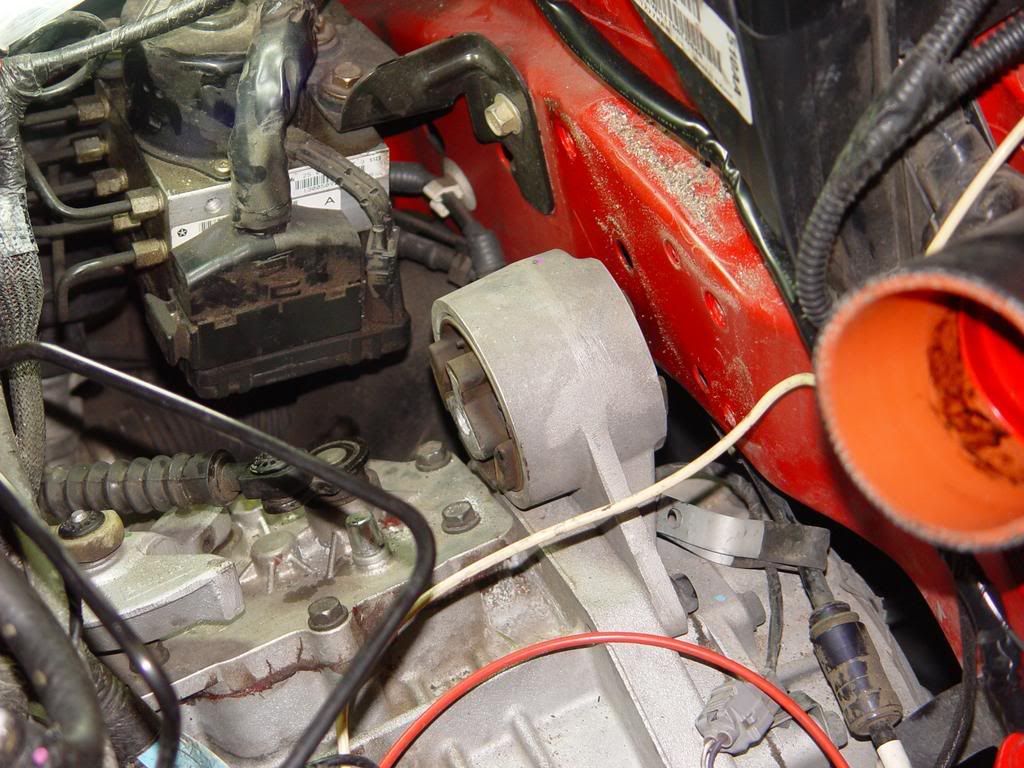
There is access through the bracket to the bolts if you raise and lower the engine a bit for clearance.

Now the braket comes out
You should be able to lower the engine enough to access the 3 motor mount bolts from inside the wheel well. Un-bolt it and replace it with the new mount. Installation is just the reverse steps.