this is my first how to so bear with me,and do not hold me responsible if you screw up your headlights.do it at your own risk
ok so here we go;first do not try to use a oven to soften the glue holding the lens to the housing,the only thing you will do is melt the plastic,trust me on this one.
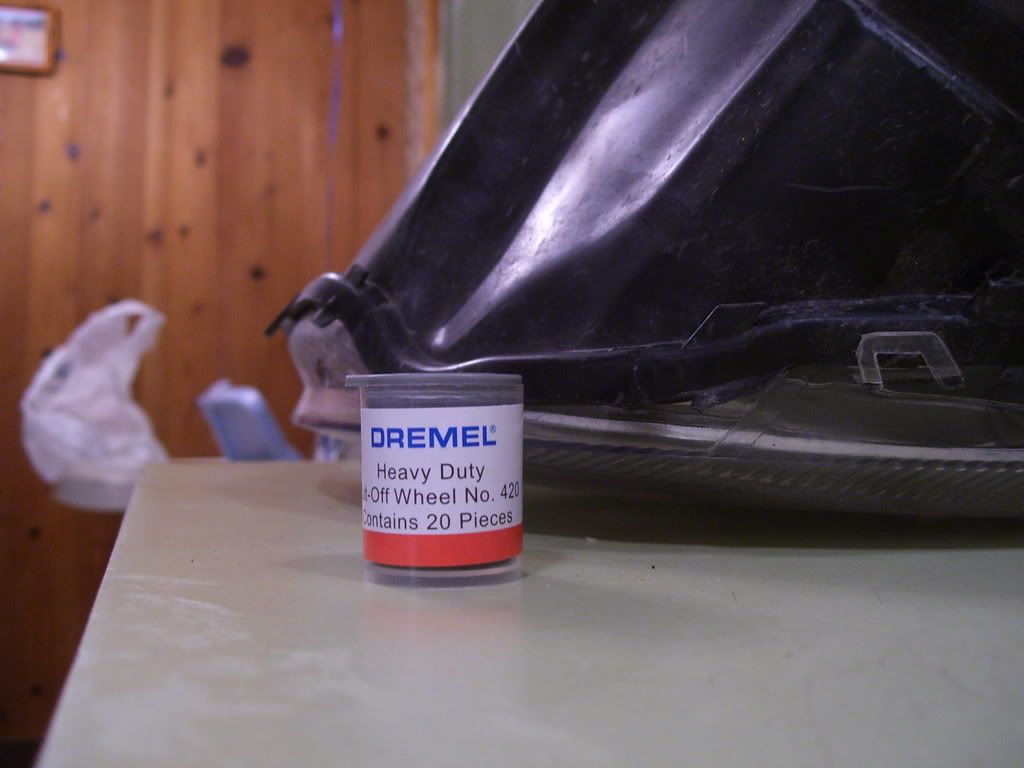
so what we do insted is use a dremel motor tool with a cutoff wheel to cut the lens away from the housing.dont panick.its not that hard to do properly.
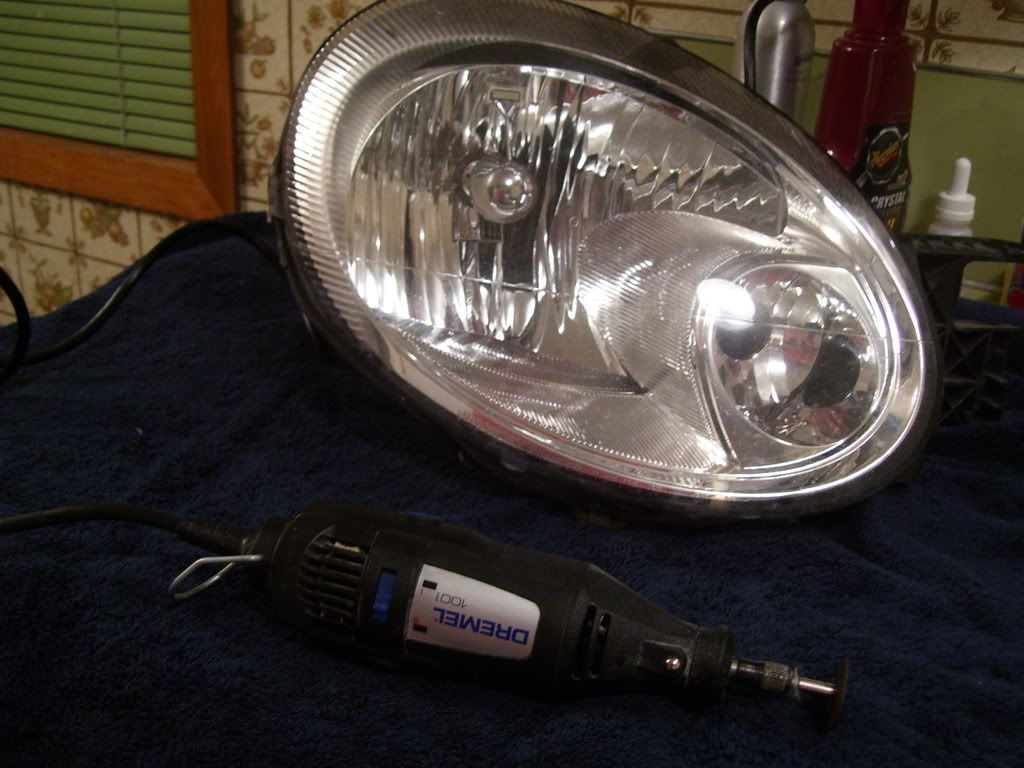
you want to start cutting as far away from the face of the lens as possible.i kept mine as close to the seam of glue as i could

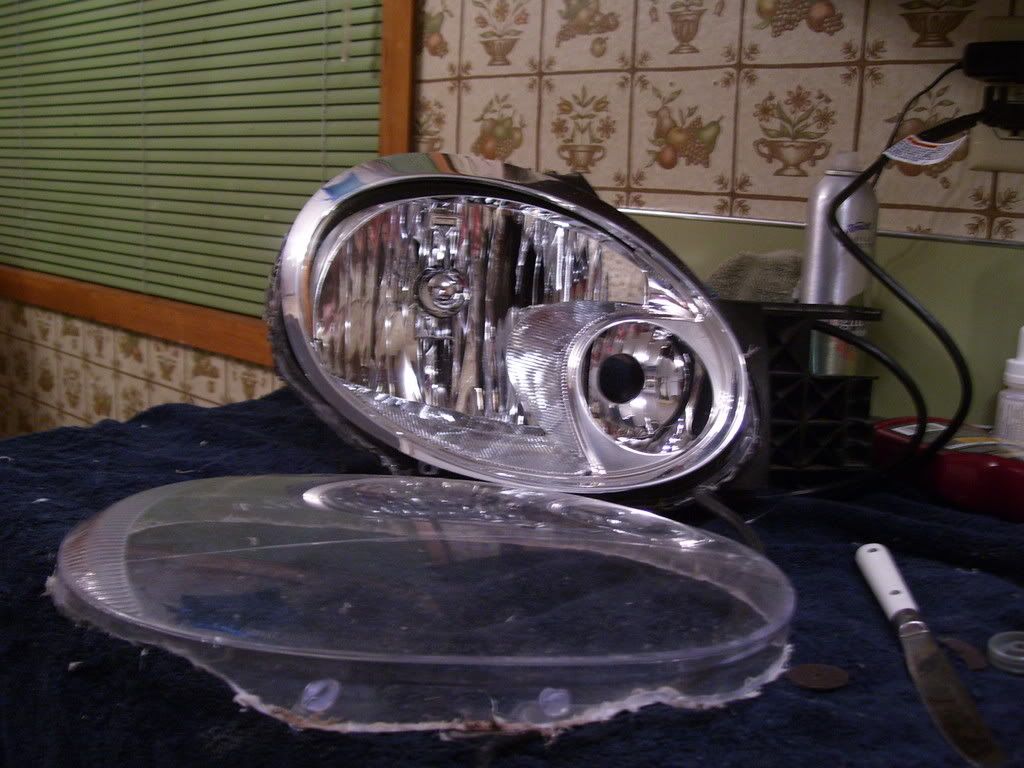
working slowly,very slowly. cut all the way around the lens.and then gently pull the lens away from the housing,it may take a lil effort cause the lens has a way of melting itself back together and you do no want to force it.it is very easy to crack the lens by rushing
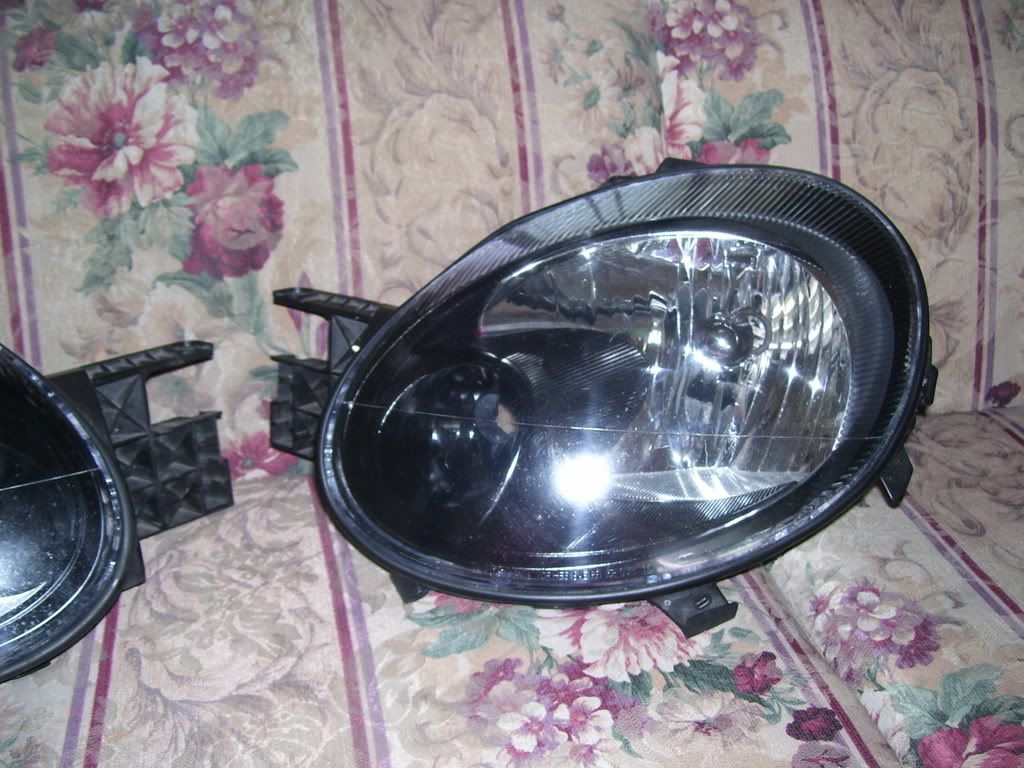
this is how it should look at this stage
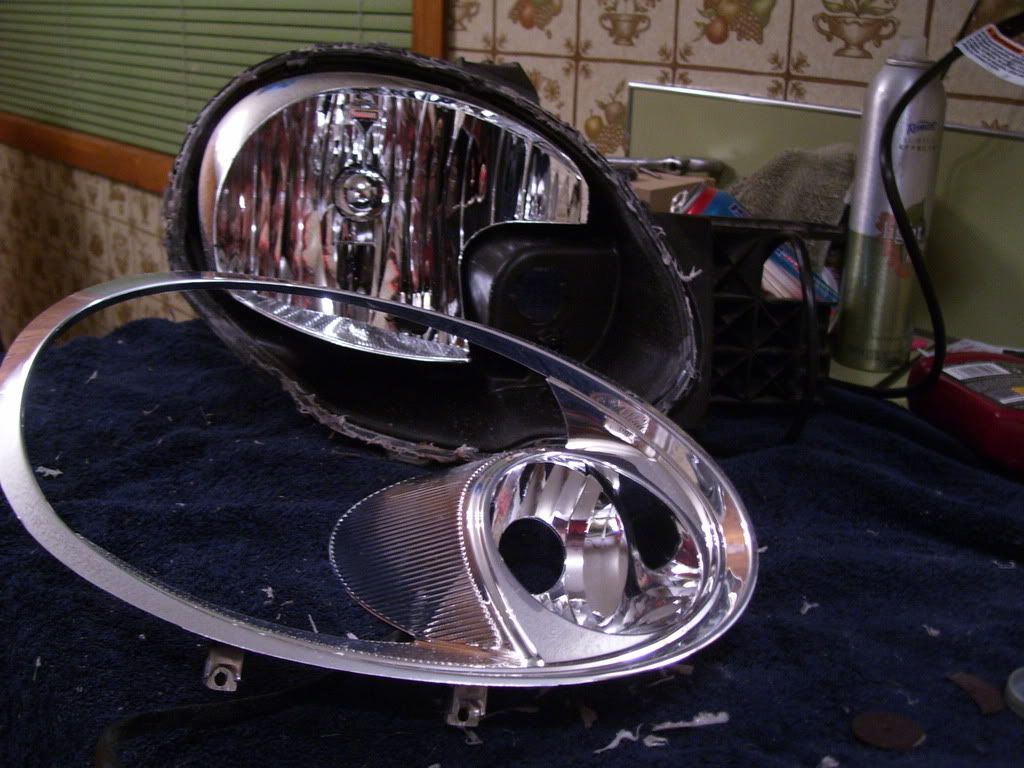
at the top of the inner head light surround there is two small tabs holding it to the main housing.i dont have pictures cause i was lazy but you will see what i mean.cut them with your cutoff disk and pull it apart
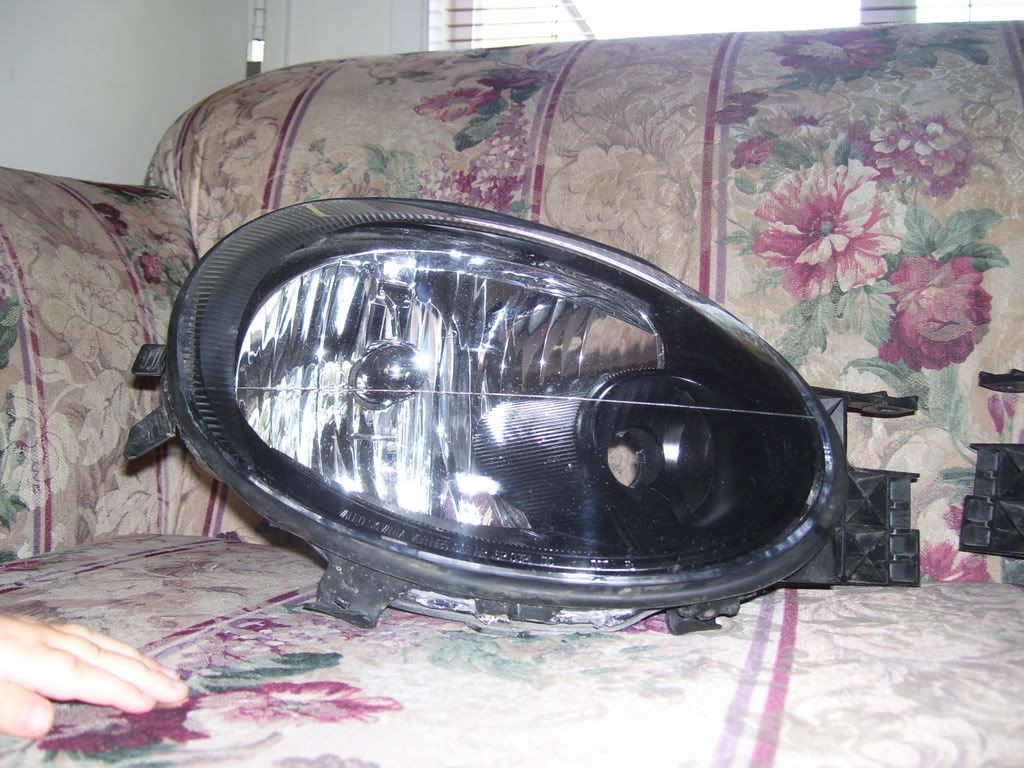
now it should look like this
now its the fun part,sanding and painting
i found out that the chrome on these lights can be removed by a good sanding with 320 grit paper and some acetone.forgive me here but none of the pictures turned out good enough topost so ill describe what i did next and you should be able to follow along easy enough;after the chrome was fully stripped and sanded,i cleaned it with dish soap and warm water.from this stage on i used disposible gloves whenever i touched any part of the head light to avoid finger oils and prints on the inside of the housing/lens.and sprayed duplicolor highbuild primer on the headlight surround,after letting it dry for around a half hour i then sprayed some duplicolor universal black auto paint in three light coats.followed by three light coats of the duplicolor clear wheel coating.i like the wheel coating cause it does not seem to be as brittle and yellow like most rattle canned stuff.i do have a shop set up with spray guns ect,but i wanted to keep this simple.after letting the surrounds dry over night i cleaned up the extra melted plastic on the lens with a razor blade and a little time,and then washed the lenses in dish soap once again wearing gloves to avoid finger prints,after they had dried a fit the now black surrounds to the housing to make sure it all lined up properly.after being satisfied with the look i fit the lens over the surround/housing.it is a little tricky to get it back on without scratching the surround but trust me it can be done.i did not bother to sucure the surround because it makes it alot easer to fit the lens if it is not.and once thens is on it wont move at all.now use some clear sealant to glue/seal the lens back up,i used some sealant that i had lying around that was very thick.i cannot remember the name of the product for some damn reason but you can find many plastic repair kits in autozone ect that will work.i will try to find the name and part number for the sealent that i used this weekend.use alot of it to make sure that there will not be any leaks and let it dry for a day or two.at this point remember no matter how shitty it looks the seam will be covered with the headlight gasket.this is what it should look like
i hope this helped to give an idea of how to do this ,i am sure there is alot that i forgot to mention but please feel free to ask.i will post more pictures soon.