Items you need to purchase
- Index cards, doesnt really matter what size, as long as you have lots of them.
- 2-4 cans of Duplicolor Engine Enamel in your color of choice (mine was gloss black)
- 2-4 cans of Duplicolor High Performance Wheel Coating Clear Coat
- Simple Green Degreaser, or something similar
- 3M red scuff pad
painting guidelines
by no means do you have to be a professional to do this, this is the first thing i painted on my car with rattle cans, and it came out beautiful. the reason it came out so beautiful is because of the wheel coating clear coat, it is very easy to use, very easy to apply, doesnt run, doesnt spot, just goes on smooth. due to the nature of this paint tho, i highly recomend u start in the mornign early to give them enough time to thouroughly dry.. .you will still be smelling paint a week later tho, just to forewarn you.
but the first time i painted them, i had to leave, so i put them on VERY carefully after 2 hours of drying, and they survived
what to do
the first thing you want to do is get your car in the air. if you have a full set of jackstads that would be best. if not do what i did and work on two wheels at a time.
once you remove the wheels you will want to remove all the weights from them with a pliar and clean them very well with the degreaser and a sponge from your house (dont let the wife/mom/girlfriend find out
once they are nice and sparkly this is the painfull part, the part of no return.. start hitting them with the scuff pad, make sure to get every single little part of them.. you will be there at least 30 min on each wheel if youre on an r/t wheel. and they will look like crap while youre scuffing. once done, rinse clean and let dry
open up your pack of index cards and place them in between the tire and the wheel to mask the tire off. make sure there is little to no wind, or youre doing it in an enclosed (but ventillated place) or the cards will fly out and mess up the paint and you will get mad (dont ask me how i know
i didnt primer, or do any other prep other than clean and scuff. and mine are holding out for about 8 months strong. i didn't do the insde of the wheels. and you cant even notice so at this point, grab of can of engine enamel and shake. i put light coats, but not too light .. just enough and let dry. the hardest part of painting my r/t wheels is getting inside the spokes. you literally have to spray from every direction to get every little bit. this is another part. .that in between waiting to dry and re-coating should take about 1.5 -2 hours per wheel. but if you do all 4 at once, you can save time.
once you have the wheel(s) nicely coated and basically dry, its time to hit the clearcoat. i tried light coats of this clear.. but i personally hit it with thick coats. like where i would hold the nozzle down for a good 2 minutes spraying from every direction to get a nice thick coat on it. like i said before . .it goes on smooth so you dont have to worry.
after all 4 are cleared. you should wait a good amount of hours.. id say at least 4-5 before touching them. when i put mine on after 2 hours, if i pressed my finger softly into it, it would leave a fingerprint. so 4-5 hours should be ok.
when mounting them back on, carefully put the lugs in and tighthen them.. they will still be pretty vulnarable that day. so try not to drive unless you have to. once you feel a little better driving them. .. go get them balanced again.
and youre done.
8+months later mine are still looking brand new. .EXCEPT for one little chip from me dropping a $700 snap on air gun on it
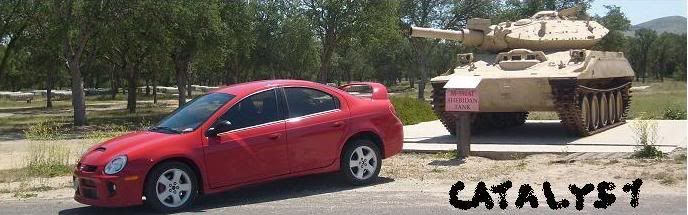
before

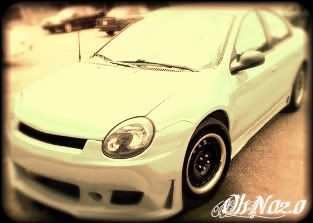
after