You can order one of these from your dealer and have them key it for you, and I'm not sure if there is a charge or not. But it just seems like too much of a hassle, so I decided I'd try and do it myself. I wanted to write this guide as detailed as possible so that anyone who wants to do this can easily do so.
Disclaimer: Just so you know, removing the the lock cylinder from its housing WILL break the tabs that hold it securely in place. I have not found a way to do this otherwise, or to properly fix it. However, the cylinder will still snap back into place and hold, just not as snugly.
You will need:
-At least one locking glove box mechanism, but probably more. This is because you will need the proper cylinder blades(not sure what these are really called), which I will talk about later, to key the cylinder to your key. Not all cylinders will have the blades you need.
-Needle nose pliers
-1 large and 1 narrow/needle nosed vise grip.
Other Notes:
-This may not be worth the time to most people. The keying process is relatively easy. The hardest part is probably finding enough of these locking handles. I was very fortunate myself, in that I found four on the same day at the same junkyard. You can choose to order these new, but ordering more than one just to tear them apart seems kind of silly. I'm not sure how much they are new, but they were free for me since I just shoved them in my pocket. lol.
-One cylinder may contain the three blades you need, and you won't need more than one of these locking handles.
-I am in no way a locksmith, and this process was pretty simple!
-I'm really sorry about the pics, the camera I used has no macro feature and not even auto-focus..
Okay, let's get started.
Removal:
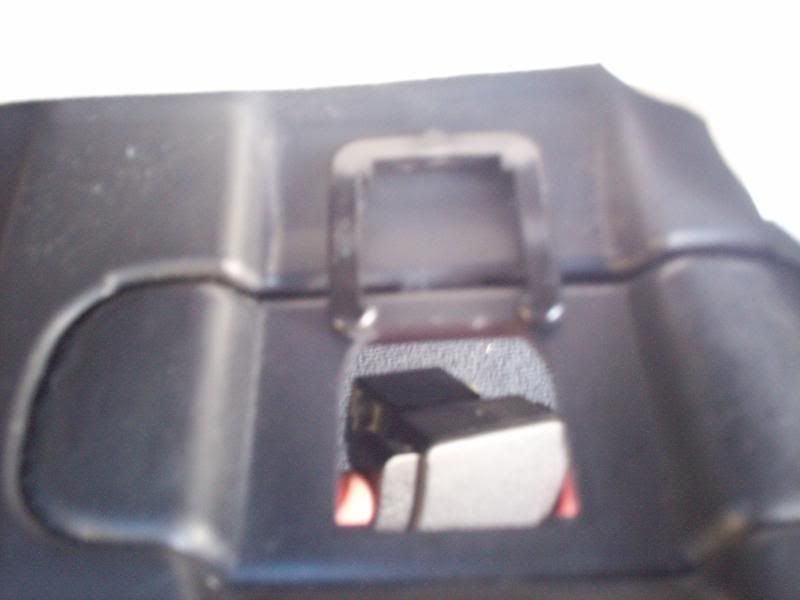
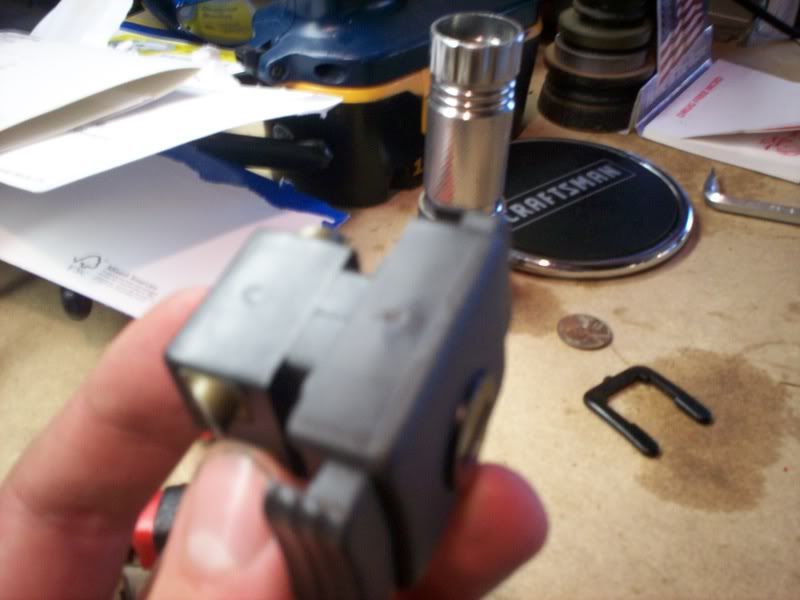
To remove the locking or non locking mechanism from the glove box, simply remove the U-shaped clip at the base of the mechanism on the inside of the glove box. Use pliers or a flat head screwdriver. The whole mechanism will fall out, and you must pinch the buttons to pull it out of the hole.

Disassembly:
The front cover of the mechanism simply pops off. Lift up either the top or bottom and pull it off.
Remove the two pinch buttons on either side if they haven't popped off already. These are not attached and should fall right off without the cover on. Note that there are small springs inside each of these buttons, be careful not to lose these!
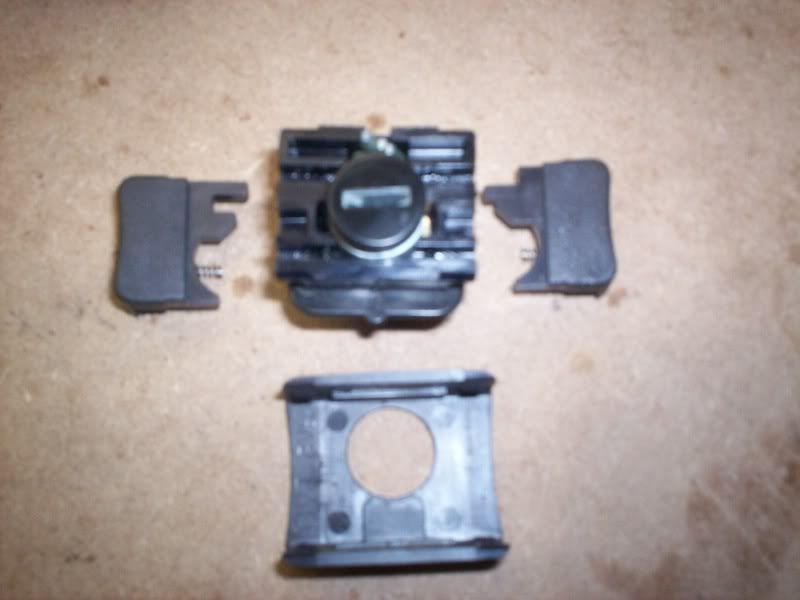
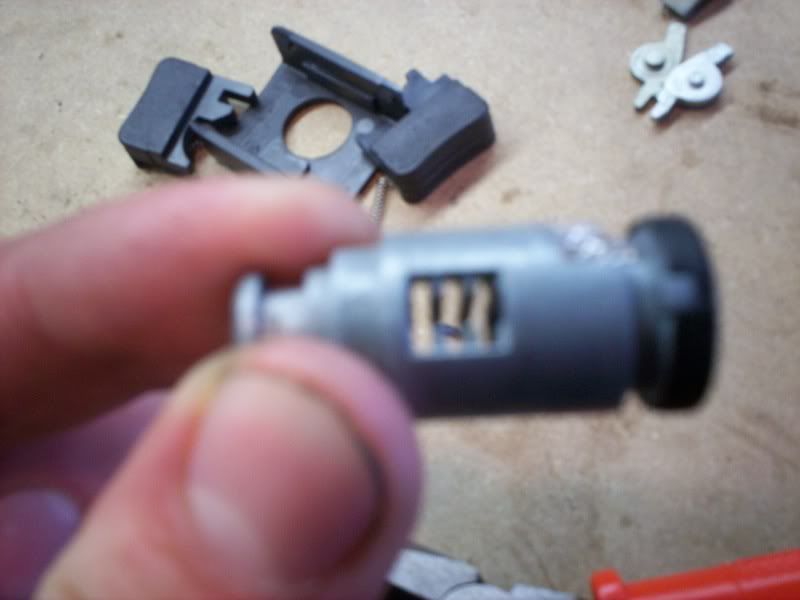
Now you can see the lock cylinder itself as well as the two cams that drive the close pins at the back of the body of the mechanism.
You DO NOT need to remove the cams and close pins as I did. They are not part of the locking part of the mechanism. Be aware that the cams could fall out though, in which case the close pins will fall out as well.
With your large pair of vise grips, lock them around the base of the body, right below the close pins. Ensure they have a tight grip. With your narrow nosed vise grips, grab the small tab at the top of the lock cylinder itself. It should be pointed straight up towards the top of the body.
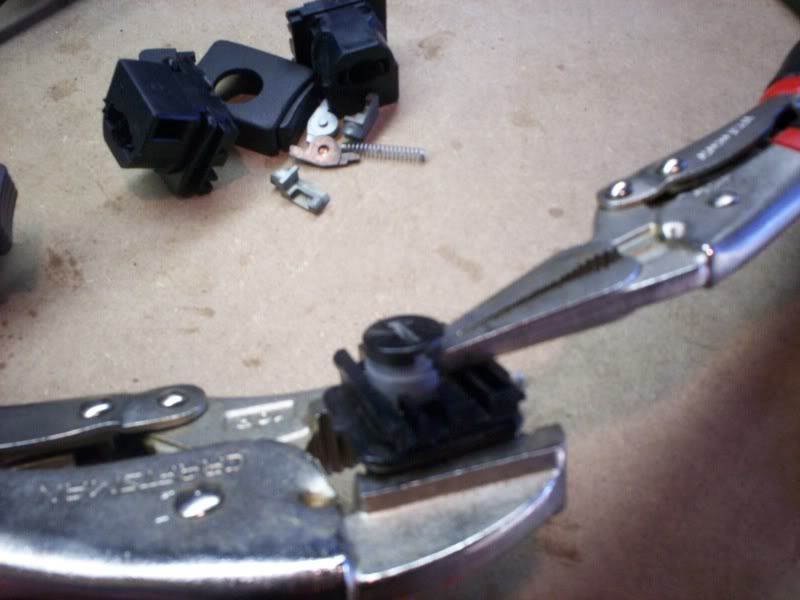
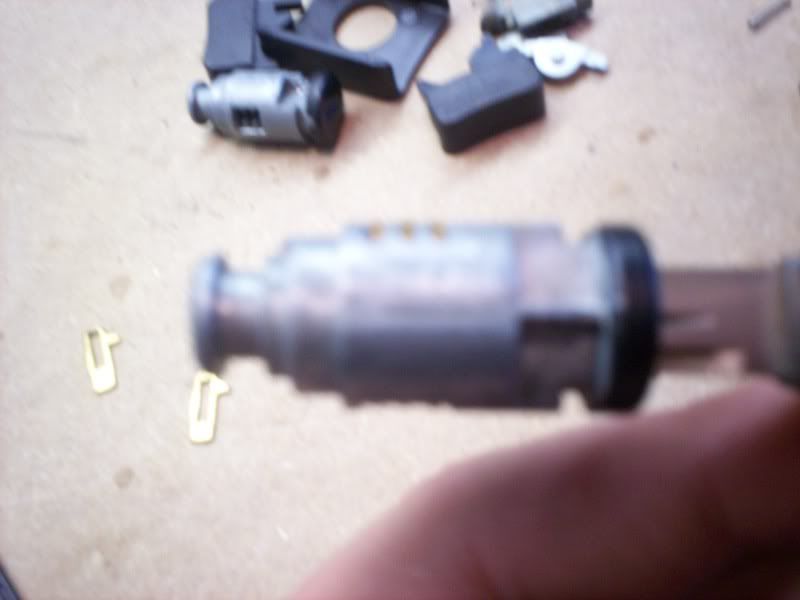
Gently but surely, pry the lock cylinder out of the body. This may take some effort, but it will pop out.
Keying the lock cylinder:
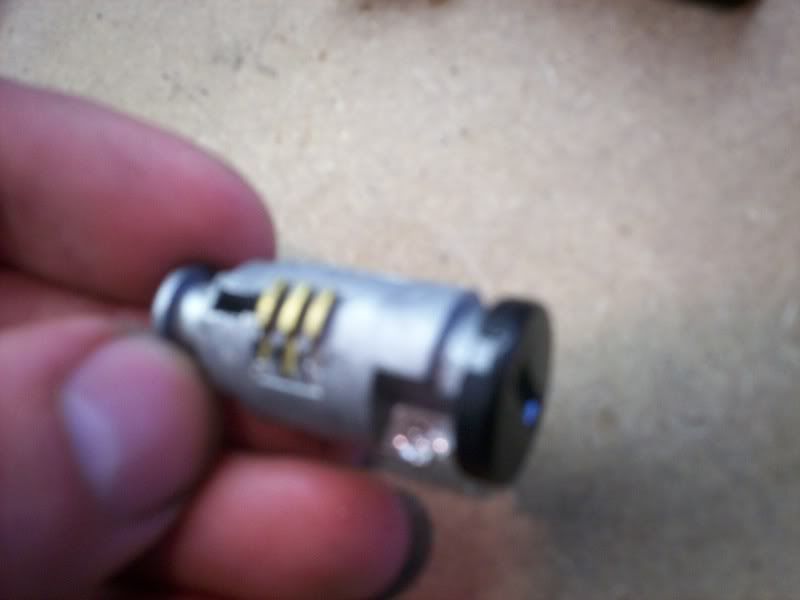
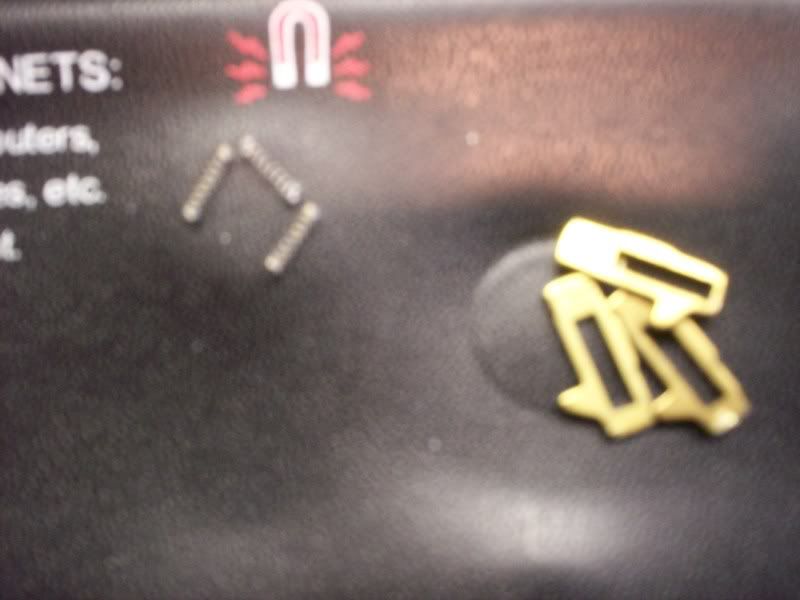
Note: Of the four cylinders I have, I have only three different lock blades. These blades are numbered 2,3,4, and correspond to the size of the cutout in the blade. Each lock cylinder will have a different arrangement of these blades, which allows them to match the key they were intended for. By replacing the blades with the ones needed for your key, we key match the lock and make it usable for your key. There could be more of these blades used out there, but of the four locks that I have I only have 2's, 3's and 4's. The number is printed on the blade itself.

With the lock cylinder in hand, remove each of the three blades by pulling them out with your pliers. They are sort of "locked" in the cylinder, but easily come out when pulled on. Each blade sits in a slot with a small spring inside. Be careful when removing the blades, because the spring can easily pop out and become lost forever on your garage floor. They are pretty tiny.
This is the part where you may need more than one lock cylinder. Since not all lock cylinders will have the specific blades you need, you may need to have multiple ones to get the right blades.
Matching the blades to your key requires some trial and error. I think I have figured out the blade-key code that's used, however.
If you look at your ignition key, you should notice three different "altitudes" on either side, which consist of peaks and valleys. The number on the blades correspond to this elevation on the key, with 2 being shallow, 3 being in the middle, and 4 being the highest peak on the key. This was the case for mine, and I am in no way certain if this is the way for all keys. But I think it is safe to say if there was a 1 or a 5 numbered blade, it would follow this trend.
In my case, the code I needed was 2,2,3. So I put those blades in the order according to my key, and voila; the blades become flush with the cylinder when the key is inserted. This is when you know the proper blade order, when each of the three blades are perfectly flush to the cylinder. Any protruding part of any blade will not allow the cylinder to turn in the housing, keeping it locked. To insert the blades back into the cylinder, first ensure the tiny springs are in each of the three slots for the blades. Then insert the blades in the proper order for your key. Use pliers to snap the blades into place; they should move freely when properly seated, and spring up when not under pressure.
Reassembly:
Now with the lock cylinder properly keyed, we can put everything back together and install it into our glove box.
Insert the cylinder back into the body, with the tab you used to pull it out again facing upwards. When its pushed all the way in, there should be a satisfying "pop", letting you know it's reached its locking tabs. Now on mine, these broke off to an extent when I removed the cylinder, but nubs were left which still allowed the cylinder to be held in place. On each one I did this with, the tabs repeatedly broke off upon removal. I'm not sure how to fix this short of buying a new, unused housing somehow.
Anyway, once the cylinder is back in place, take each of the pinch buttons and pop them back on the body. They are labeled L and R for left and right with the front of the mechanism facing you. There is a small spring in each button that needs to line up with a cutout on the body, and then a small tab on each that slides on a track leading to their respective cam. Make sure these line up when reassembling.
With the buttons back in place, snap the cover back on. It can only fit one way.
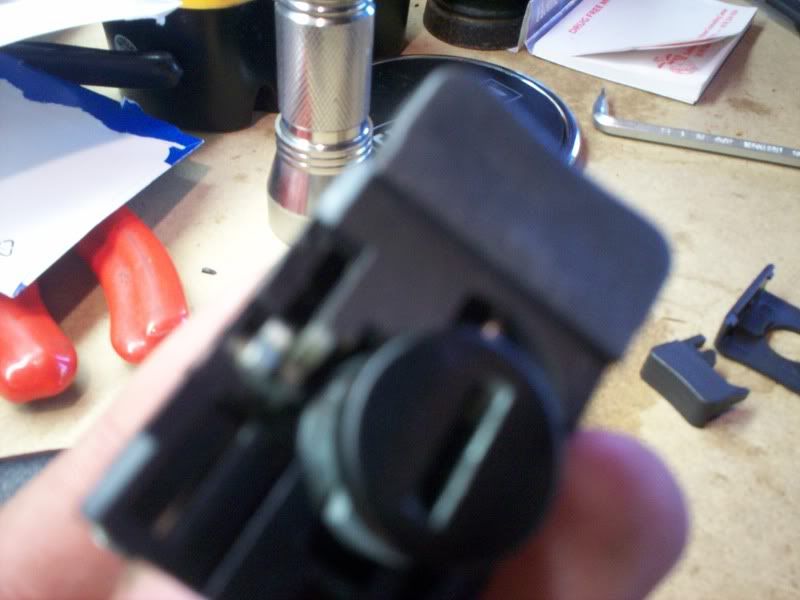
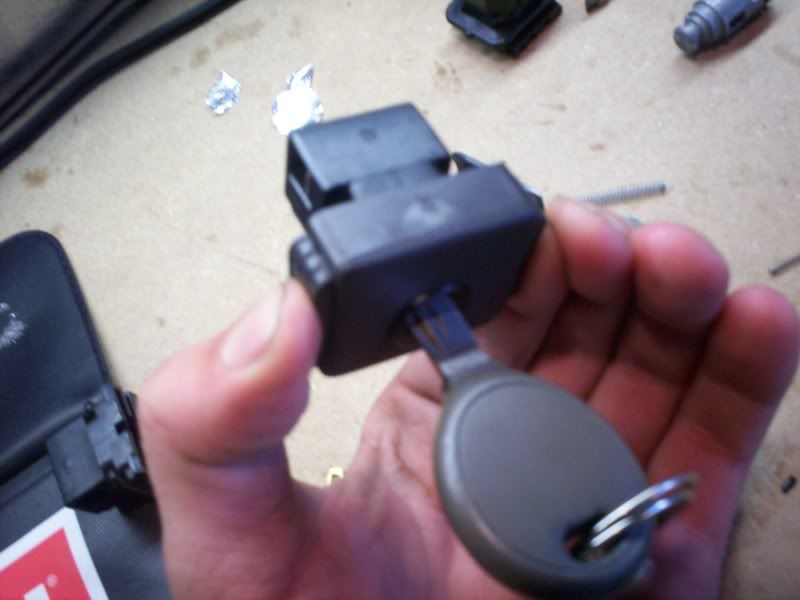
Be sure to test that the lock cylinder works properly. With the key inserted and the lock cylinder in its unlocked position, the small tab on the cylinder pointed up, you should be able to turn your key a full 180 degrees clockwise. This prevents the pinch buttons from moving inwards and hitting the cams, which prevents the cams from retracting the close pins, which in turn effectively locks the glove box.

Now simply insert the locking mechanism into the vacant hole in your glove box, which it can only go in one way, then press the U-clip back around the body.
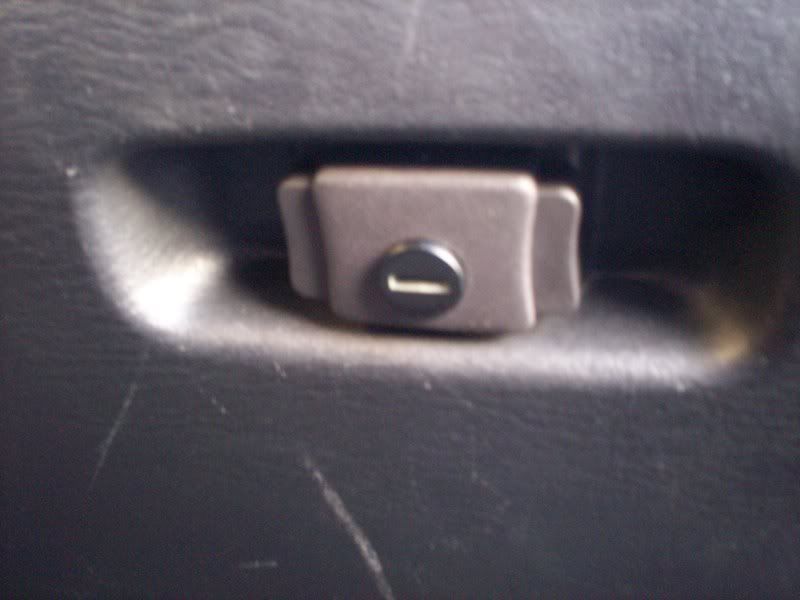
Tah-dah! You now have your glove box lockable to your key!
This is kind of extensive for such a simple thing, but for you DIY-ers out there who want this it should be a piece of cake! I hope this was useful.
[/img]