Very straightforward deal. heres the step by step, excuse any mistakes this is from memory (second time installing exact same setup).
1. park car in fourth gear and pull ebrake up as far as possible. ---now would be a good time to disconnect the battery too! good habit when workin on cars!--- Also remove stock/aftermarket knob at this time.
2. Remove center console (4 bolts in armrest compartment, 2 in lower cupholders). Pull up from back and work it off.
3. Pop off stock shift bushings (2) on either side of the assembly. they are small, round, holy, and black. they are stuck on the linkage pins and might be tough to get off, but theyre much easier than boogers! Pry em off, and wear gloves cuz hands smack stuff in this small workspace!
Now we can get to the hard part!!!
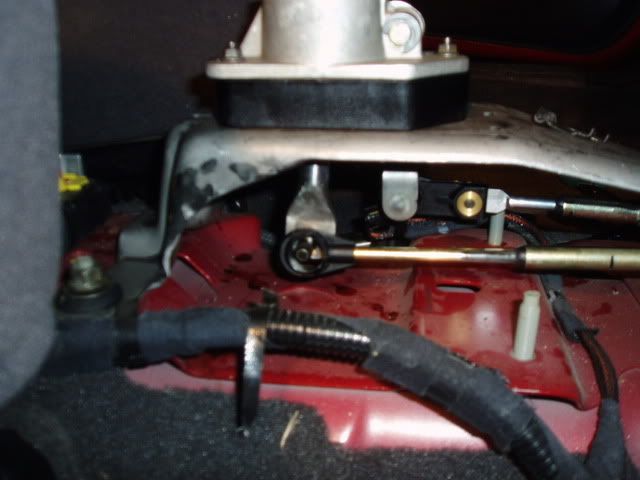
4. Remove shift linkage clips. NOTE: on some cars (mine) this is VERY difficult. Use channel locks or something with a ton of grip. Wear gloves if possible. The clips are located between the linkage and the assembly toward the front of the assembly. SEE PIC BELOW. grab ahold of em and pull away from assembly.
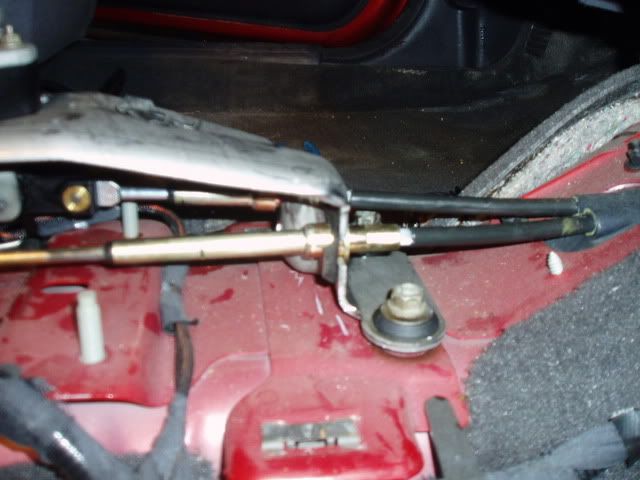
5a. Pop off linkage (use some force and be careful not to break anything). Pull from strong points of the linkage.
5b. The assembly should now be free from the linkage. move it to the side and unbolt and remove the stock assembly (4 corners, 4 nuts). Be sure to keep track of the nuts (and save the old bushings unless theyre totally worn out, just in case).
6. Drop the new assembly into place over the studs and lightly tighten the nuts to hold it in. This would be a good time to upgrade to JM solid cradle mounts. See below link for more info.
http://forum.2gn.org/viewtopic.php?t=11 ... ght=cradle
7. Pop the linkage back in (easier in than out), and get those pesky linkage clips back in nice and tight!
8. Get those fresh boogers (or stockers if you didnt go for the upgrade), and get a finger of grease from the joint of the shaft/assembly and apply it to the linkage pin. Slide the bushings in (Boogers come with basic instructions for further help). Make sure theyre in GOOD. Let your pliers double check for you.

8. Check to make sure the shifts are clean and correct. They should be VERY tight and have almost zero play. Shifts may be unusually difficult for the first few weeks (or days, depending on use), so hang in there and prepare to be sore for a day or two.
9. All done! carefully put everything back together. Dont get too excited, time for tranny bushings!
TRANNY BOOGERS:
1. Take out stock airbox (CAI can stay if u have one)
2. Disconnect battery (if you havent already).
3. Remove battery by loosening the release clamp behind and infront of the battery/tray.
4. Remove battery and tray (lots of small bolts/nuts)
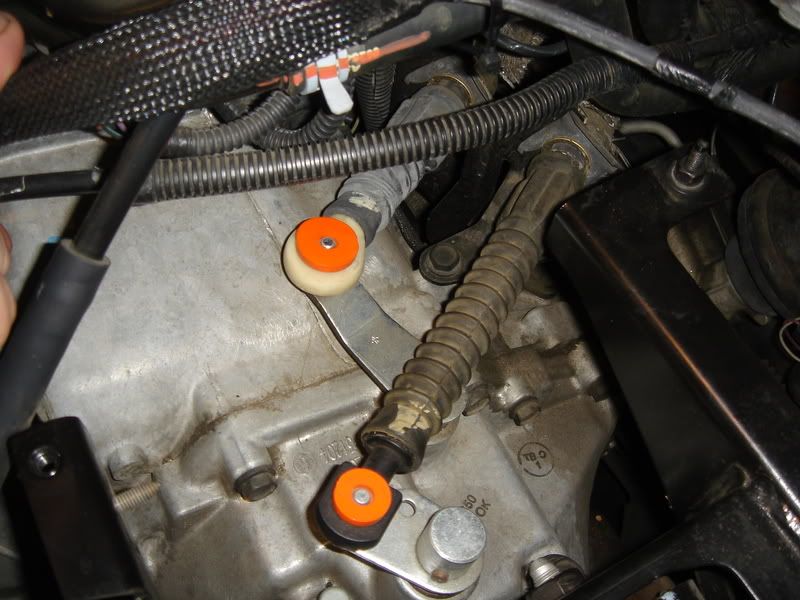
5. Access bushings (2) and remove, just like shifter bushings, except one is bigger than the other three.
---Be sure to use grease if possible to get the pins in there smooth.
6. Install new bushings exactly the same as on the shifter.
7. Reassemble what you took apart and youre done!
GO DRIVE!
Special thanks to nate-00neon for his assistance in getting the images back up.
OB