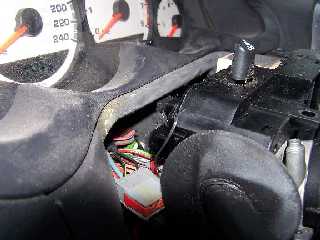
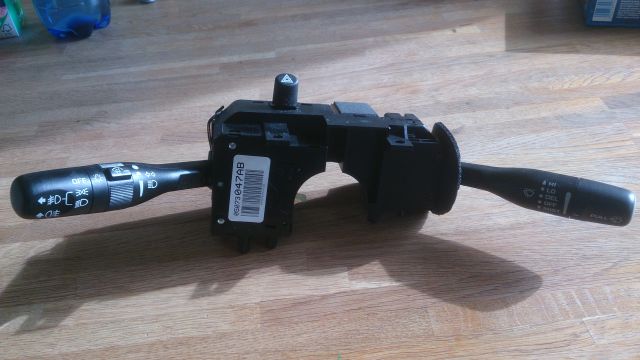
Thanks to the posts in this thread (and especially to Gnuserup who provided some extra advice through PMs), I managed to refurbish my MFS and fix my fog light toggle which would not turn off anymore.
I would like to add to the advice in this thread through my own experience in fixing the switch.
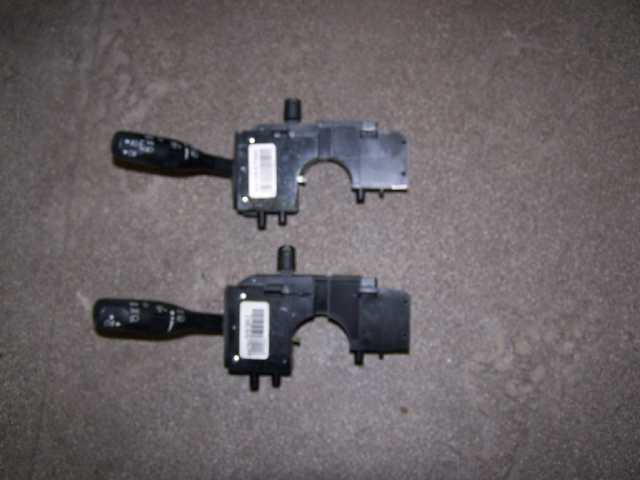
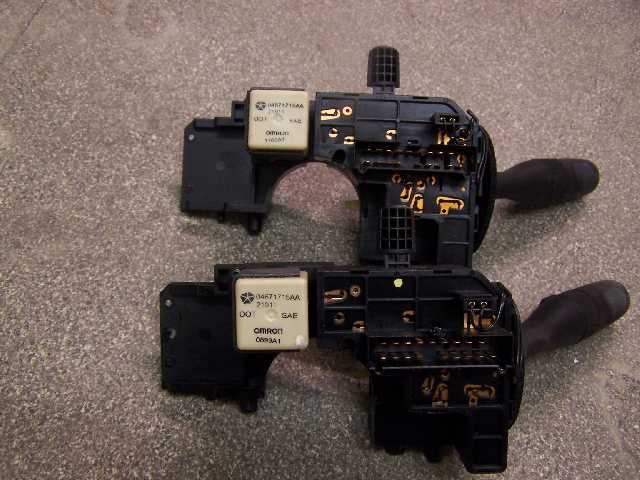
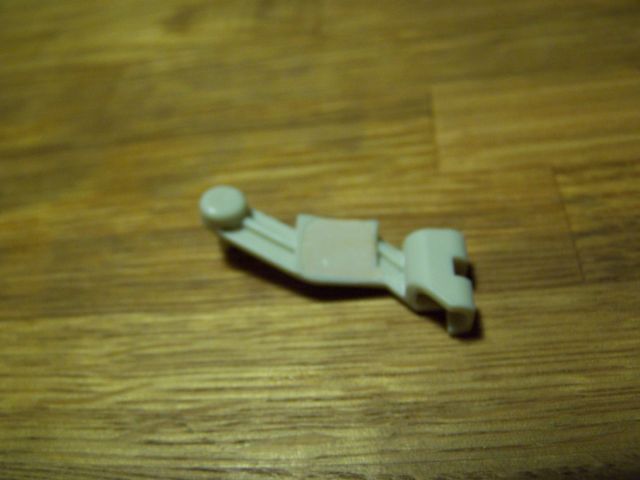
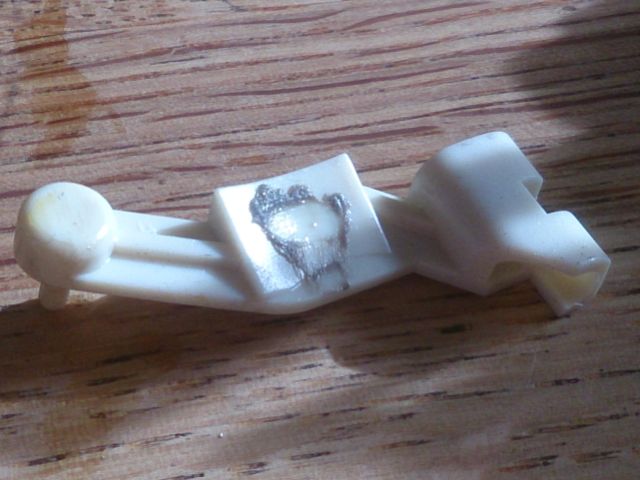
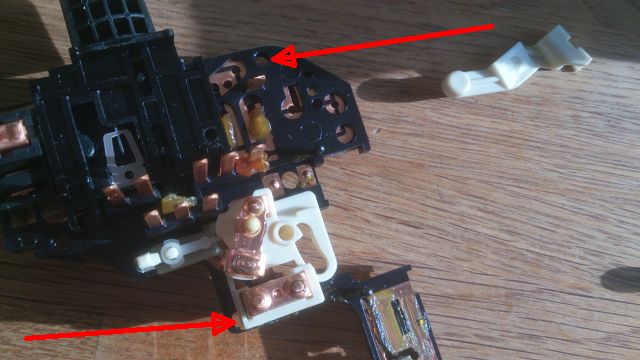
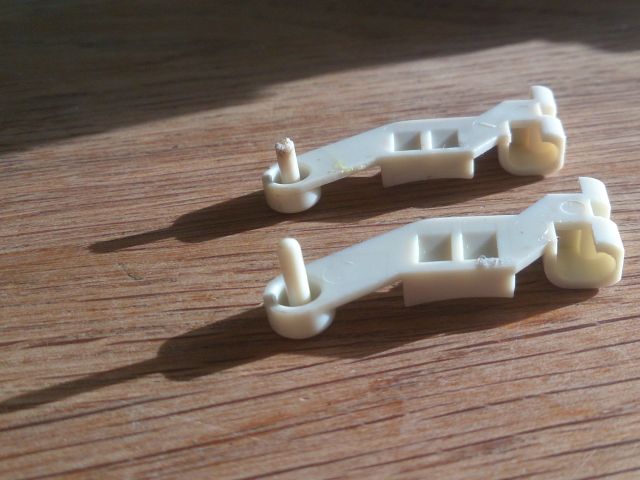
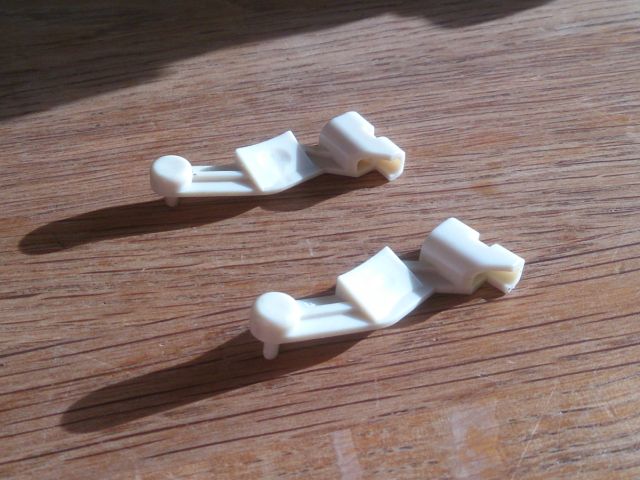
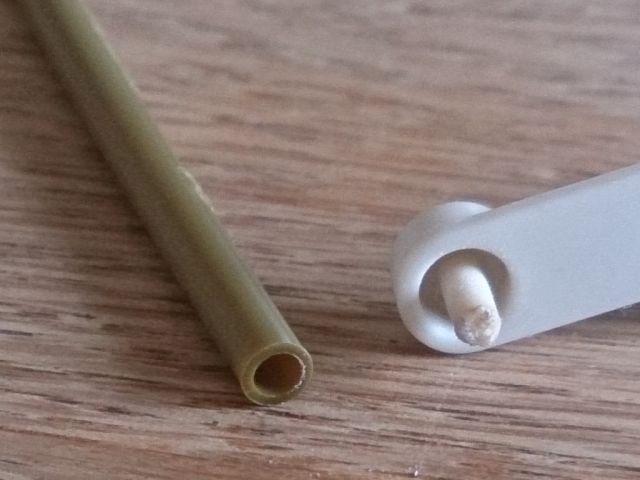
For those of you who are less mechanically inclined/lazy and have a BUX model (although if you managed to remove the switch from your car and open it, you're probably not in either category), you can cannibalize the little white piece that develops the groove in it from a new switch. The switches with rear fog controls are hard to find and expensive: there aren't any aftermarket manufacturers like there are for the domestic MFS.
I had bought a new US aftermarket MFS for cheap on eBay in despair after not finding a BUX switch for a reasonable price, before I had discovered that I can simply fix my current BUX MFS. Instead of using 2K and all the methods here, I just replaced my worn out white piece/arm with the one from the new switch. Good to go!
Also, nearly all the other parts are swappable. So this is a great way to really overhaul the BUX switch with fresh, new internal parts all around.
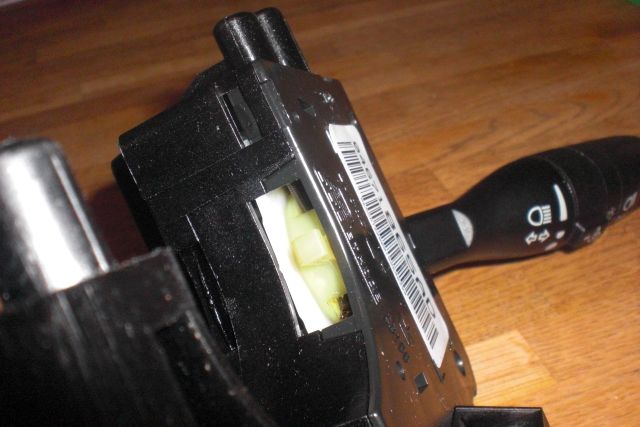
Now, upon reassembly, I hadn't realized that the slider piece for the hazard switch was out of place. I used elbow grease to force the back panel back onto the switch, when I really shouldn't have! I then forced the hazard relay back in, when I REALLY shouldn't have.

So when I turned the car on and used the blinker, there was a loud buzz for a second or two and my blinker/hazards peaced out

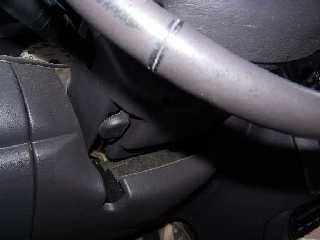
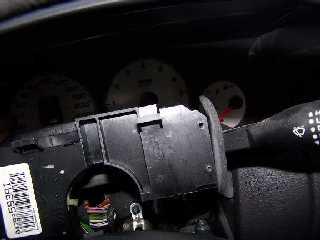
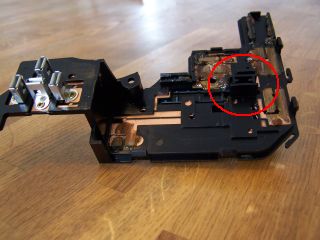
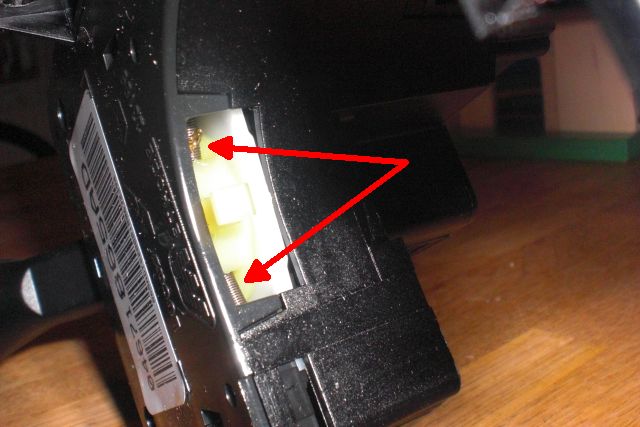
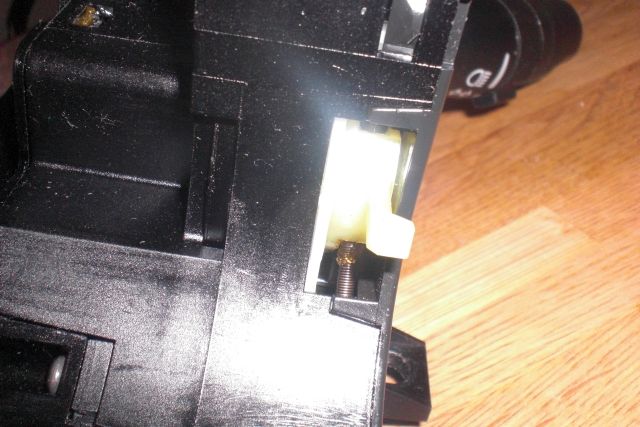
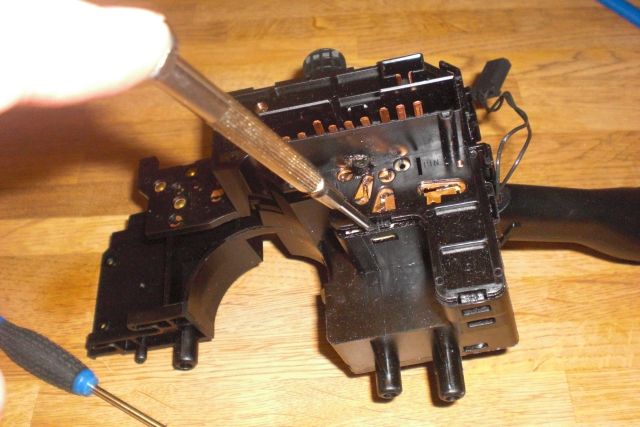
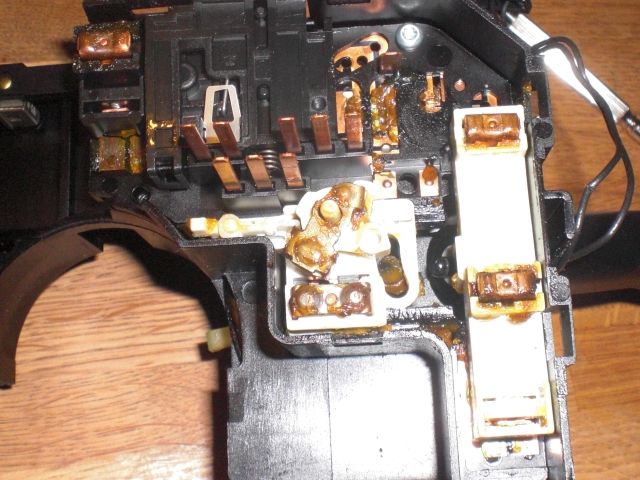
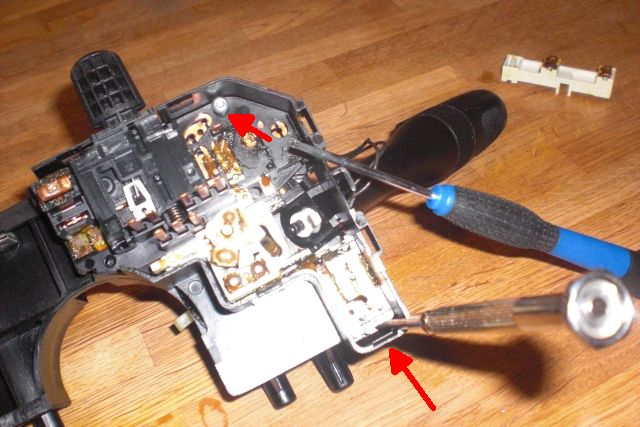
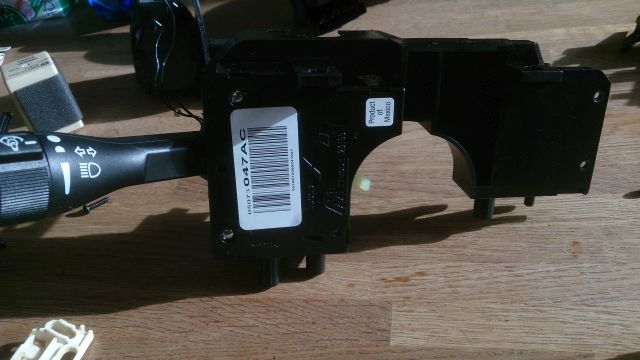
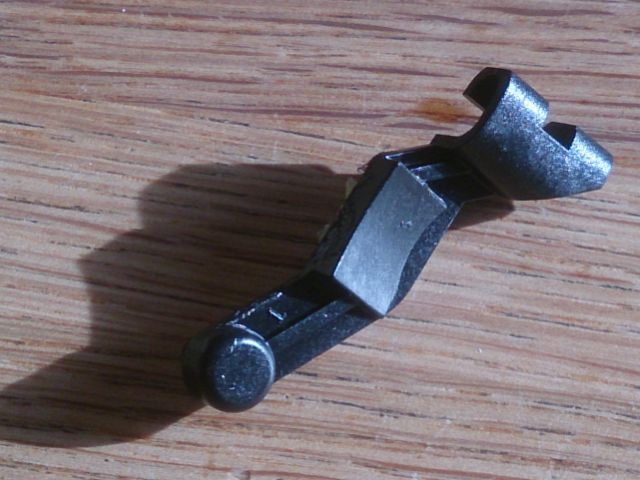
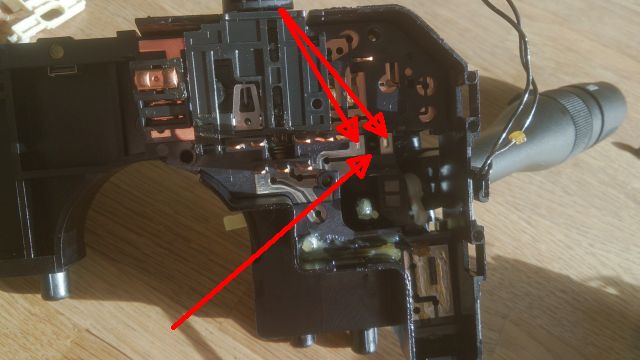
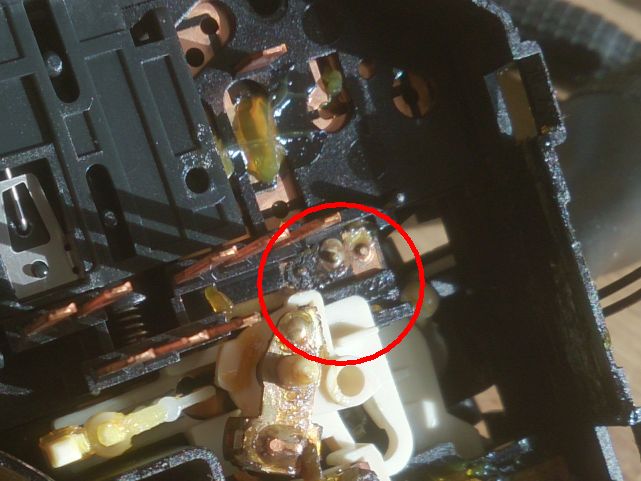
I removed the switch from the car and suspected that my force had screwed something up inside the switch. When I opened it back up, this is what I saw:

I had bent the prongs and probably caused a short circuit.
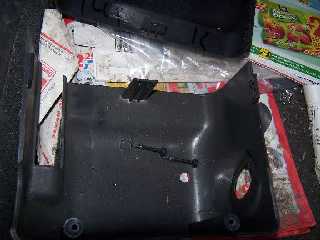
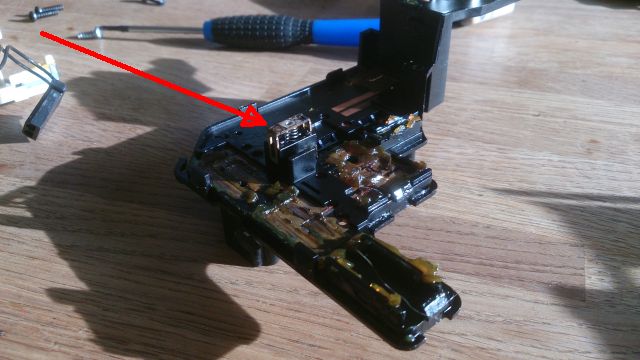
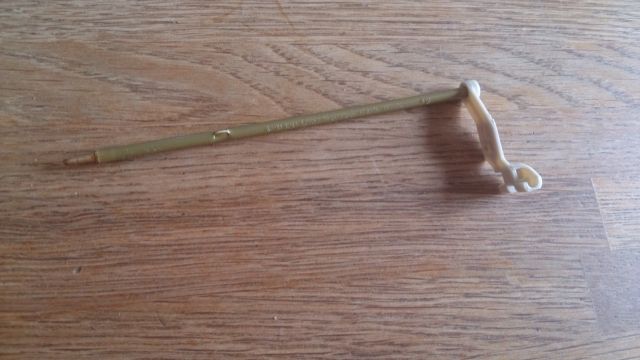
I had to head down to the Tel Aviv dealer to buy a new hazard relay and this is what they gave me:

A 14 year old part that had been sitting in their warehouse since the first 2Gens arrived back in 2000-2001!!! And it was their only one in stock, so I hope nobody else here in Israel burns out their hazard relay.

I used the back panel from the US market MFS, popped in the new hazard relay and put the switch back in. Turned on the car and.... STILL no blinker/hazards!!!
So the next thing to check is fuses. I popped the fuse panel and saw fuse 1 is for power mirrors/hazards. Instead of popping out the fuse, I tried adjusting my mirrors. They worked -- this fuse isn't burnt.
I moved onto the relay center in the engine bay and saw there was another fuse for hazards. Popped that sucker out and it was burnt out. Put in a new fuse and tada: we have blinkers again!
I hope my experience helps others in the future who may have to deal with these issues.