I found two ways, one is with ccfl rings, and the other is with led strip. ccfl is bright, but thin, fragile and expensive. The last time i check it's about 40-50 for a pair of custom size ccfl ring, and then after that you run into the problem of making it look good with the whole ring on.
The other way is to use led strips, but then you get the problem of it looking spotted (like led taillights), so i thought of a way to make it so that it doesn't look spotted (at least not unless you know it was led). Also it's cheap! $5 shipped for two white led led strips, so you can do both headlight with $10.
The whole concept is to dremel off the reflective backing behind the halo leaving only one or two sections connected and put the led strips so that it shines through the hole and through the semi transparent halo ring. I've attached some pictures, so hopefully it'll help anyone who's tired of looking at halo ring that doesn't exist when the HID is on.
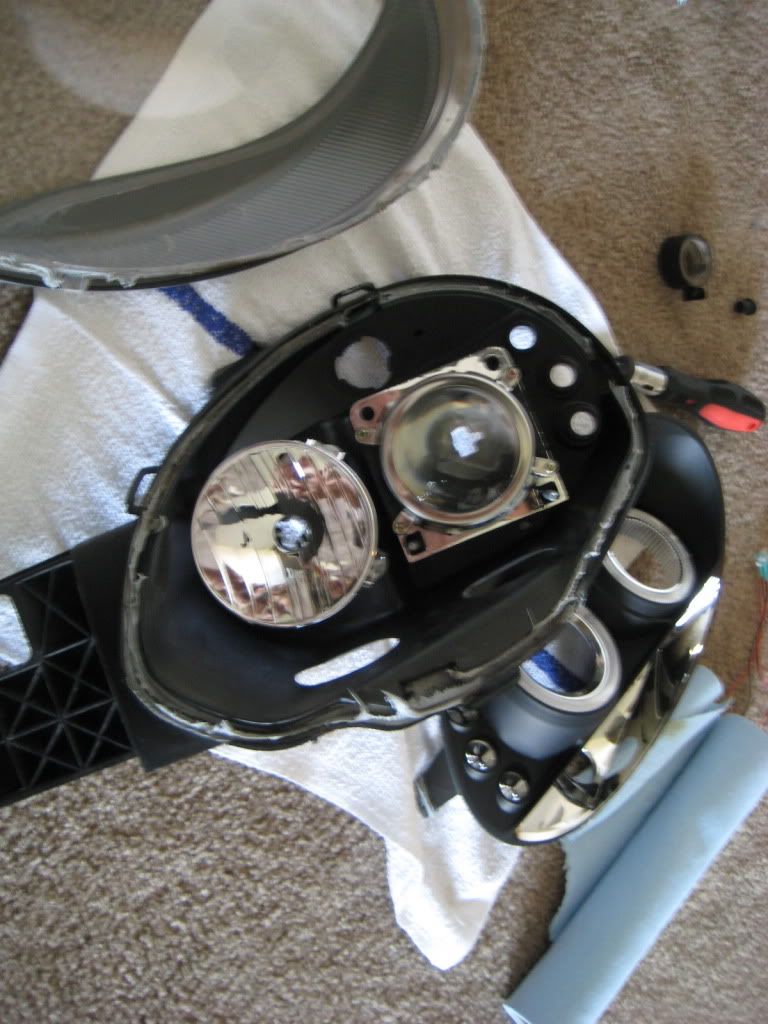
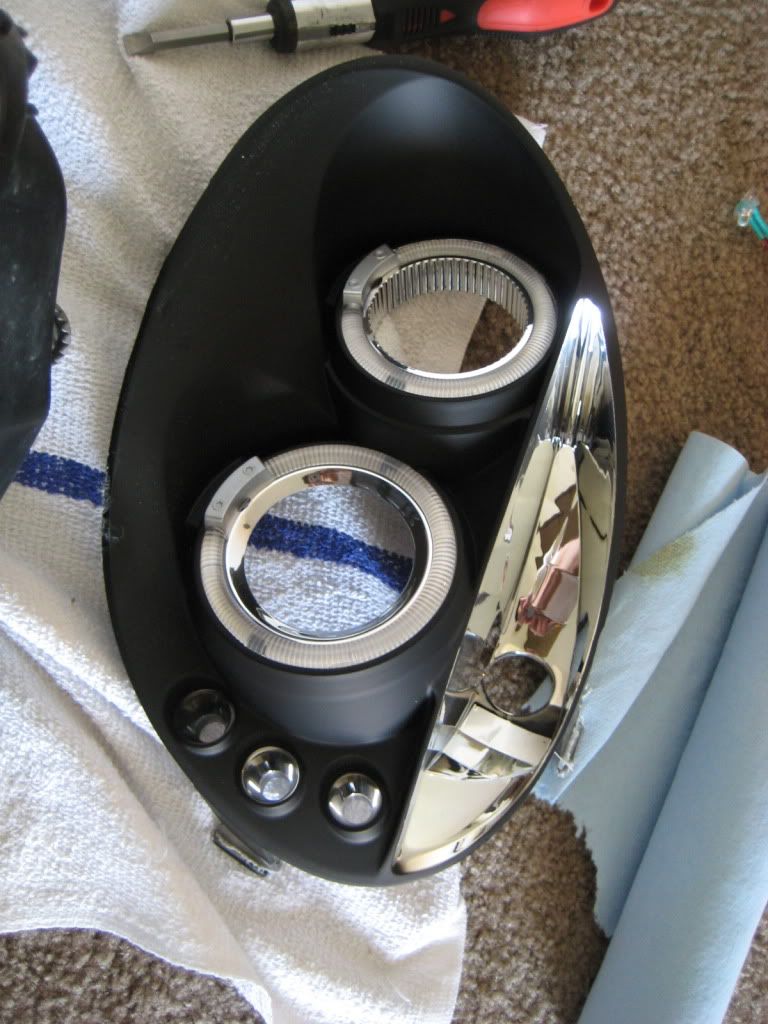
So the first thing is to bake that headlight at 250 for about 10 mins (mine took only 8 mins including warm up time). Then i just pull it open (make sure to unclip the clips around the headlight).
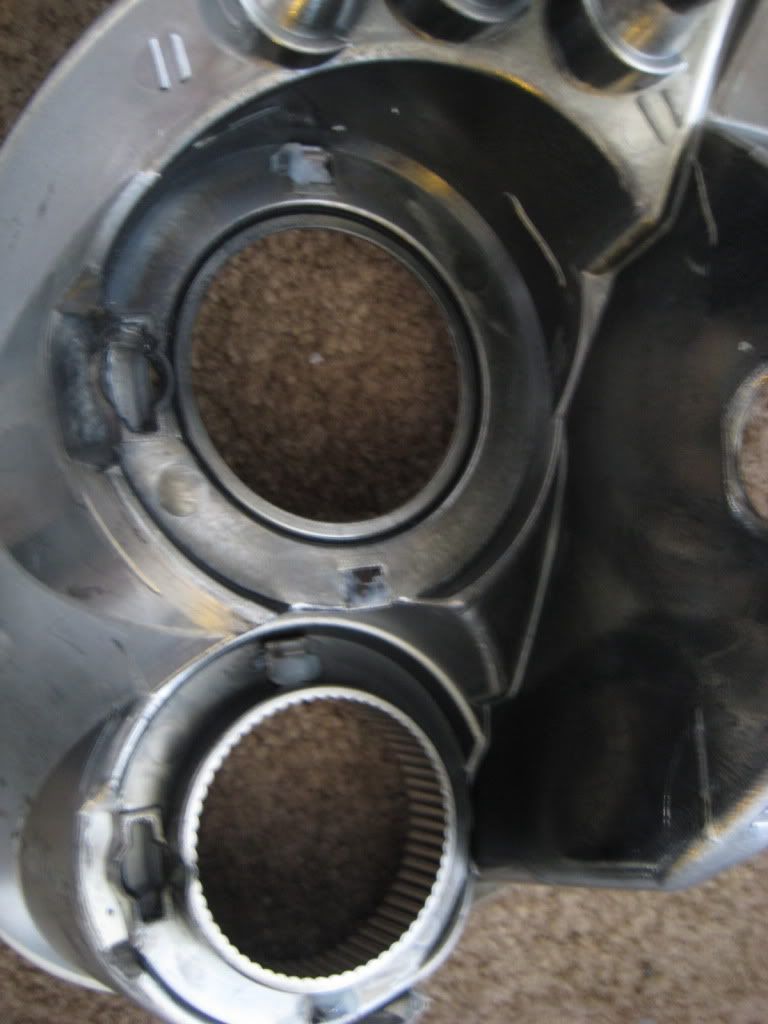
You get this after you opened. You just want to work with the front panel (2nd picture). This is how it looked from the back (3rd pic).
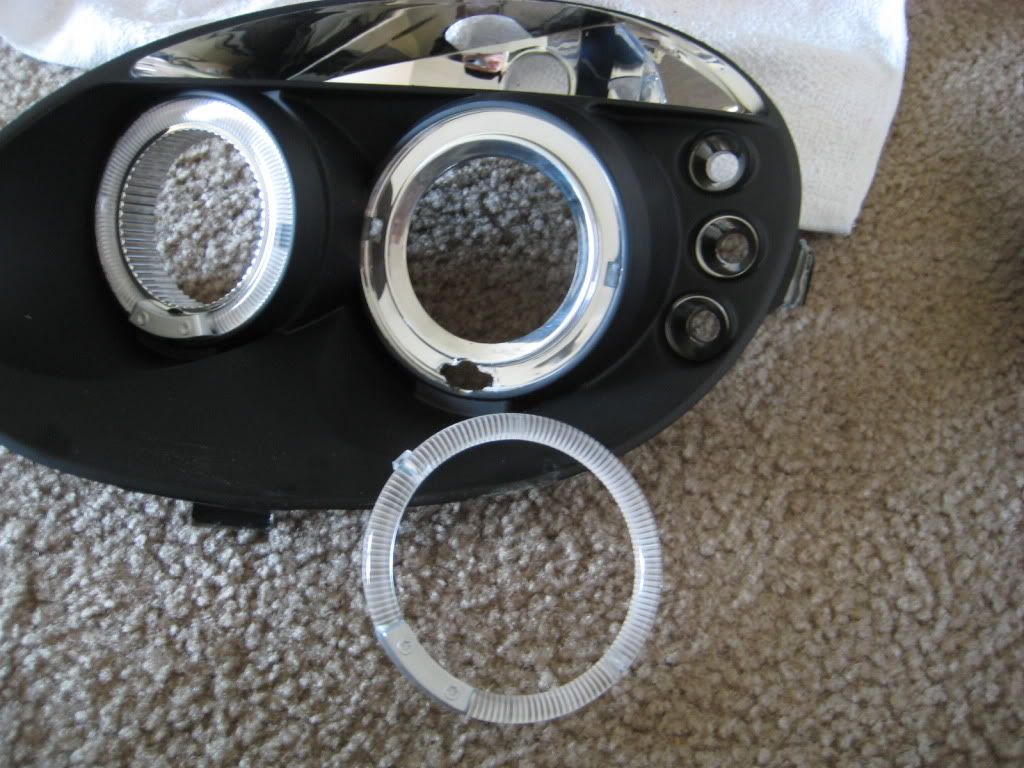
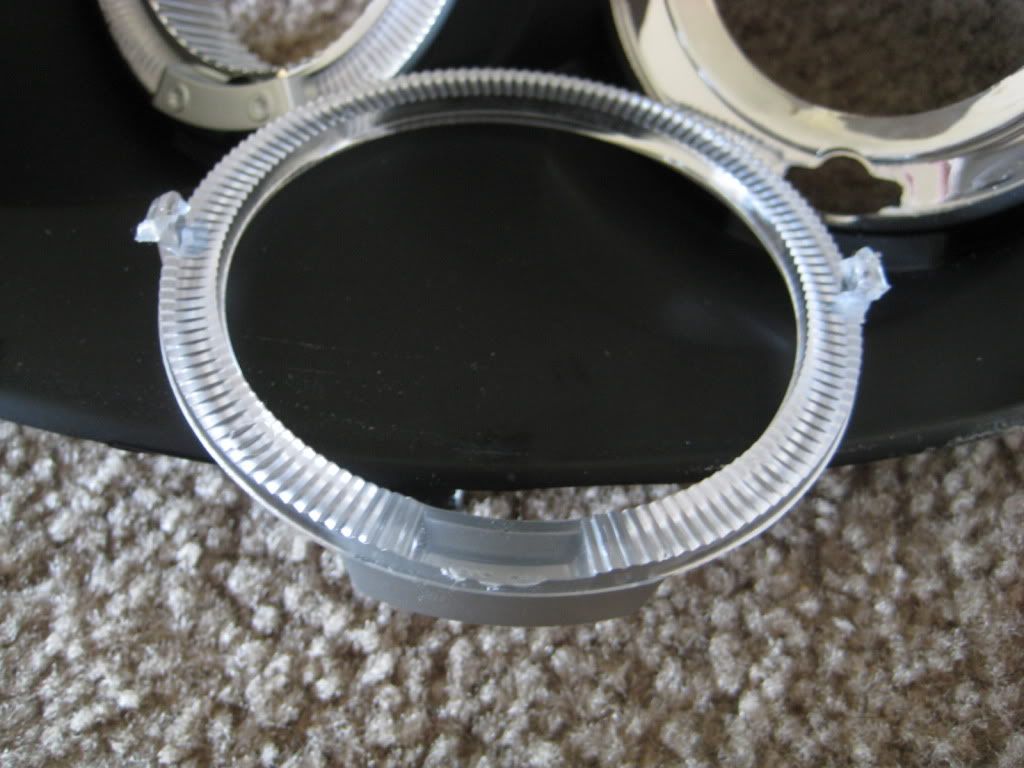
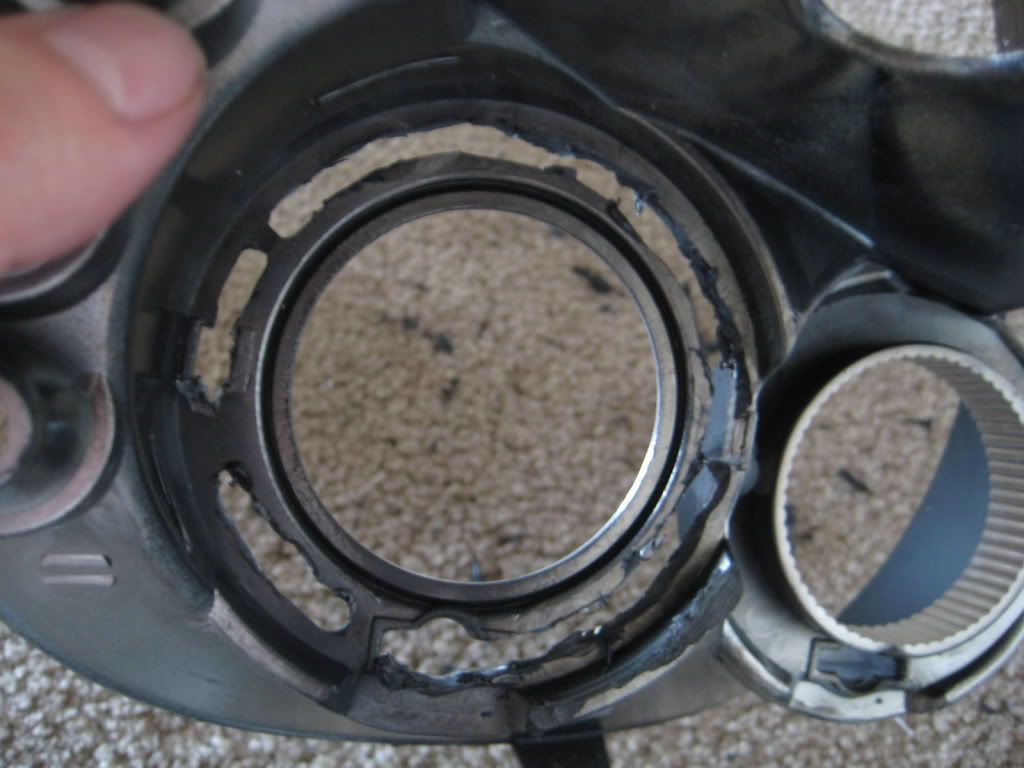
next you want to take the halo ring off. Push in the clips on the left and right and push it out, the ring should pop out easily (there might be some silicone on the clips, if so just rip it off). A close up of the ring with the clips on both sides. 2nd pic.
Then use a dremel with a thin drill or something to cut along the ring... for me, i just use a fast enough speed that it starts melting the plastic off in a circular fashion, then i crack off the melted plastic by using a pliers. you can use anyway you like to cut a ring around, make sure you leave some part intact so that it doesn't just fall off and you get two pieces. (note the two parts that wasn't cut that still holds it) but you don't want it too thick, otherwise it might block some of the leds and result in a dark spot in your halo.
Once finished, just push your halo ring back in. If it doesn't stay in place, just use some superglue or something to hold it in place.
From the front, it should look like nothing was done to it.
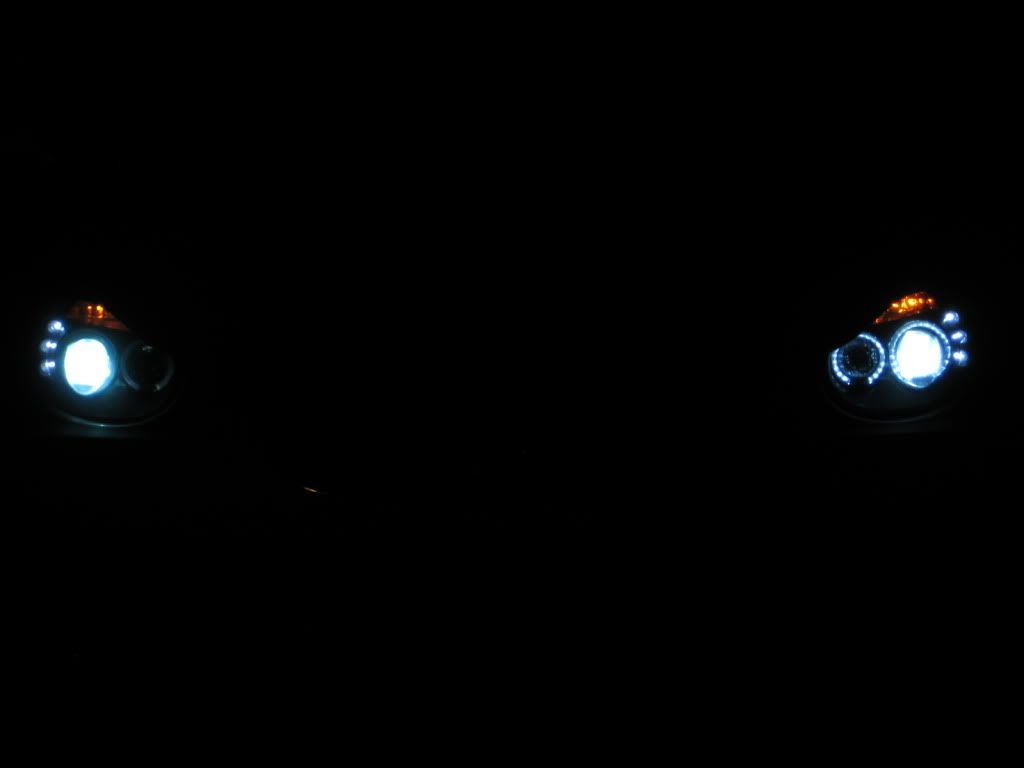
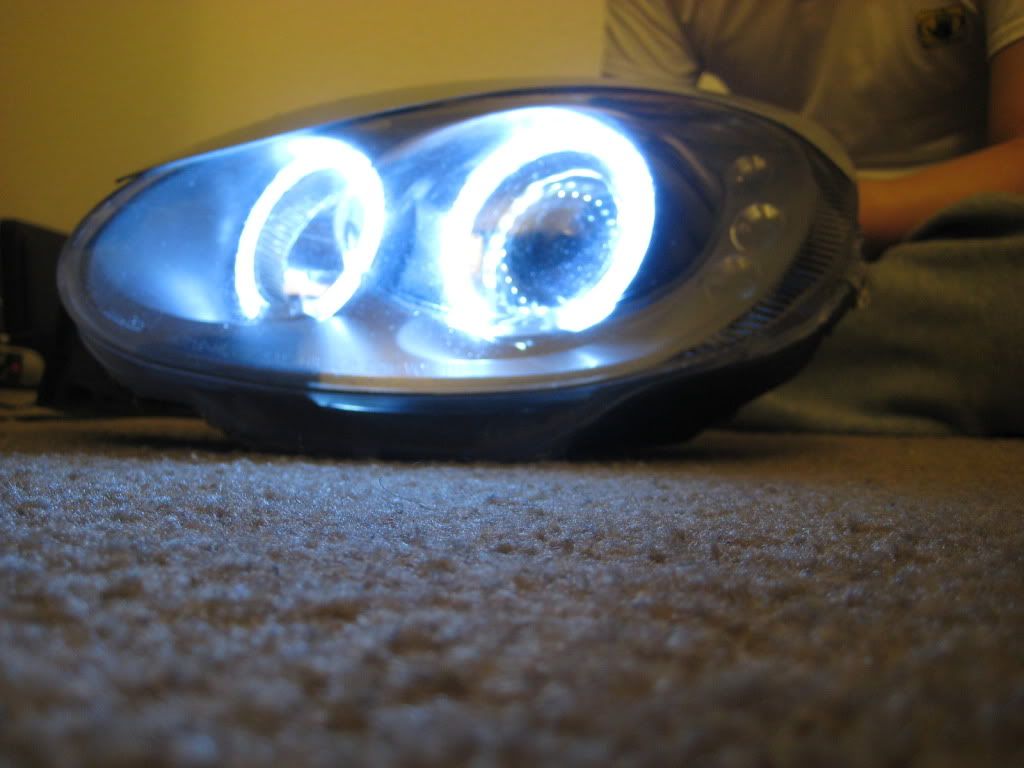
Your end result should look something like this.
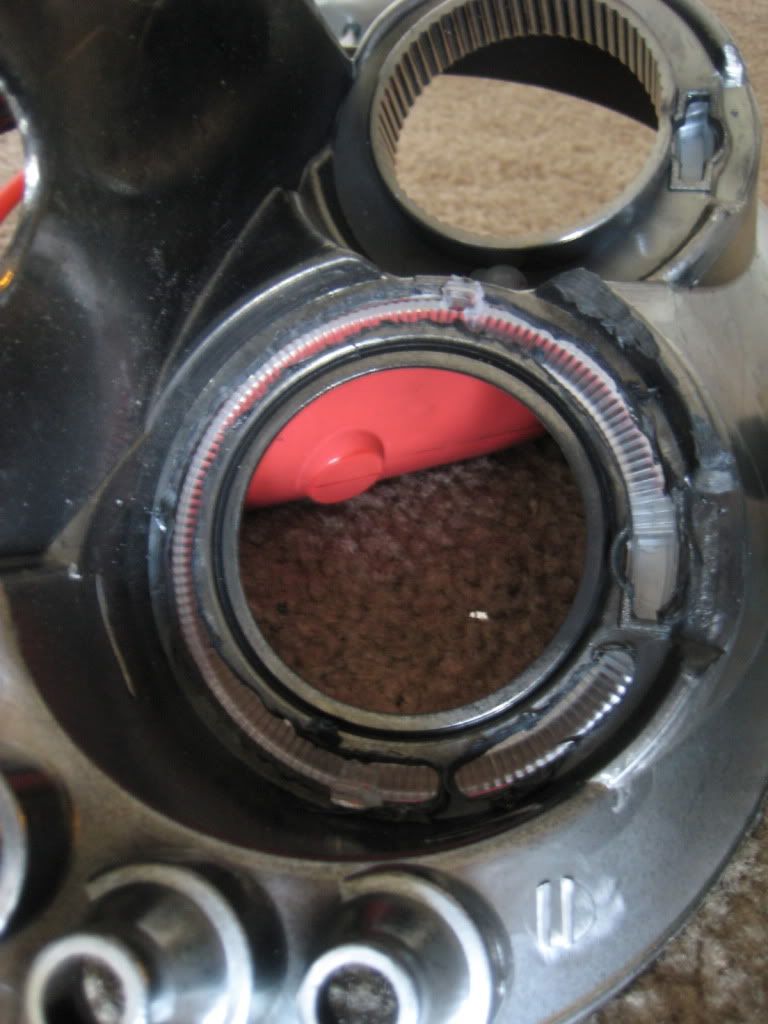
Next use some tape to hold your led strip in place. Then use some glue to get the led to stay in place. Avoid gluing the whole ring, i just did about 4 small spots in there so that if the led burnt out or something, it'll be easy to get it off.
With the led strip in place with the tape.

With the led strip in place with glue.

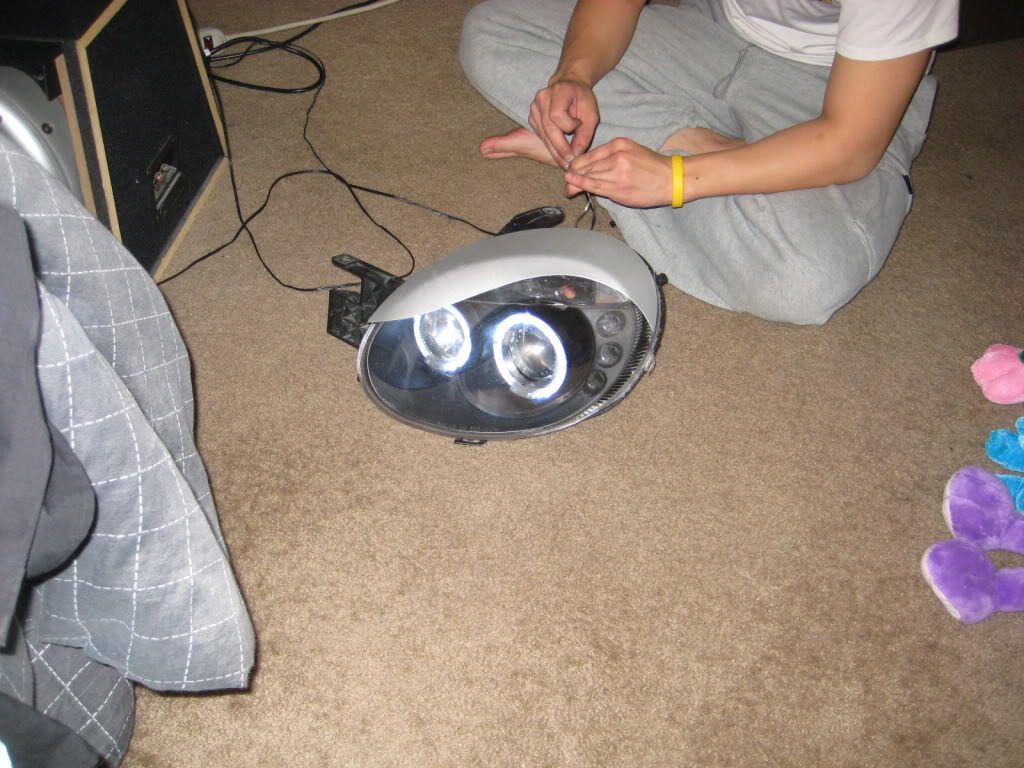
After that, just bake the rear part of the headlight in the oven so that the glue melts and put everything back the way you took it apart and it should glue itself shut when it cooled. I added a layer of silicone around the edges after it cooled just in case it leaks. The wiring for the strip should go out the two hole at the bottom as the original leds.
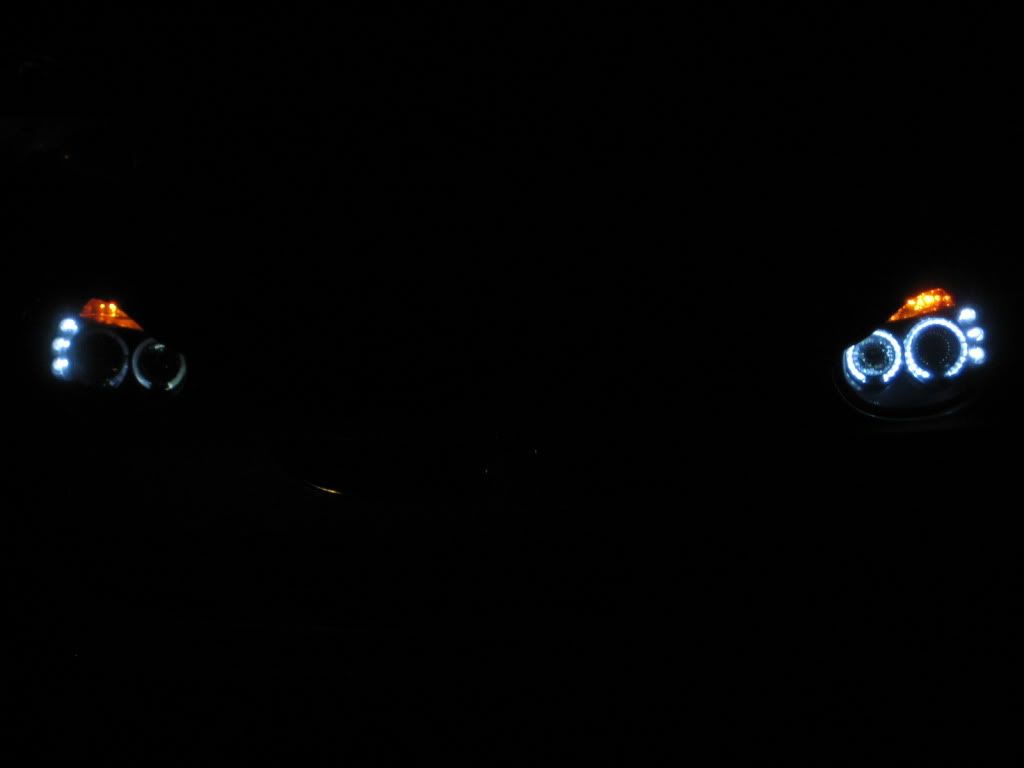
Here's one with the flash on, and you can still see the ring of light, it's really bright! even with the light on!
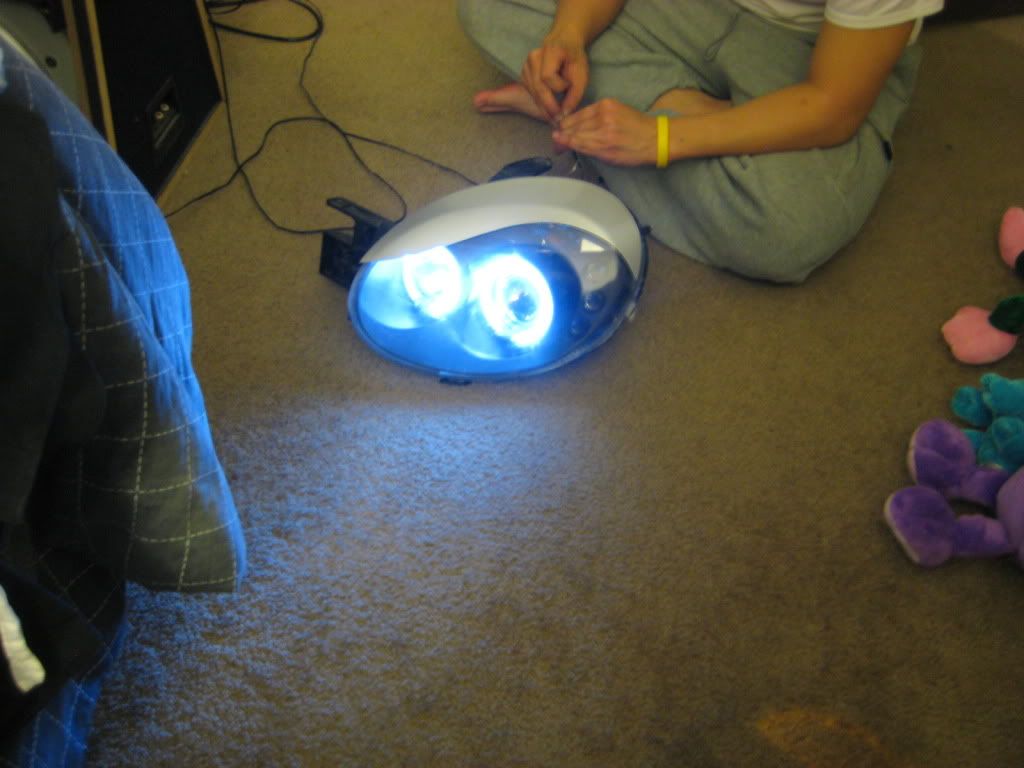
Here's some others with the flash off. which i dont' think is too accurate since it would appear brighter anyway because it was dark,

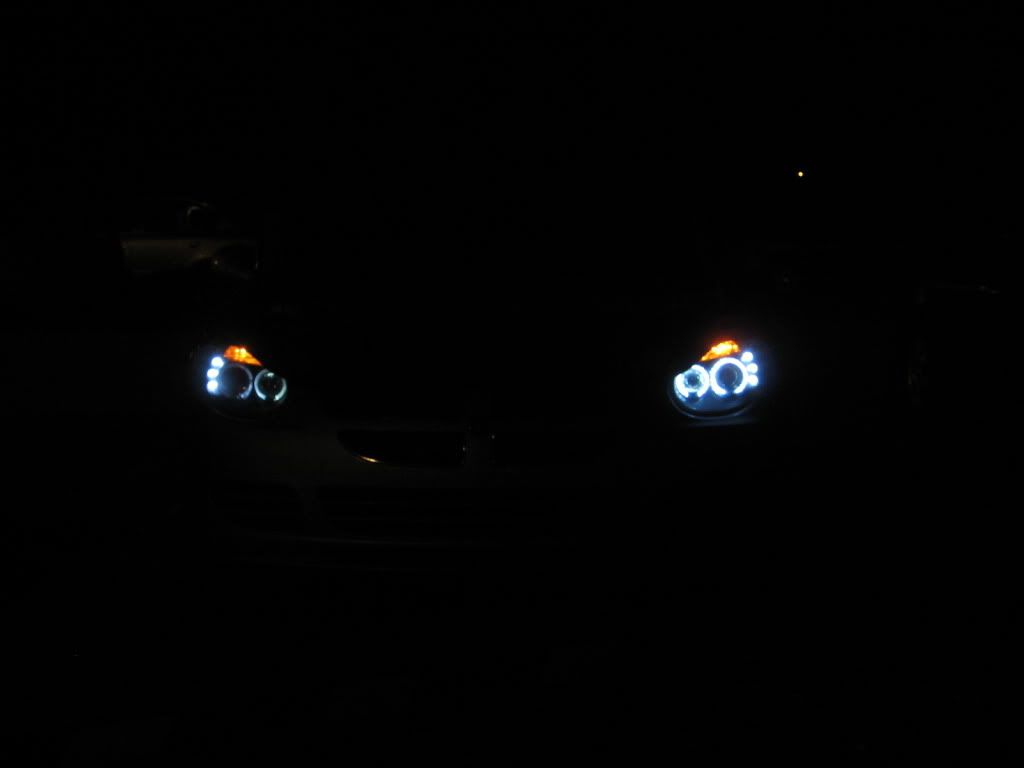
Here's some shots with it installed, the halo on the left is the original 2 led halo. (the larger one burnt out, only the high beam smaller halo is still lighting up, but you can see how it's brighter on the bottom and dimmer at the top). You can see a bit of how it's spotted a bit, but it's not too obvious from a distance