DISCLAIMER!!!
-------I wired my 2000 this way and it has worked with no problems for about a year now. If you follow these directions and for some reason your car/wires go up in smoke I take no credit for it, neither do I take responsibility for it, follow at your own risk ------
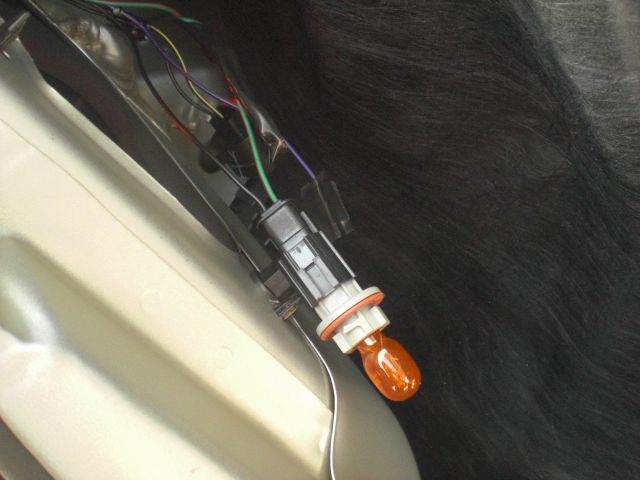
OK, the main problem with the Euros is they have a separate bulb holder for the turns only, our US cars don't and seem to have turn signal, brake light all running through one wire. On your new Euros you'll have three bulb holders, one for main taillights and brake light, a small one for the reverse light, and a separate one for the turns. The turns and main light holders both use the 3157 bulb and are the same. They both have three wire input on them. You will only use two for the turns.
On the LEFT (Drivers) side of your US plug there should be three wires: BLK (ground) BLK/YL (taillight output) and GRN/RD (turn brake)
Cut the GRN/RD wire, leave about an inch or two of wire hanging on the original plug. (You'll see why later) Attach the GRN/RD wire that you just cut to one of the wire inputs on the back of the turn signal bulb holder. (You may have to unwrap some of the wire bundle that the GRN/RD wire is in to get it to reach) Now you need to run a ground to the turn signal plug. I just tap/spliced into the one (BLK) from the original plug and ran the wire to one of the inputs on the turn signal plug.
On the RIGHT (Passenger) side the wires will be the same color except instead of GRN/RD one will be BRN/RD. Do exactly what you did on the other side only use the BRN/RD wire instead.
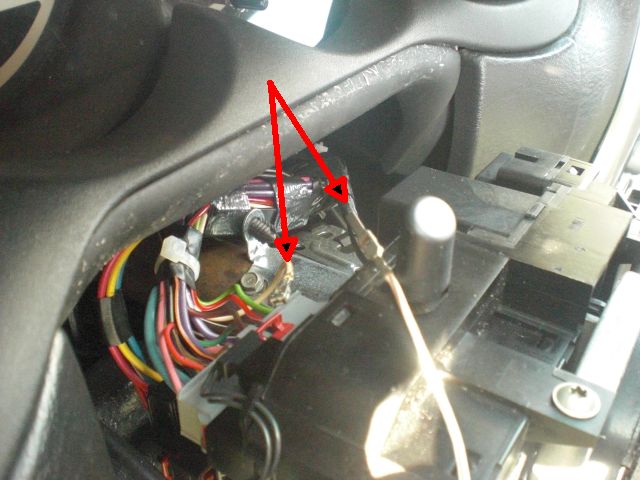
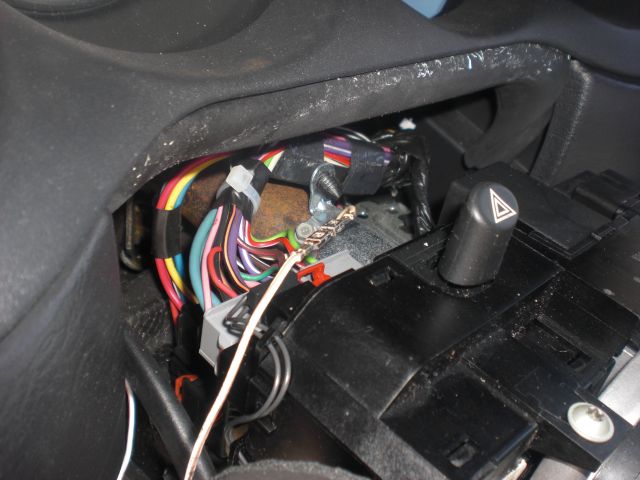
OK, now for the fun part. Under you steering column cover is a multifunction switch (one of many, mine was on top of the column) Connector pin-out on the one you want to look for should be, Pin 1) WT/TN. 2) LG (light green, left turn signal) 3) RD/WT. 4)GRN/RD (left tail that you cut) 5) BRN/RD (right tail that you cut) 6) TN (tan, right turn signal) These are the first six pins for a twenty pin connector (this is what it was on my 2k, I have no idea if it's different on the 2k+ a FSM would be your best bet)
Once you find the switch and wires you want, cut the GRN/RD and tap/splice it into the LG (light green) wire, this will provide you with your left turn signal to the tails. (DO NOT CUT THE LIGHT GREEN WIRE)
Cut the BRN/RD wire and tap/Splice it into the TN (Tan) wire, this will provide you with the right turn signal to the tails (DO NOT CUT THE TAN WIRE)
Now you have working turns and tail light but no brake lights. Find where the third brake light comes into the trunk (was on the left side by the back seat on mine) Tap/splice two wire off the WT/TN wire and run one each to your two rear taillights. Connect these two wires (one each) to the GRN/RD (left) and BRN/RD (right) wire that you cut earlier (remember when I said to leave an inch or two?) Now you have brake lights, no need to run a ground as there is already one on the original plug. Rewrap all wires, cap all ends. (multifunction switch) You now have working Euros. Enjoy!
How To: Export Tail Light Re-Wire
-
Diablo0

- 2GN.org Owner/Admin
- Posts: 12576
- Joined: Thu Apr 15, 2004 11:20 pm
- Location: Greenville, SC
- Contact:
How To: Export Tail Light Re-Wire
I looked and didn't see it posted here so figured might as well for easy finding later on. 
-Jason
Black '02 Neon R/T | White '02 Neon R/T - SRT-4 Engine Swap

^^^ no, that isn't what I look like haha
Try not to become a man of success but rather to become a man of value. - Albert Einstein
Black '02 Neon R/T | White '02 Neon R/T - SRT-4 Engine Swap
^^^ no, that isn't what I look like haha
Try not to become a man of success but rather to become a man of value. - Albert Einstein

Nice - but you could do it without cutting any wire and you have no need to work on the MFS-Plug so much.
viewtopic.php?t=55188
viewtopic.php?t=55186
Last weeks I did the rest
removed the turnlightwires out of the socket to the bux turnlight socket - I think they are grey
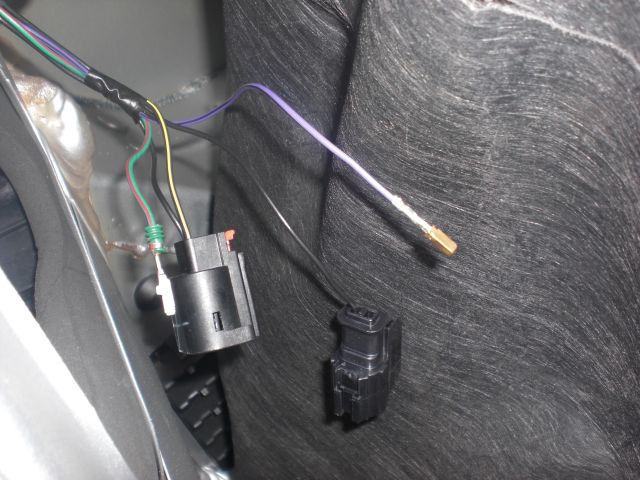
installed a new ground wire for them and put it in there, too.
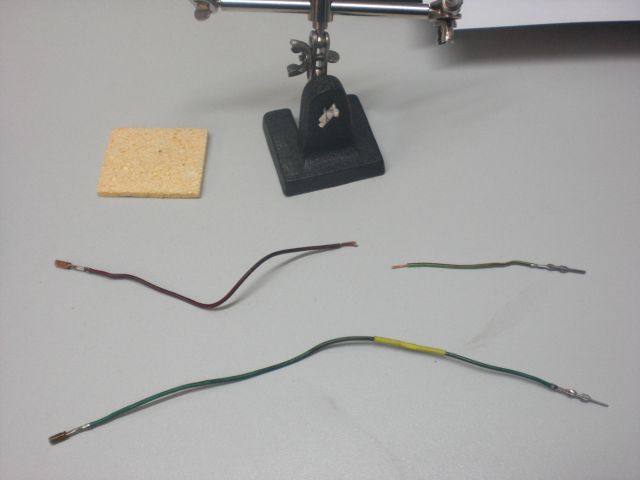
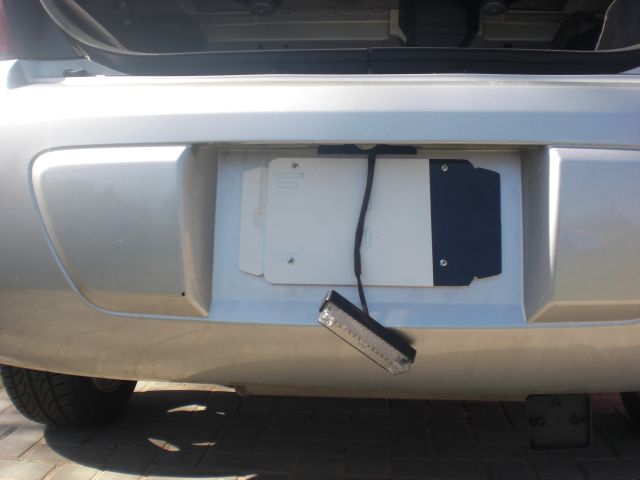
I used an old cabletree to find some cableshoes which have been fitting
and soldered them to get some adaptors
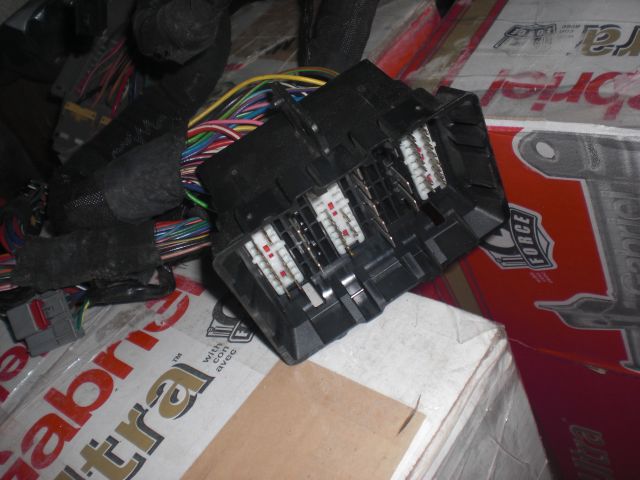
PIN1 out of the MFS-Plug is the one who serves the brakelight to the rear (except for the third, which has its own wire)
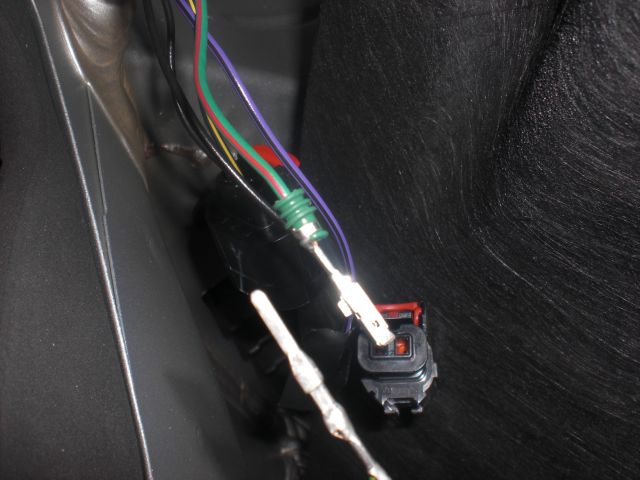
Here I used another part of the cabletree of the junkyard and built a rear brakelight adaptor
Routed that cable to the rear and isolated all well.
So the advantage is that you are able to get all back very easy.
For my SXT I used the original taillights and installed the turnlights into the reverselights with amber lamps - but it´s still the same if you put the turnlight wire into the bux-sockets or into the reverselight sockets.
For the reverselight I had to take an ugly cube
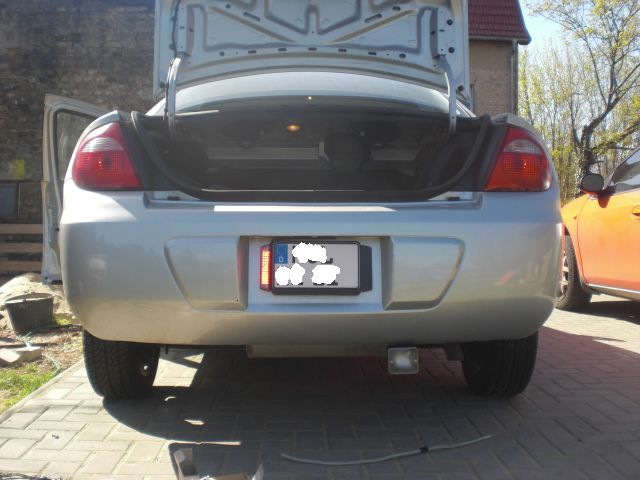
the lamp on the left of the plate is the rear-foglight
Both things (and a couple more) I had to do to get the SXT through the approval process at the inspecting authority here in germany.
viewtopic.php?t=55188
viewtopic.php?t=55186
Last weeks I did the rest
removed the turnlightwires out of the socket to the bux turnlight socket - I think they are grey
installed a new ground wire for them and put it in there, too.
I used an old cabletree to find some cableshoes which have been fitting
and soldered them to get some adaptors
PIN1 out of the MFS-Plug is the one who serves the brakelight to the rear (except for the third, which has its own wire)
Here I used another part of the cabletree of the junkyard and built a rear brakelight adaptor
Routed that cable to the rear and isolated all well.
So the advantage is that you are able to get all back very easy.
For my SXT I used the original taillights and installed the turnlights into the reverselights with amber lamps - but it´s still the same if you put the turnlight wire into the bux-sockets or into the reverselight sockets.
For the reverselight I had to take an ugly cube
the lamp on the left of the plate is the rear-foglight
Both things (and a couple more) I had to do to get the SXT through the approval process at the inspecting authority here in germany.