website. You can find the same LED strip here: Link
This took me roughly 5 minutes.
- First things first, I recommend disconnecting your battery cable to keep
the trunk light from illuminating. The stock bulb gets real hot and hard
to handle.
- Pull the plastic cap off the stock trunk light by pulling down
and pushing in the clip that holds the cap in place. I just used the key
to my car to pull down and push in the clip. The plastic cap pulls down
and is connected to the bulb, so just pull the bulb out and plug in the
new LED strip. Its simple plug-and-play style!
- Next, clip the plastic back in place. The wire will be pinched
between the plastic and trunk roof, but it should cause no damage.
Mine still works just fine.
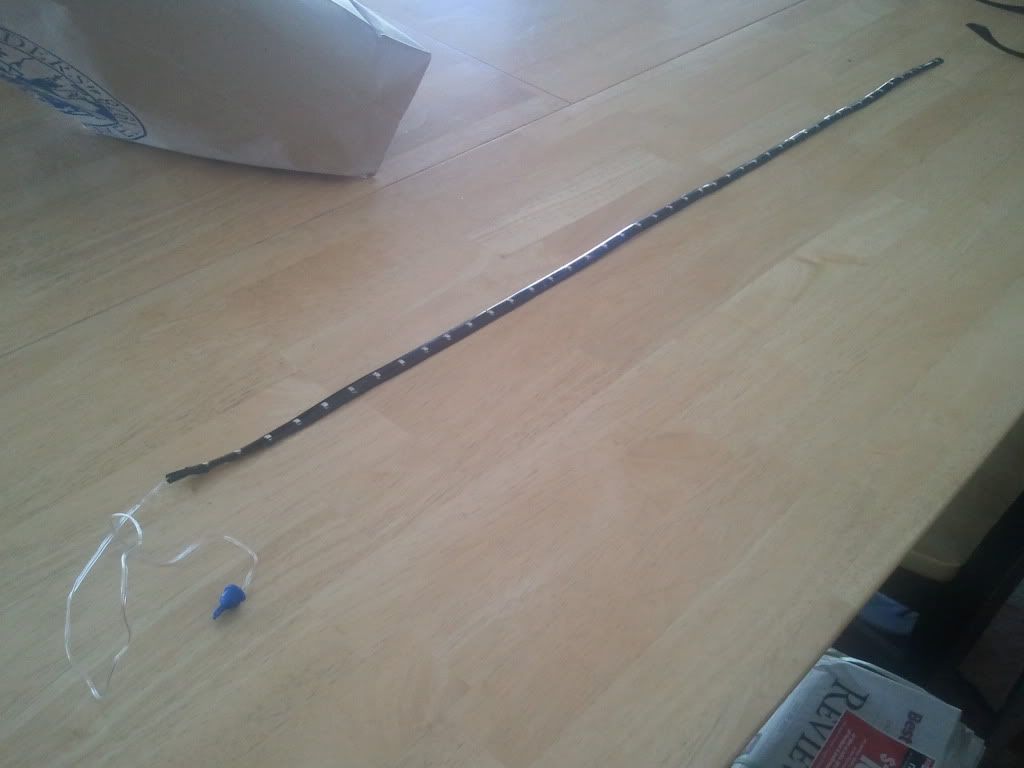
- After that, clean the surface you wish to apply the strip to.
ByVampDesign provides a nice 3MM strip of double sided sticky tape
all the way down the LED strip, so all you need to do is peel and stick!
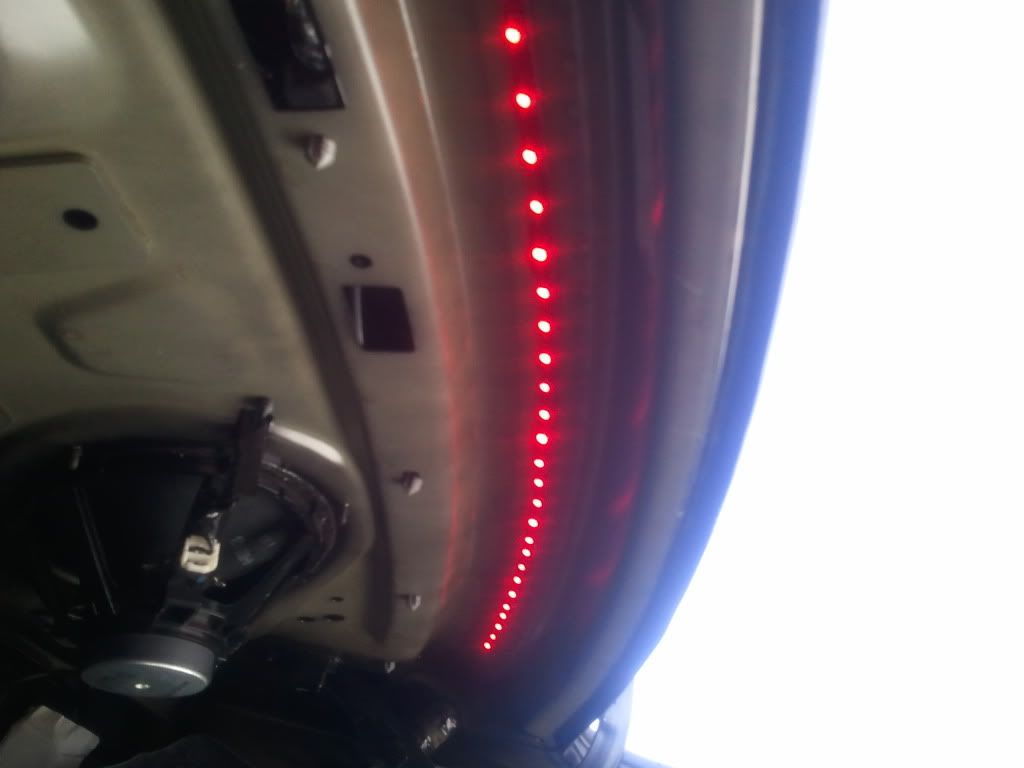
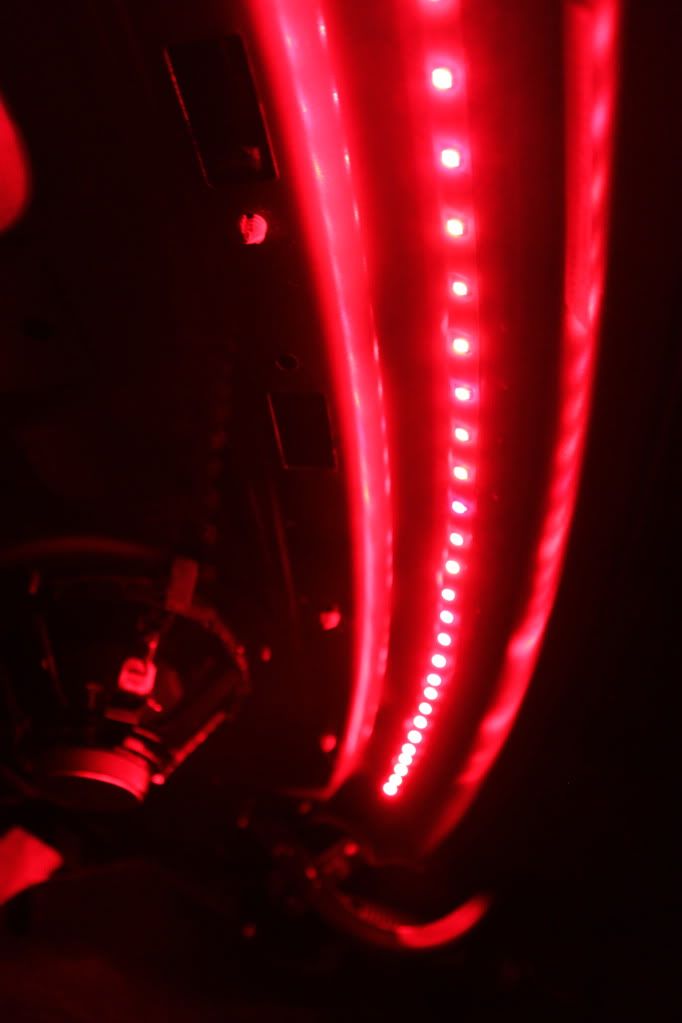
- It might be a little hard to see where exactly i mounted it in the
picture, but i used a curved, slanted ledge since the trunk top lines
are curved, and the strip is straight. i just lightly adhered a few
points so i could go back and adjust anywhere if necessary, and
when i was finally satisfied with the positioning, i just ran my finger
down the strip to adhere the rest.
Reconnect the battery cable, and that's all!
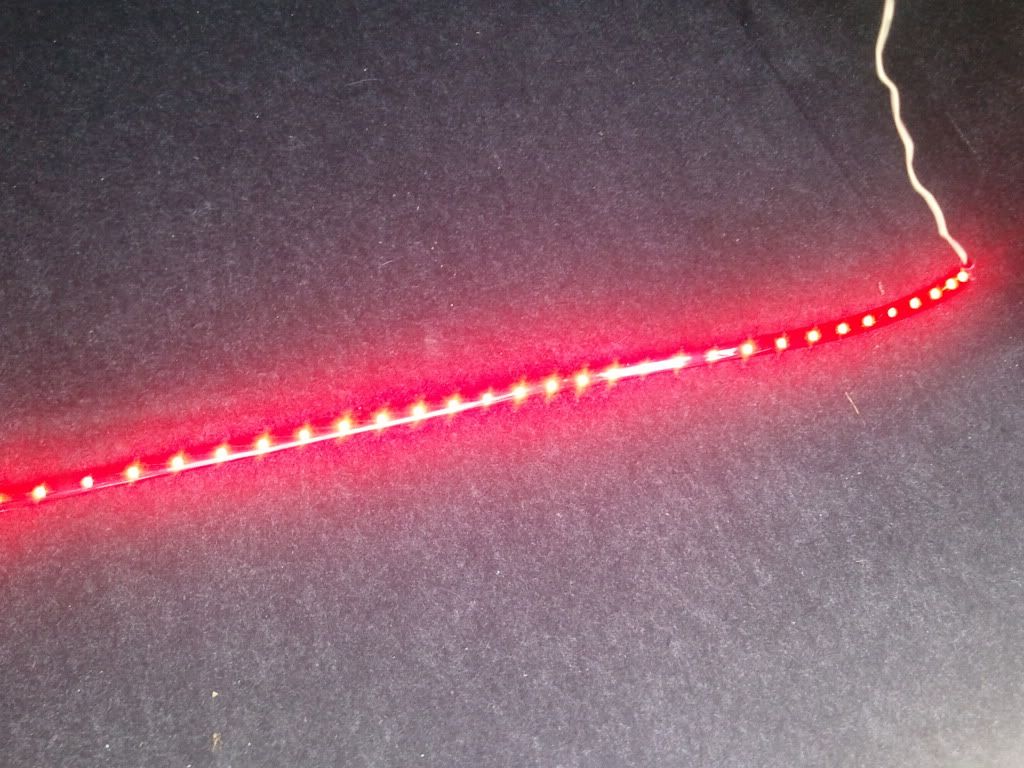
Even being the color red, it's a lot brighter than my stock halogen bulb.
This picture is obviously a lot LOT brighter than in person, but the
camera makes it a lot lighter, and my phone makes it too dark...
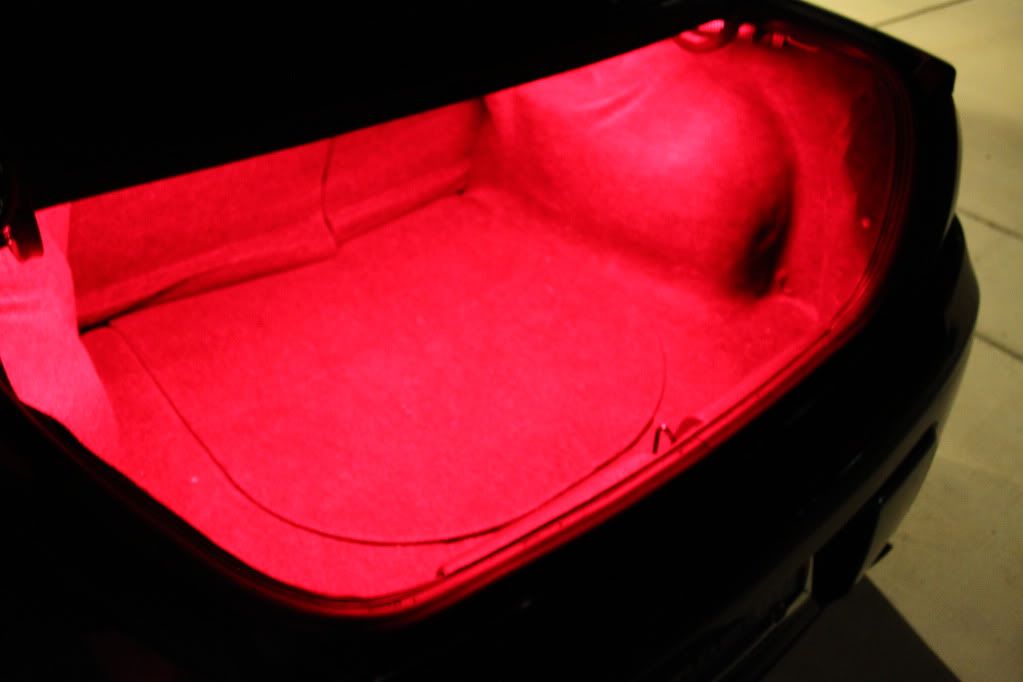
Needless to say, I'm satisfied!