
Materials needed:
* Clear resin (I used two part Ding All Sanding Resin for surfboards)
* 2x2 twill weave carbon fiber cloth (sold by the yard online usually)
* 3M Super 90, or Super 77
* Black spray paint
* Assorted sandpaper (I used 80, 180, 320, 400)
* UPOL #1 Clear (optional/could substitute but it's UV resistant)
* Rubbing compound/wax (optional if you don't clear. will need finer grain sandpaper too)
* Fiberglass roller (optional, but suggested to remove bubbles)
* Hair dryer (another option for removing bubbles)
* Latex gloves
* Mixing cups
* Mixing sticks (used popsicle sticks)
* Plenty of foam brushes (can only use each one once)
* Scale to measure resin
* Respirator (suggested as were dealing with chemicals and fibers)
* Straight edge
* 3M blue painters tape
* Scissors
I started to do my research on CF wrapping and I decided I wanted to give it a shot myself. I figured the worst that happens is I'm out the money I spent on supplies (which were not cheap), but if all goes well I'd have a new skill and some cool parts.
I had a specific project in mind I wanted to try, so I just went at it after getting my carbon fiber, resin, and tons of foam brushes. It doesn't have complex curves so it gives you a good idea how to tackle a simple project.
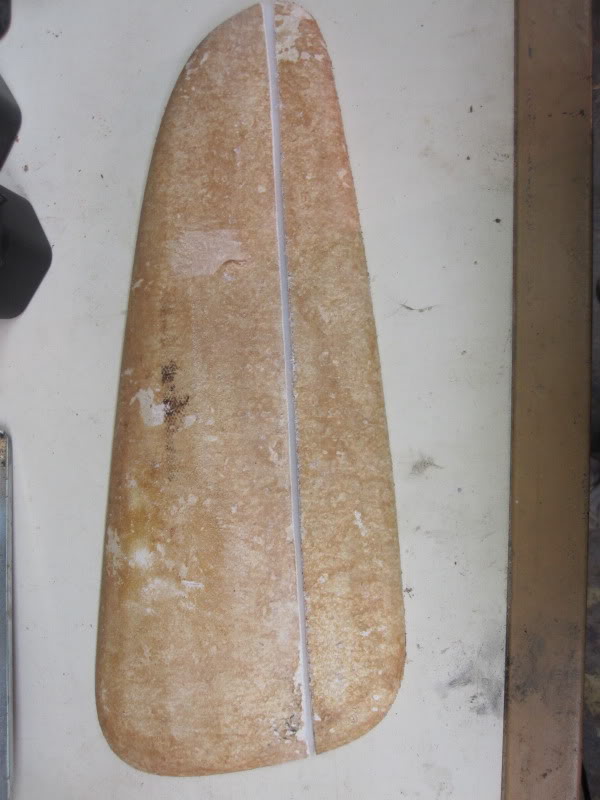
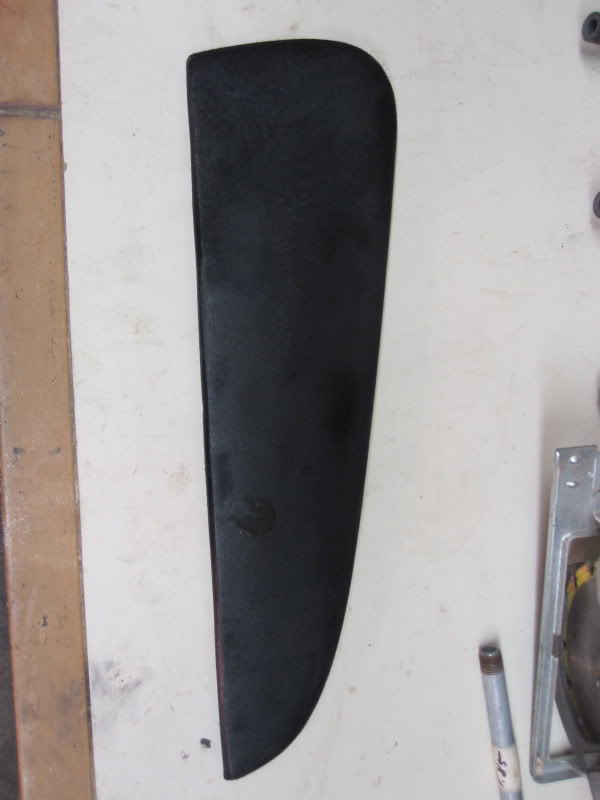
I'd suggest getting a spare part to wrap in case it doesn't turn out how you want, this way it is not destroyed. I started off by using a junk door insert (thanks Dan) and taking some rough measurements to decide where I wanted to cut the piece into two pieces. Sharpied a nice line on it and proceeded to cut it with a jigsaw for a straight cut.

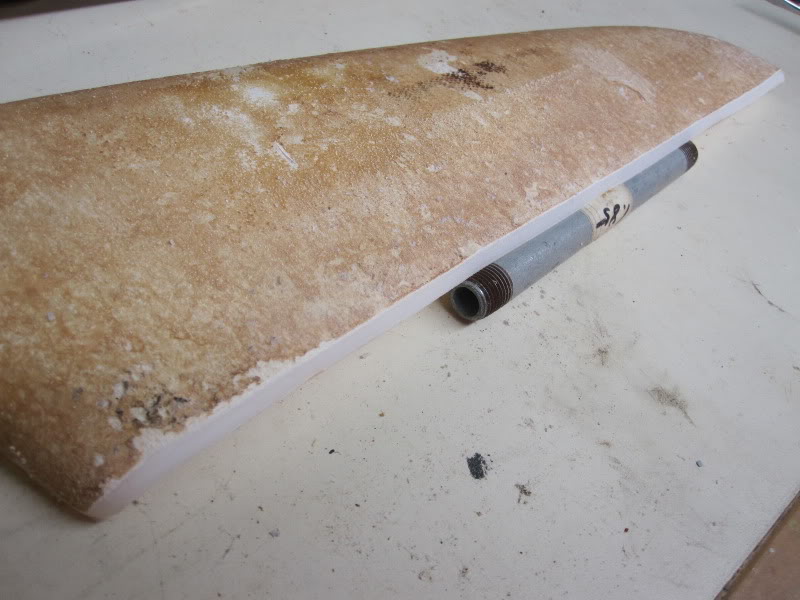
Once cut, I beveled the bottom edge of the top piece so I could wrap the CF around it nicely.

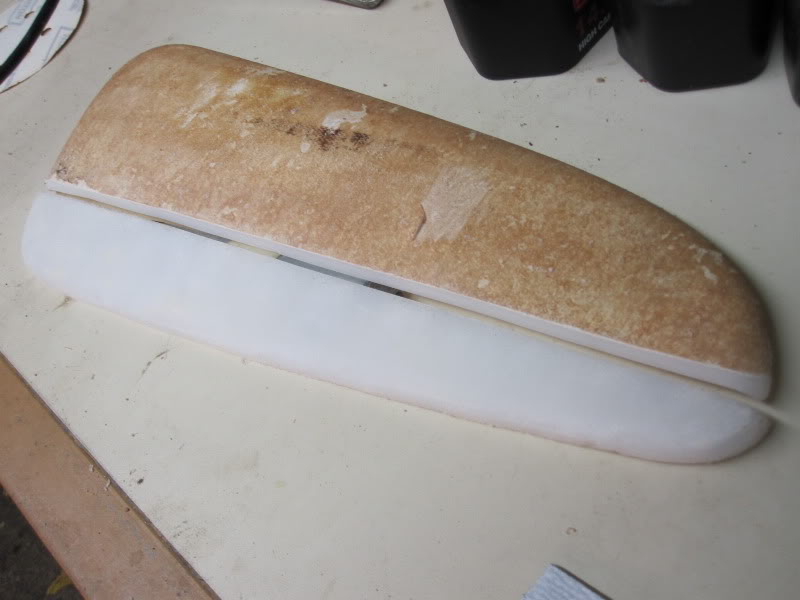
Next up was removing the nasty glue stuck all over the insert. I tried adhesive remover with no luck, so I used a random orbit sander and a 80 grit disk to clean them up. Didn't get any pics of the top piece but I did it too.

Next I measured the CF cloth I needed and used a straight edge to line the weave up and taped the edges so it would stay straight and not fray then cut along the tape. Be sure to leave extra all around so you can wrap it around the back and tape it in place.
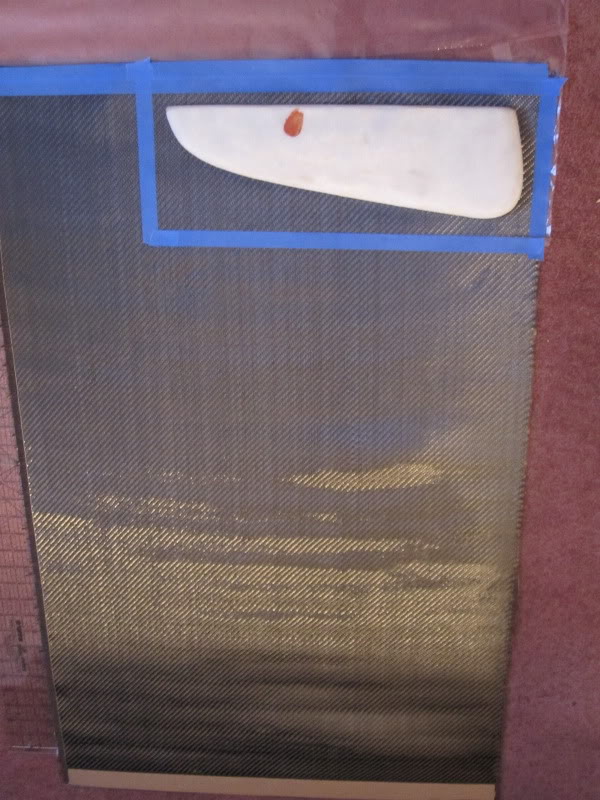

I sprayed the insert black and let it dry so the white wouldn't be visible through the weave.
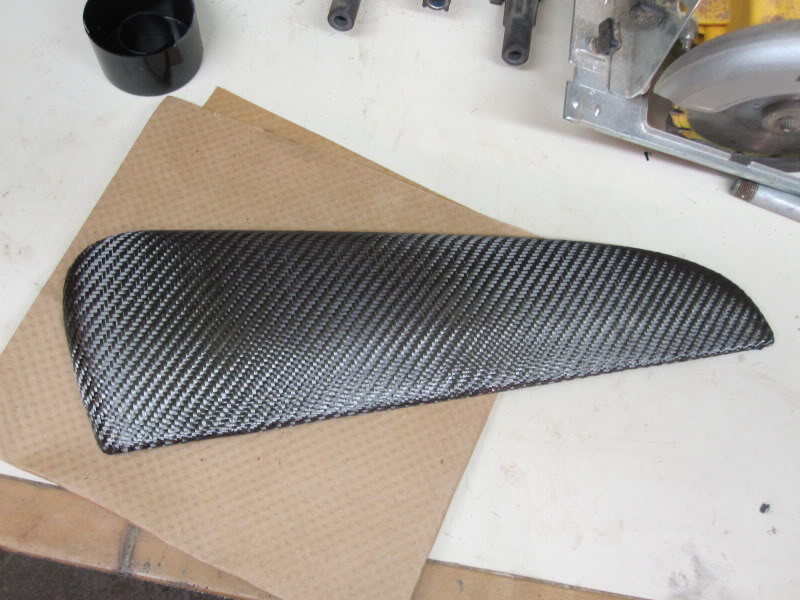
I then sprayed Super 90 on the insert front and back and wrapped the carbon fiber around it. Take your time with this to make sure the weave is lined up straight. Make sure to wrap it around the back and stick it down well. Use 3M blue tape to hold the edges down if you need. If you decide not to use spray adhesive you can do your first coat of resin instead, wait until it's tacky then apply the CF cloth. You will need the fiberglass roller for sure if you do this method though to work out any air bubbles.
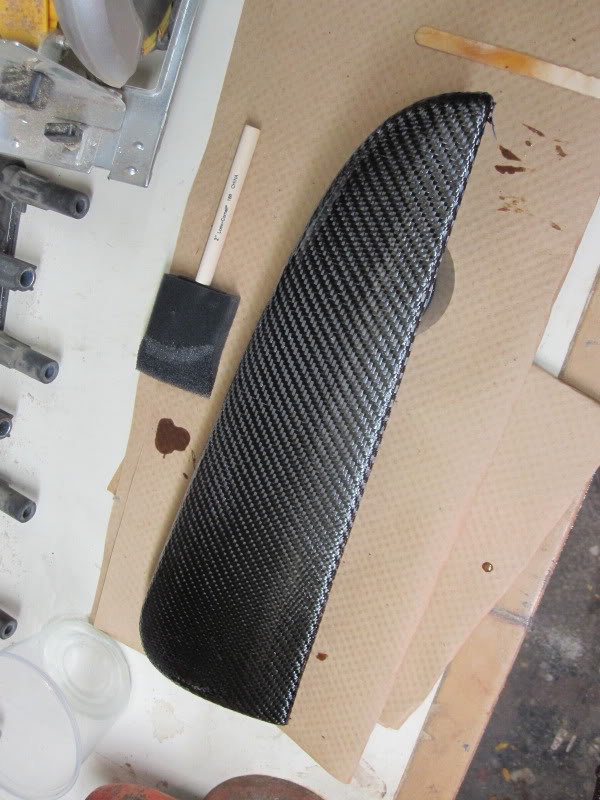
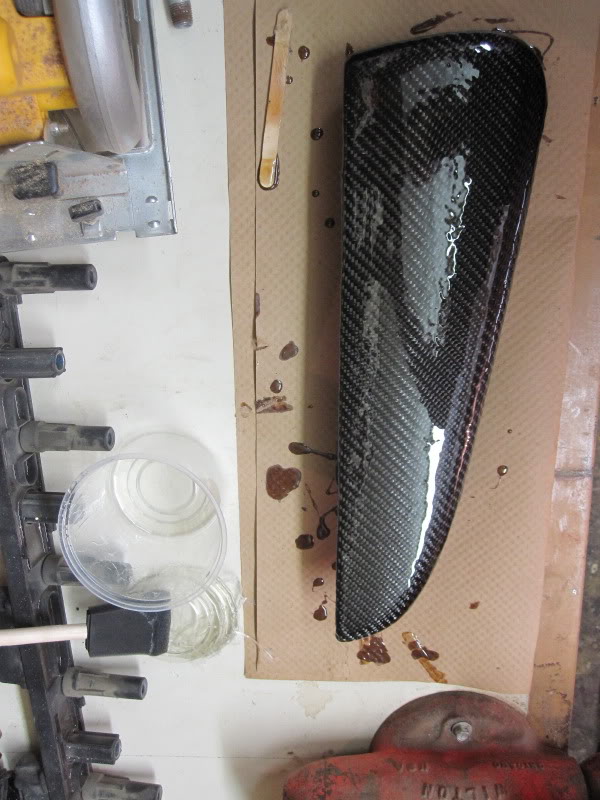
Poured my resin into a plastic cup using a scale to measure out 1oz, mixed the hardener in according to the directions and mixed thoroughly with a popsicle stick. After mixed, I used the hair dryer on the low setting to heat the resin to pop the air bubbles. Keep the hair dryer a good distance above the cup. After working out most of the bubbles I started applying the first coat with a 2" foam brush. Use a dabbing or stippling motion on the first coat so that you get resin in all the weave and this way you do not disturb the weave. Make sure to cover the entire piece including the back edge to ensure that all the exposed cloth is covered, and to give you something to trim later. Make sure to lay even coats of resin down. After the first coat I like to let the part cure overnight.
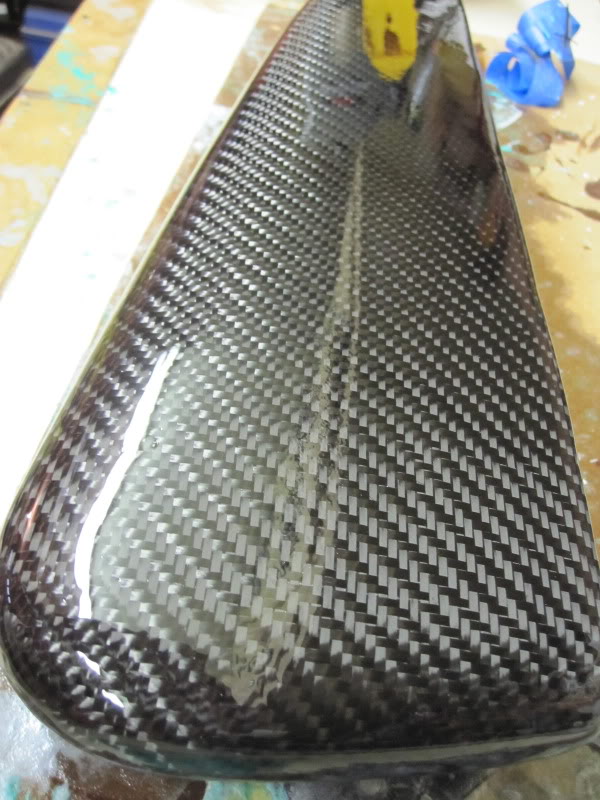
The next day you can mix another batch of resin and give it another coat. This time brush it on using a regular brushing motion. Make sure to lay the coat down evenly. You can apply another coat after 2 to 3 hours. I suggest 4 or 5 coats of resin to ensure that when you sand the part smooth you don't sand through the weave. This is after several coats of resin.
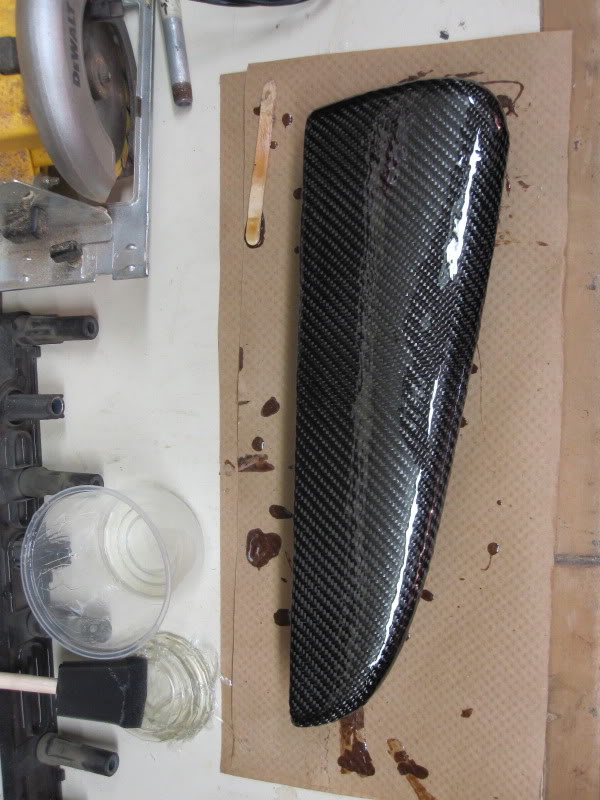

After 4 coats, I let the resin cure for 2 days, which may not be needed for your application, then wet sanded the high spots with 80 grit sandpaper, then 180, 320, then 400 over the entire piece. I washed the piece and let it dry. I used a Dremel to trim the excess carbon fiber off the back of the part. After that I applied two coats of UPOL #1 Clear. If you don't clear the part, you can continue sanding with finer grit papers, 600, 800, 1500, 2000 and then use some rubbing compound and wax the part when you are satisfied.


Test fit on one of my door panels
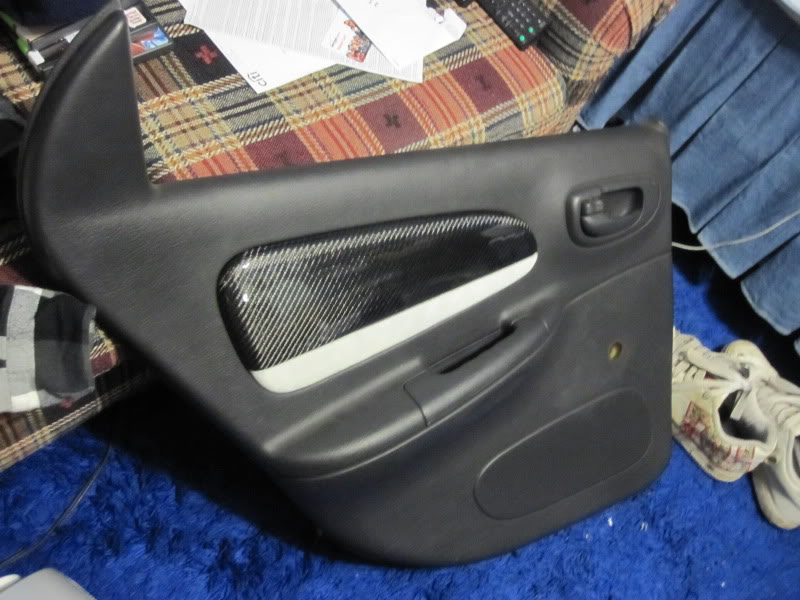
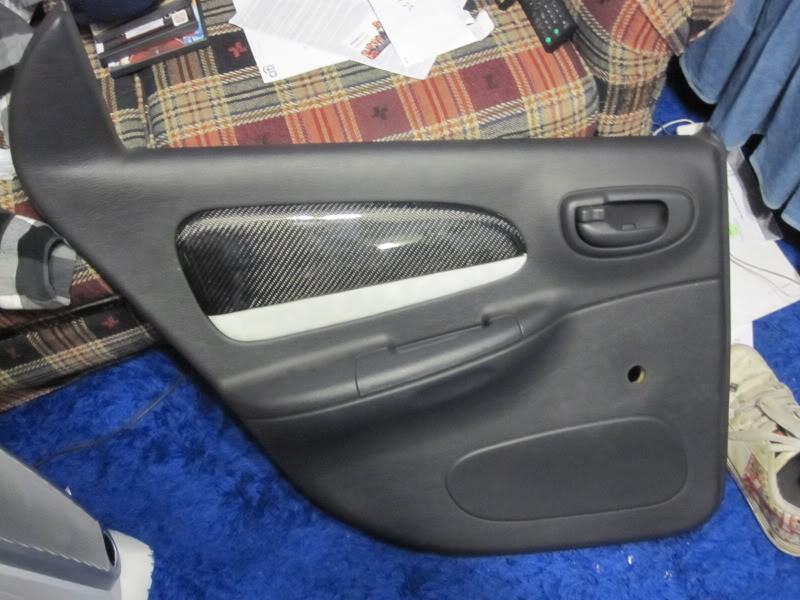
It's not 100% perfect, but for my first piece wrapped in CF I'm very happy with it. The weave is consistent and no strands popped.
Good luck.


 [/quote]
