This is just for the surface of the body and the OEM seal. This is not for the housing to OEM seal, which may need to be done as well.
Materials Needed
- one tube of Permatex Ultra Black
- 1/2" end wrench or 1/2" socket and ratchet
- pliars
- rags
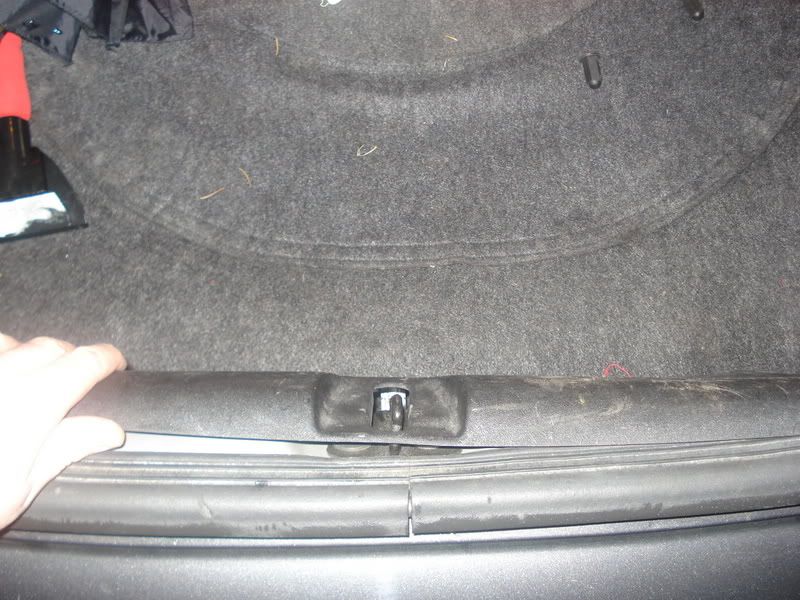
Step 1
Remove the plastic trim piece in the trunk, as shown below. It is held on by simple clips. Carefully pry it off.
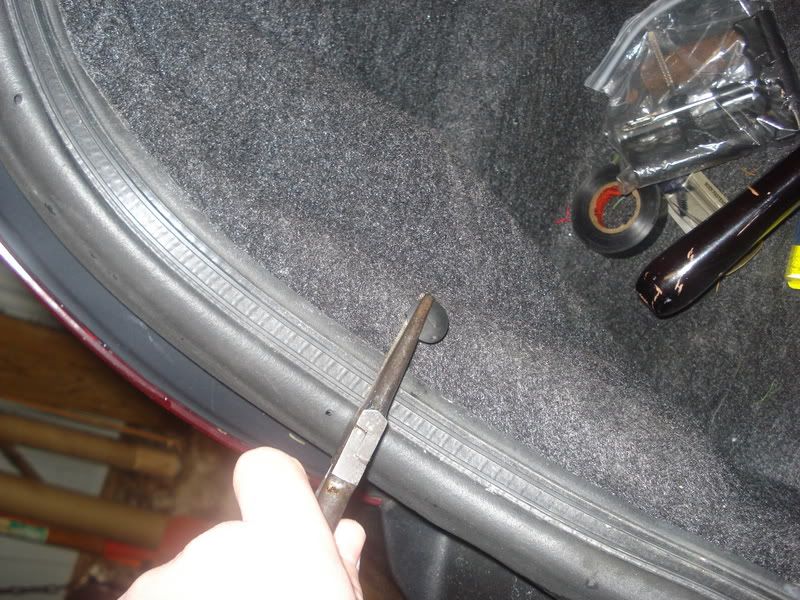
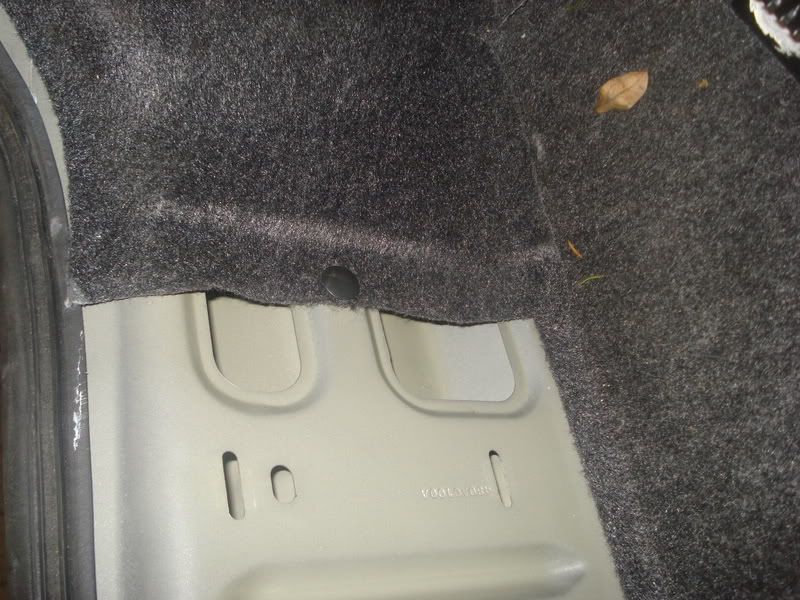
Step 2
Remove the two push clips for the trunk carpet. Typically a pair of pliars will work for this. Pictures below show the location of the two clips.
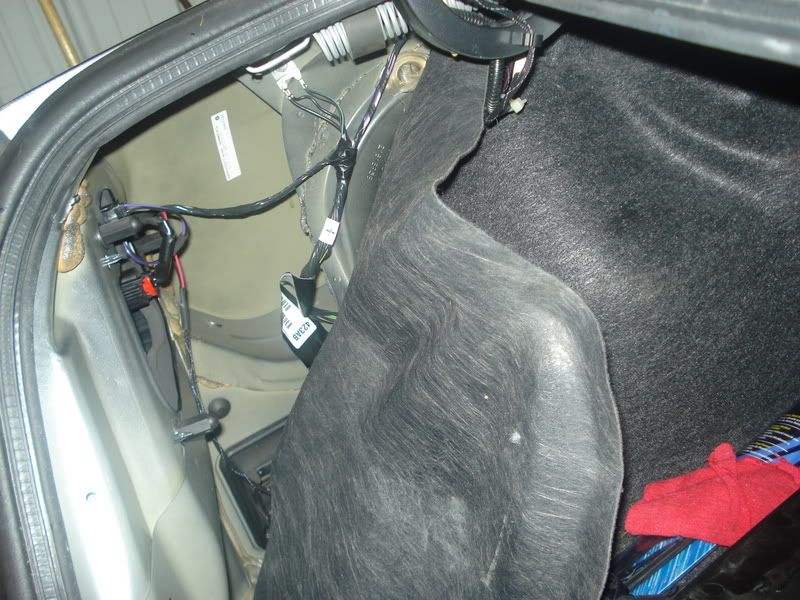
Step 3
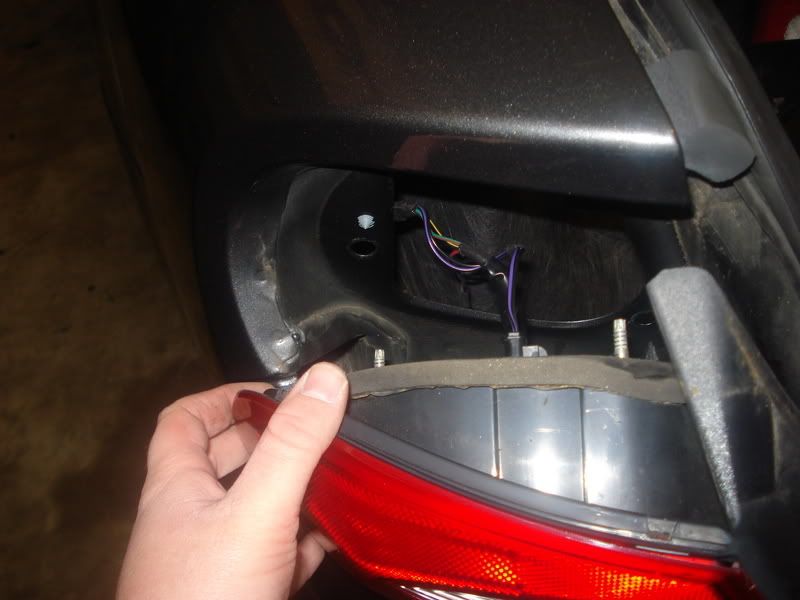
Pull back the trunk carpet to expose the tail light area. Remove the reverse light and the tail light/turn signal light from the housing. These are quarter turn fasteners.
Step 4
Using the 1/2" wrench remove the 3 nuts on each housing, these hold the housing to the car.
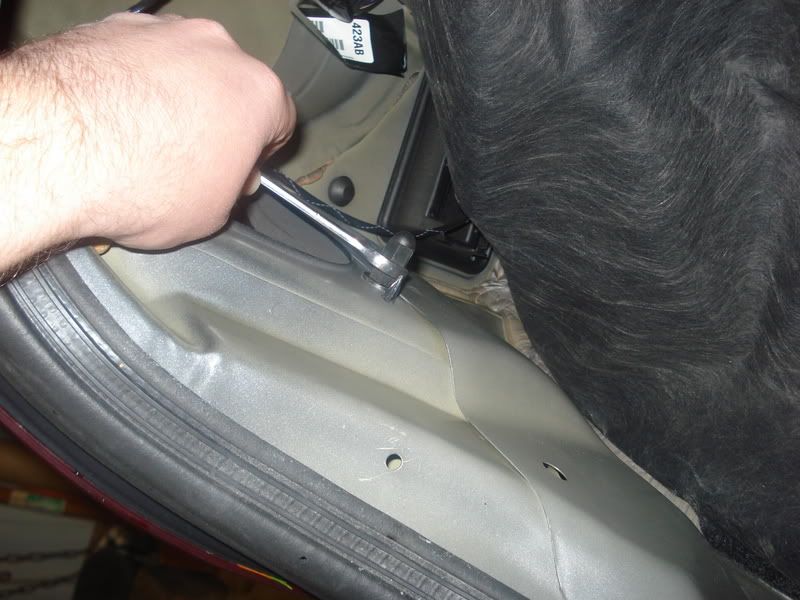
Step 5
Remove the tail light housing from the car. It might take a little persuasion by pushing on the studs from inside the trunk with the wrench or something similar.
Step 6
Clean the seal surface and the mating surface on the car with a clean rag.
Step 7
Apply generous amounts of the Ultra Black sealant to the seal as shown below.

Step 8
Spread the sealant around so its a nice even covering.
Step 9
Reinstall the tail light housing into the car. Be careful not to get the sealant on other surfaces. Continue to maintain pressure on the housing while tightening up the nuts in the trunk. (Tip: When putting the nuts back on, put the nuts over the stud and then slowly turn towards the left, you will feel the nut kind of settle into the threads on the stud. This will prevent stripping the nut)
Step 10
Make sure all the nuts are snug, but not too tight since they are just plastic.
Step 11
Reinstall the reverse and tail light/turn signal lights.
Picture of the end result from inside the trunk. You can see the sealant around the edges.
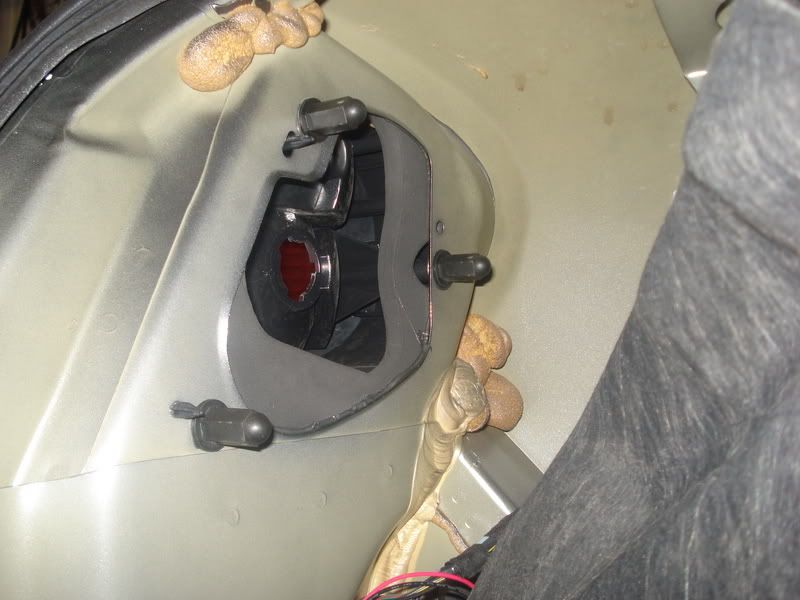
Repeat for the other side.
This shouldn't take much more than 30 - 45 minutes, but allow additional time because "shit happens."