Anti-sway bars help eliminate body roll in cornering and will give your Neon a more sporty feel. SRT-4 sway bars are a great upgrade and are relatively inexpensive. This modification is simple and offers great bang for your buck.
Tools you will need:
- front anti-sway bar
- bushings for the anti-sway bar
- new end links for the anti-sway bar
- car lift jack and safety stand
- 3/8 drive extension (optional)
- 3/8 drive ratchet
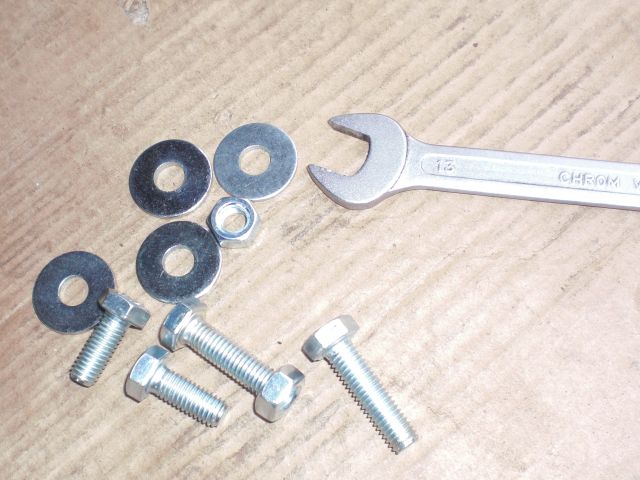
- 13 mm socket, 3/8 drive
- 15 mm socket, 3/8 drive
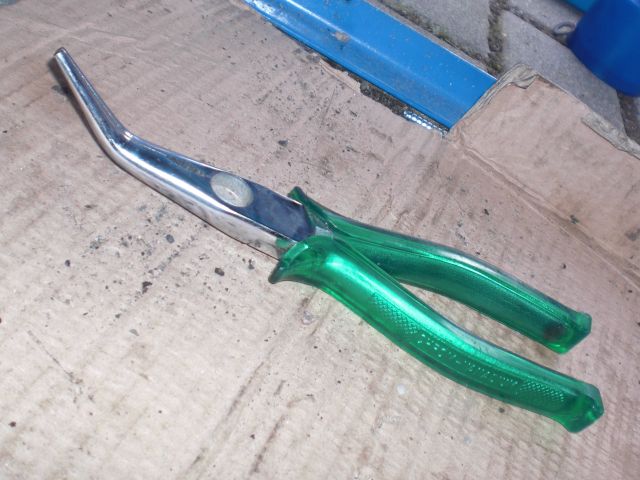
- vise grip pliers
- ratchet and socket (19 mm) to remove your tires
- torque wrench
- WD-40
Overview:
First we need to get the car up on the safety stands and remove the tires. Next we’ll remove the existing sway bar including the bushings and end links. Using the new bushings and end links, we’ll install the new sway bar. Finally we’ll install the tires and torque the lug nuts to spec.
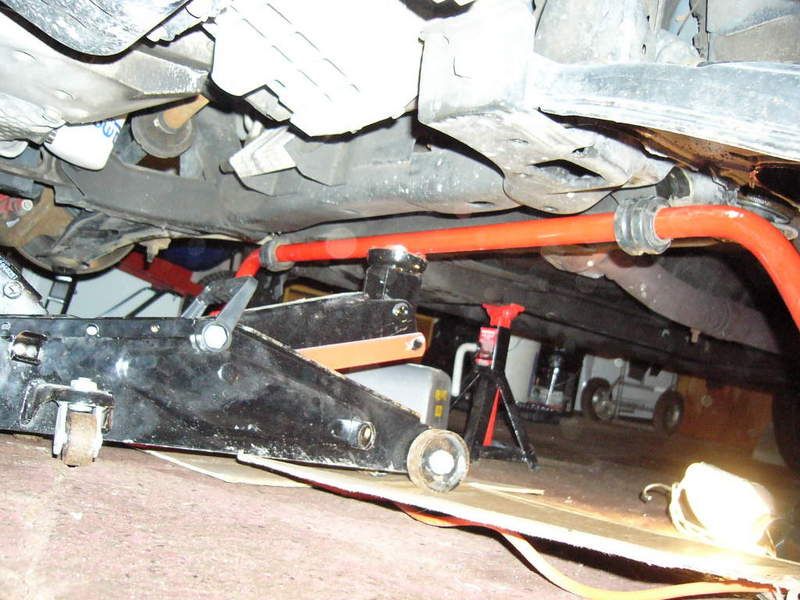
Start by jacking up the car and placing the safety stands underneath the car. Ensure the car is stable before proceeding. Remove the two front tires.
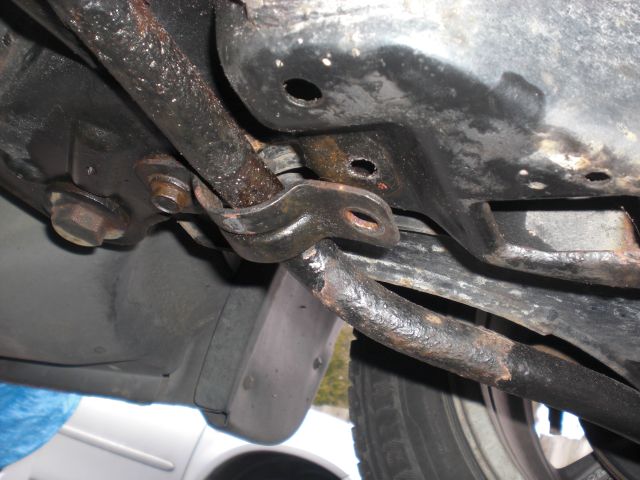
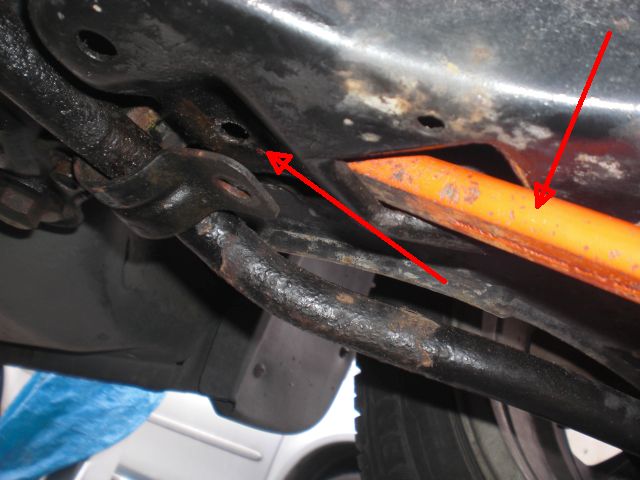
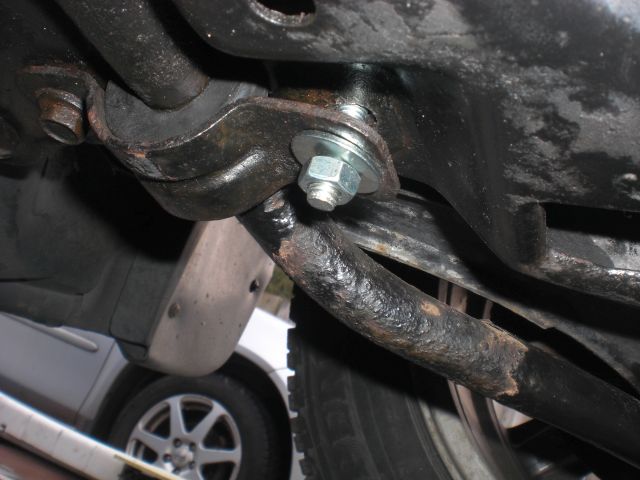
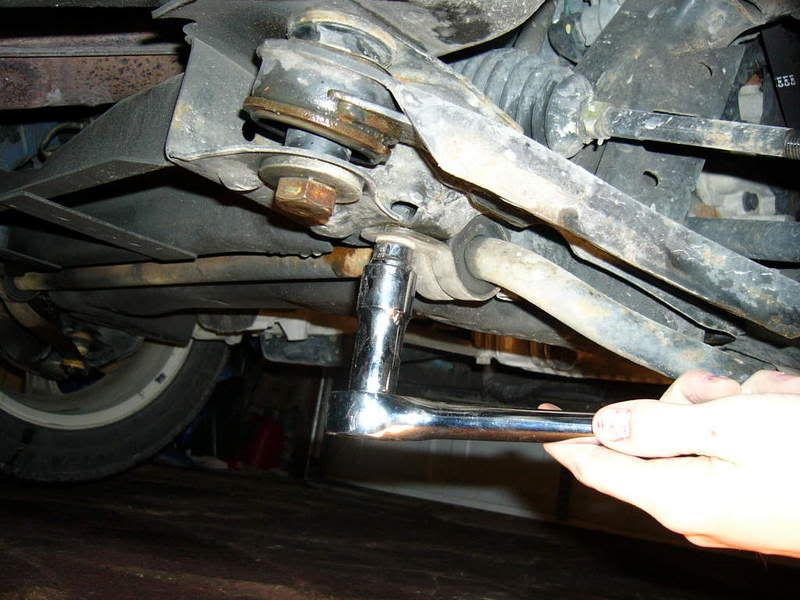
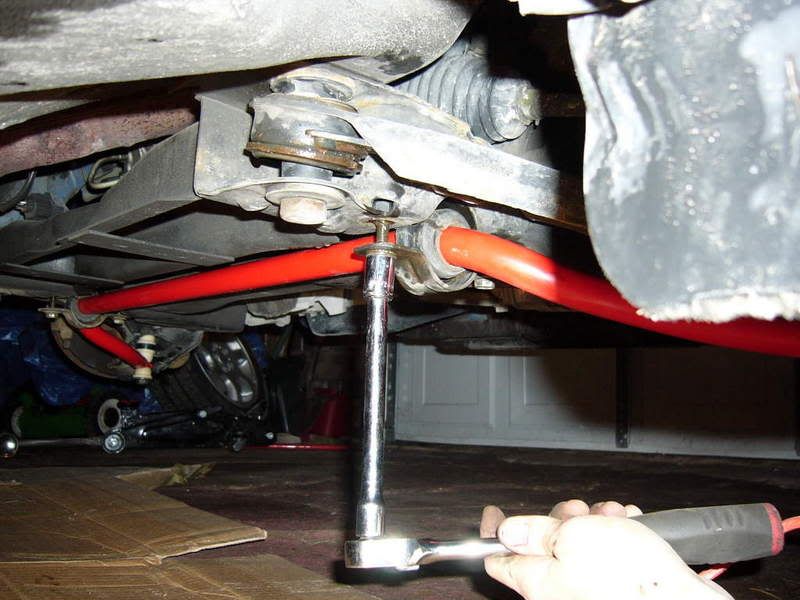
Remove the two bolts for the bracket that holds the sway bar to the frame of the car using the ratchet and 13 mm socket.
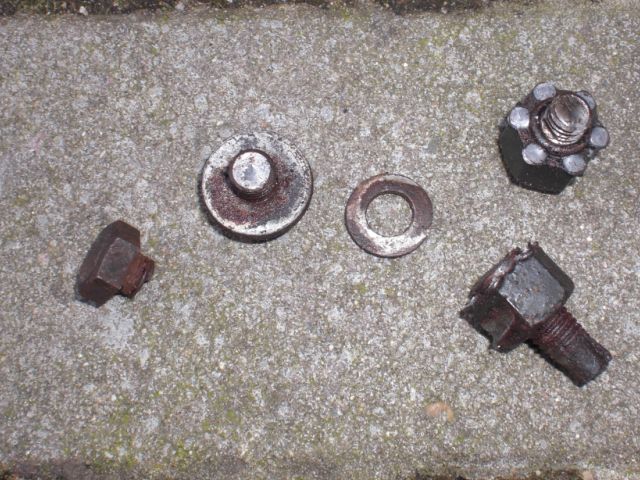
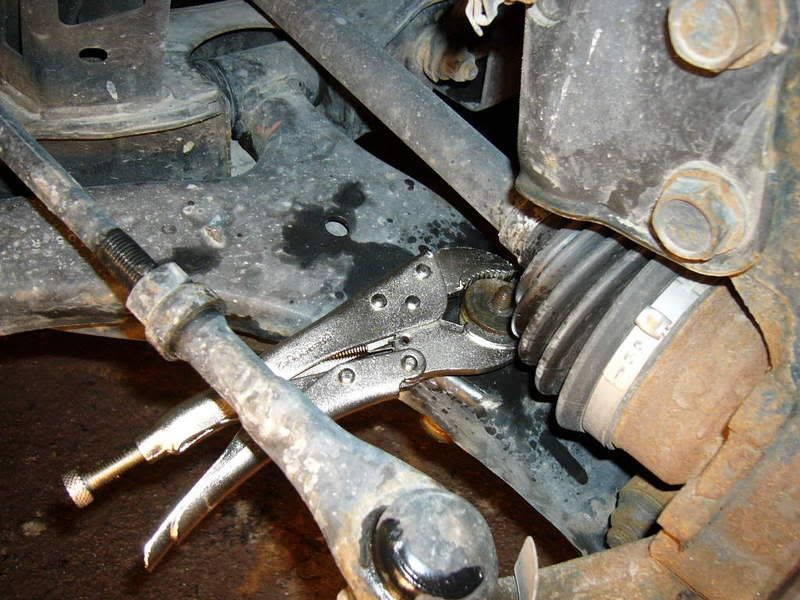
Using the vise grip pliers and the ratchet with the 15 mm socket, remove the old end links.

Repeat these steps on the opposite side of the car.
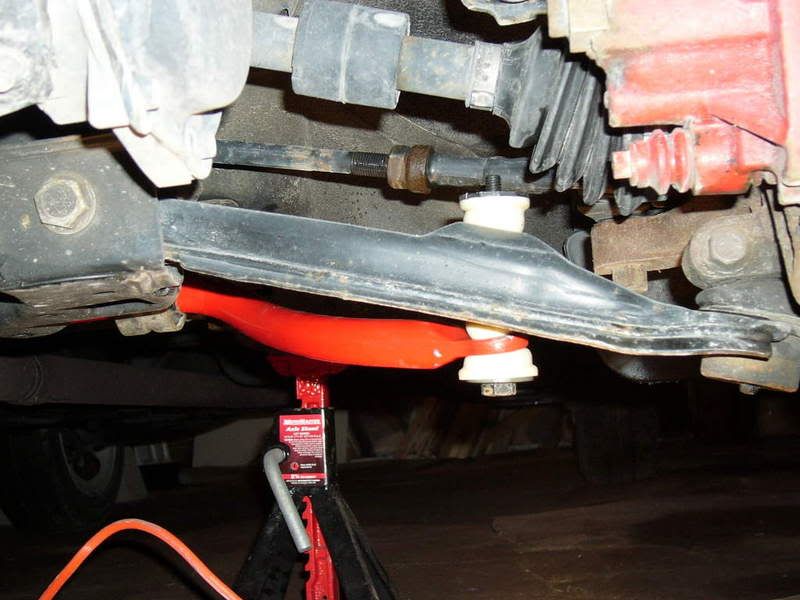
Place the bushings around the new sway bar. Balance the new sway bar on the jack and raise the sway bar into place.
Install the brackets that hold the sway bar to the frame of the car.
Install the new end links. Tighten the end links until you cannot tighten them anymore. It may seem like you’re over tightening them, but you’re not.
Install your tires, torque your lug nuts, and enjoy
Comments and corrections are welcome