bumper's side markers. it took me quite some time to figure it
out how, but this how-to should help shorten installation time.
This took me roughly 5 Minutes.
I purchased my set on ebay. had a few issues with the seller, he really
managed to piss me off, but then again it was just bad luck i guess.
_______________________________________________________________
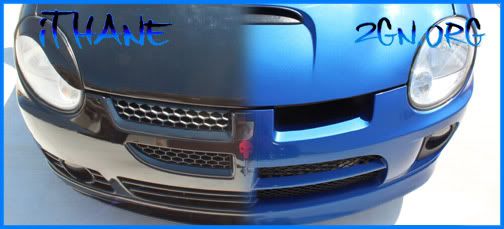
Replacing your side marker lenses.
step 2 is not required, but if you have big hands you might consider it
Prep:
Alan Wrench (size unknown
A Torx Screwdriver (star shaped tip)
Paper Towel or Latex Gloves
5 minutes of your time
Instructions:
1. Start by removing the 2 screws on the front end edge of your fender
well. (turning your wheels makes more room) For the bottom screw
i used an alan wrench because the Torx screwdriver wouldn't fit with
my tire in the way.


2. Again, this part can be avoided, personally i don't like pulling off
these tree caps, but it makes getting to the side marker lense easier.
Step one and two remove your splash guard which gives you access
to the back side of the front bumper, which is where you need to be to
replace or remove your markers

3. Now remove the clip that holds the marker in place. To do this,
feel around the back side of the marker. The tab closest to the
wheel is what you need to pull off.
Note: I removed the bulb before popping off the marker. It doesn't
really matter whether or not you remove the bulb before or after,
but either way, use your latex gloves or paper towel to handle the
bulb. The oils in your fingers reduce the life of bulbs (im not saying
your dirty and grimy, all humans produce oils)
Remove this tab by pulling it back towards the rear of your car.
it takes a little bit of muscle to get it off, but its easy to pop back on.
Save this pin because you need it to reinstall your markers

4. Now that you have this pin removed, the marker should come right
off. There is a hook towards the front, so lift up from the back first.

5. Now that you have your marker removed, put your new one in!
My marker has a little play, which is a little unusual, but nearly
almost every aftermarket part you order won't be a perfect fit
for your car.
Screwing the bulb back into your new marker before reinstalling it
may help. (remember to use your gloves/ paper towel to handle the bulb)
6. To reinstall your marker, slip it back into place, and reattach the pin
you removed earlier. If you worry that the pin doesn't hold the marker
into place, use some thin double sided tape or something similar behind
the marker for extra support
7. Reattach your wheel well's splash guard and step back to take a look
at your new side markers! Fancy, eh?

EDIT: pictures fixed
Side Note: had my markers on for over 3 weeks and the pins still
hold it into place, even though it is a little loose.